Showing posts with label Icelandic fleece. Show all posts

Monday, May 14, 2012

Pre-Felt and Raw Icelandic Fleece Purse- Part 3 of 3

I used rare-earth magnets again for the closure on this bag...

...but the resulting front flap looked a little plain...

...(some of my friends even thought it resembled an animal's snout!)...

 
...so I added a non-functional button.

 
The bag back...

 
...and in full view with its leather strap.

 
The fabric lining with inner pocket (not shown)...

...the red 'dot' is one of the magnet closures.

 
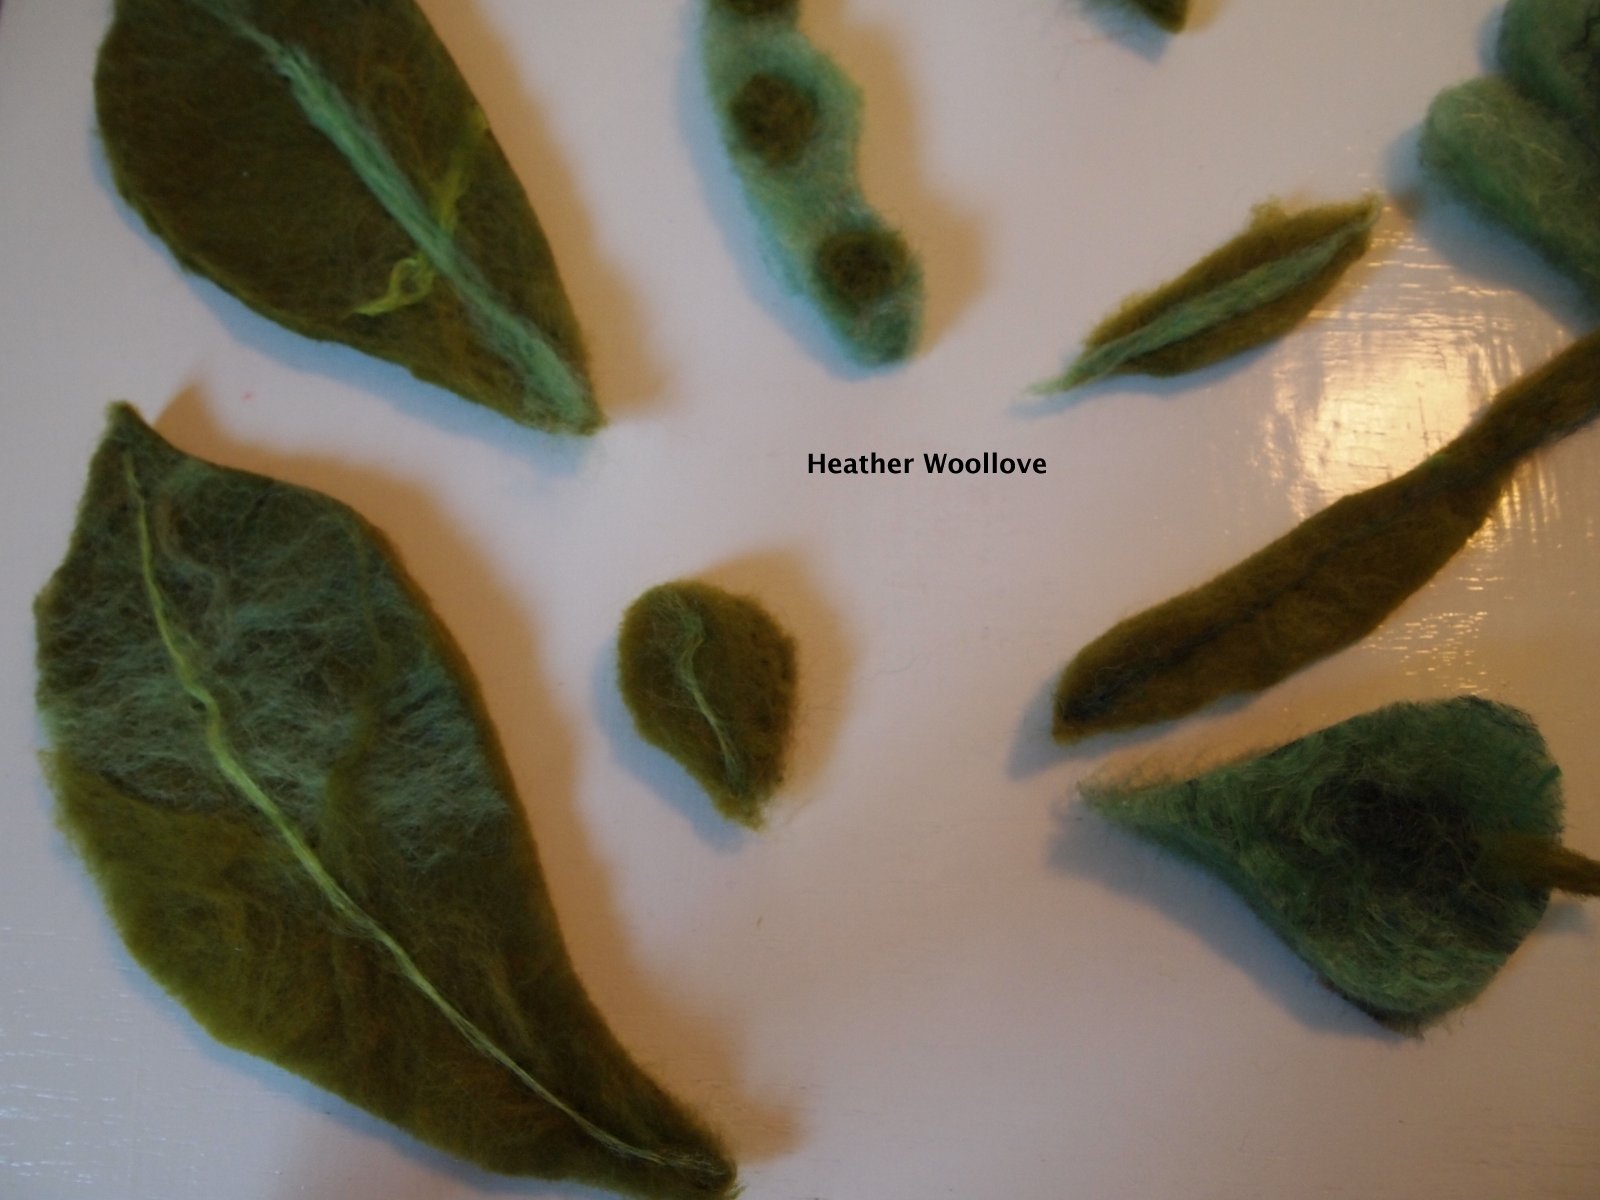
A close up of the leaves, Icelandic locks...

 
...and green glass beads.

 
The finished purse...

...in all of its hairy glory! :)

 
This bag proved to be a bit challenging for me...

...because of the different rates and ways the pre-felt and raw locks felted.

I do like the counterpoising of both wild and controlled elements, though...

...and I certainly will try another project like this sometime.

Several of the leaf edges needed a little hand-stitching after felting...

...so I used it as an opportunity to add a few 'blingy' green glass beads for fun! :)

Posted by Picasa

Saturday, May 12, 2012

Pre-Felt and Raw Icelandic Fleece Purse- Part 2 of 3

Laying out pre-felt leaves...

 
...and covering them with raw Icelandic fleece (tips down).

 
Adding thin layers of wool roving...

 
...then flipping the resist to work on side two.

 
The fully encased resist...

...as you can see, I'm working 'inside-out', as usual! :)

 
After felting for a time, making a cut (to remove the resist)...

...and sealing it by rubbing the raw edges with wet, soapy fingers.

 
The front side of the purse during felting.

 
Cutting out the purse lining and inner fabric pocket.

 
As is my wont...

...I made this purse by working 'inside-out'.

I laid pre-felt leaves (needle-felted embellishment side down) onto the resist first...

...then layered on the raw Icelandic fleece (tips down, as well).

After covering everything on side one with thin layers of white wool roving...

...I flipped the resist and did much the same thing on side two.

You'll notice that I positioned the fleece to cover only a small portion of side two, however...

...in order to accommodate the closed flap.

I used a piece of speckled brown fabric from my stash...

...to fashion the lining (plus fabric pocket).

Next time: the fully felted bag...

...plus beaded embellishments!

Posted by Picasa

Thursday, May 10, 2012

Pre-Felt and Raw Icelandic Fleece Purse- Part 1 of 3

Laying out wool and tussah silk layers...

 
...in various shades of green...

 
...to make the pre-felt.


Another new resist shape (as paper pattern)... 
 
...and, here, being transferred onto foam floor underlayment.

 
Cutting leaf shapes from the pre-felt...

 
...and adding needle-felted details...

 
...like seeds, stems and veins.

 
I wanted to try another new resist shape...

...and thought that it might be fun to combine raw Icelandic locks...

...and handmade pre-felt leaves.

After drawing my new bag shape onto craft paper...

...I transferred it to a piece of foam floor underlayment and cut it out.

To make the pre-felt, I combined various shades of green wool roving and dyed tussah silk...

   ...and felted it just until it held together.

From patterns that I traced from fallen Autumn leaves some time ago...

...I cut out pre-felt leaves, adding needle-felted details with bits of silk and wool roving.

Next time: assembling the raw fleece and pre-felt...

...and beginning the felting process.

Posted by Picasa

Monday, June 13, 2011

Barnacle Pillow Tutorial- Part 4 (of 4)

The pillow covered in netting and wetted out.


After felting and spinning dry.


The finished pillow...stuffed a little less firmly than the earlier two.


Barnacle pillows in all their glory!


Well, I hope by now you can see why I call these barnacle pillows...

...since they're covered with the kind of stuff sailors spend a lot of time scraping off!! Giggle.

You can see the differences that come about when working inside-out and
right-side-out...

...and how the schlumpy placement of raw locks in the smaller ones...

...resulted in a completely different 'look'.

I think they'll lead to some interesting conversations when my daughter displays them on the sofa in her new apartment...

...or maybe she'll keep them sequestered in her own room...

...as sort of an 'eyes-only' kind of thing! :)

Posted by Picasa

Saturday, June 11, 2011

Barnacle Pillow Tutorial- Part 3 (of 4)

Laying out white roving for the inside of the large pillow.


The back side of the pillow...wetted out.


Adding raw locks to the pillow front.


The pillow just prior to felting.


I made this pillow a little differently than the earlier two...

...since I wanted a bit more control over the placement of my raw locks.

Instead of working from the outside-in, I made it right side out...

...and quite a bit larger, too.

For the back side of the pillow, I laid out orange and yellow roving...

...in a bullseye pattern.

For the front, I added individual locks of raw wool...

...from Jacobs, Black Romney and Icelandic sheep.

Before attaching the locks to the roving...

I dipped each one into a diluted soap solution, to help with the attachment.

Next time: the end of the wild pillows!

Posted by Picasa

Thursday, June 9, 2011

Barnacle Pillow Tutorial- Part 2 (of 4)

After felting...with the raw locks hidden inside!


Cut open and turned right side out..."Hello Fishy-lips"!! :)


Stuffing the pillow with wonky white roving, prior to stitching it up.


The finished pillows in all of their weirdness!!


As you can see from the first photo...

...after felting, you're left with a hollow ball of felt with the plastic resist inside.

It is then cut open, wide enough to turn the pillow right side out...

...and stuffed with wool roving.

Since I wanted the pillows to be pretty firm (for lumbar support)...

...I stuffed them with a lot of wool.

If you'd like them to be softer than this...

...just stop filling them when they 'feel right' to you! :)

To finish it up, I hand-stitched it closed with strong thread...

...and repositioned some of the loooong Icelandic fleece locks...

...which had gotten a little stuck during felting.

Next time...I'll introduce you to their big brother!!! Giggle.

Posted by Picasa

Friday, April 8, 2011

Raw Locks Bedroom Rug- Part 2

Wetted out and partially felted rug.


'Boingy' Jacob Hoggett locks.


The finished piece...hanging to dry.


My new bedroom rug 'in situ'.


Working with raw fleece takes a bit of stamina...

...and it's also a pretty dirty undertaking.

I make a point of washing my hands carefully and often while I work...

...and I keep the dirty waste water well away from food preparation areas.

When I'm finished with each project, I clean my sink and equipment with bleach...

...and I've made sure that my tetanus booster shot is up to date, just in case!

************************************************

But, all that being said...

...I just love the beautiful, earthy smell of raw wool while I work!

And nothing beats the sensual pleasure of stepping out of bed each morning...

...and sinking my toes into this wonderfully-textured, soft, thick, cloud of wool!!

Wednesday, April 6, 2011

Raw Locks Bedroom Rug- Part 1

Laying out raw wool in concentric circles...
...with the tips that were outermost on the sheep facing down.


Covering the locks with orange wool/silk roving.


Filling the center with white wool roving.


Topping the layout with a layer of cheesecloth.


As I think you may already know...

...I've been having a bit of a love affair with raw locks, lately!!

I wanted to make a piece using wool from my dwindling stash...

...of Black Romney, Jacob Hoggett and Icelandic fleeces.

I thought a new bedroom rug would be a nice project...

...fun to make (not too large) and super cozy on my toesies! :)

I laid out raw locks in circles...

...making each ring from a different breed of fleece.

Black Romney wool looks the most grey and tan...

...Jacob Hoggett locks show up as 'poufs' of black, brown and white...

...and the black and white Icelandic wool is 'doing the wild thing' and sticking out everywhere!!

I covered the surface of the locks with a layer of blended silk and wool roving in my favorite color (plus white for the middle)...

...and wrapped the whole shebang with a layer of cheesecloth.

Next time...

...how the project looked during felting...

...and the finished rug!