Wednesday, January 30, 2013

Mailman Scarf

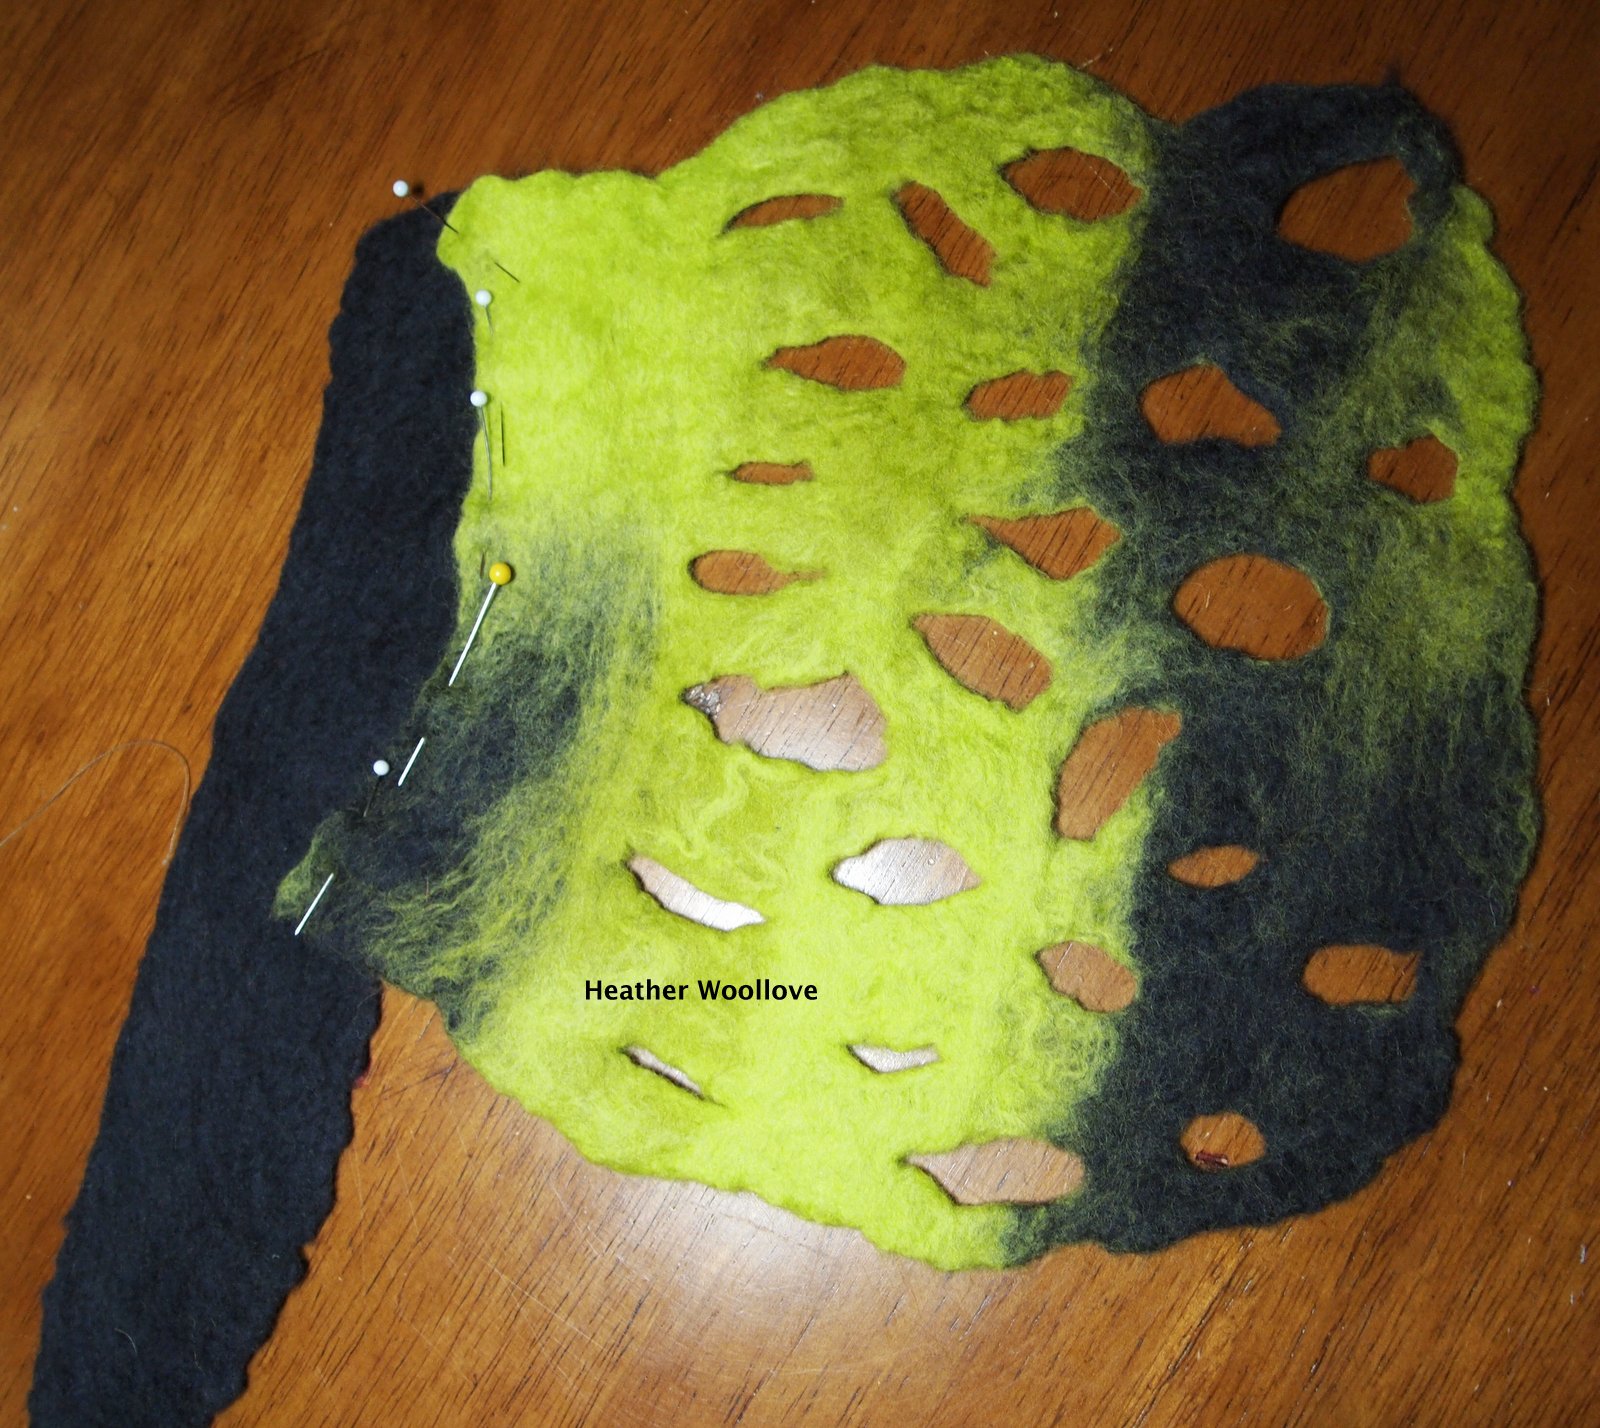
Laying out stripes of merino roving...

 
...and covering them with sections of a batt...

...made from wool, blended with cotton dots.

 
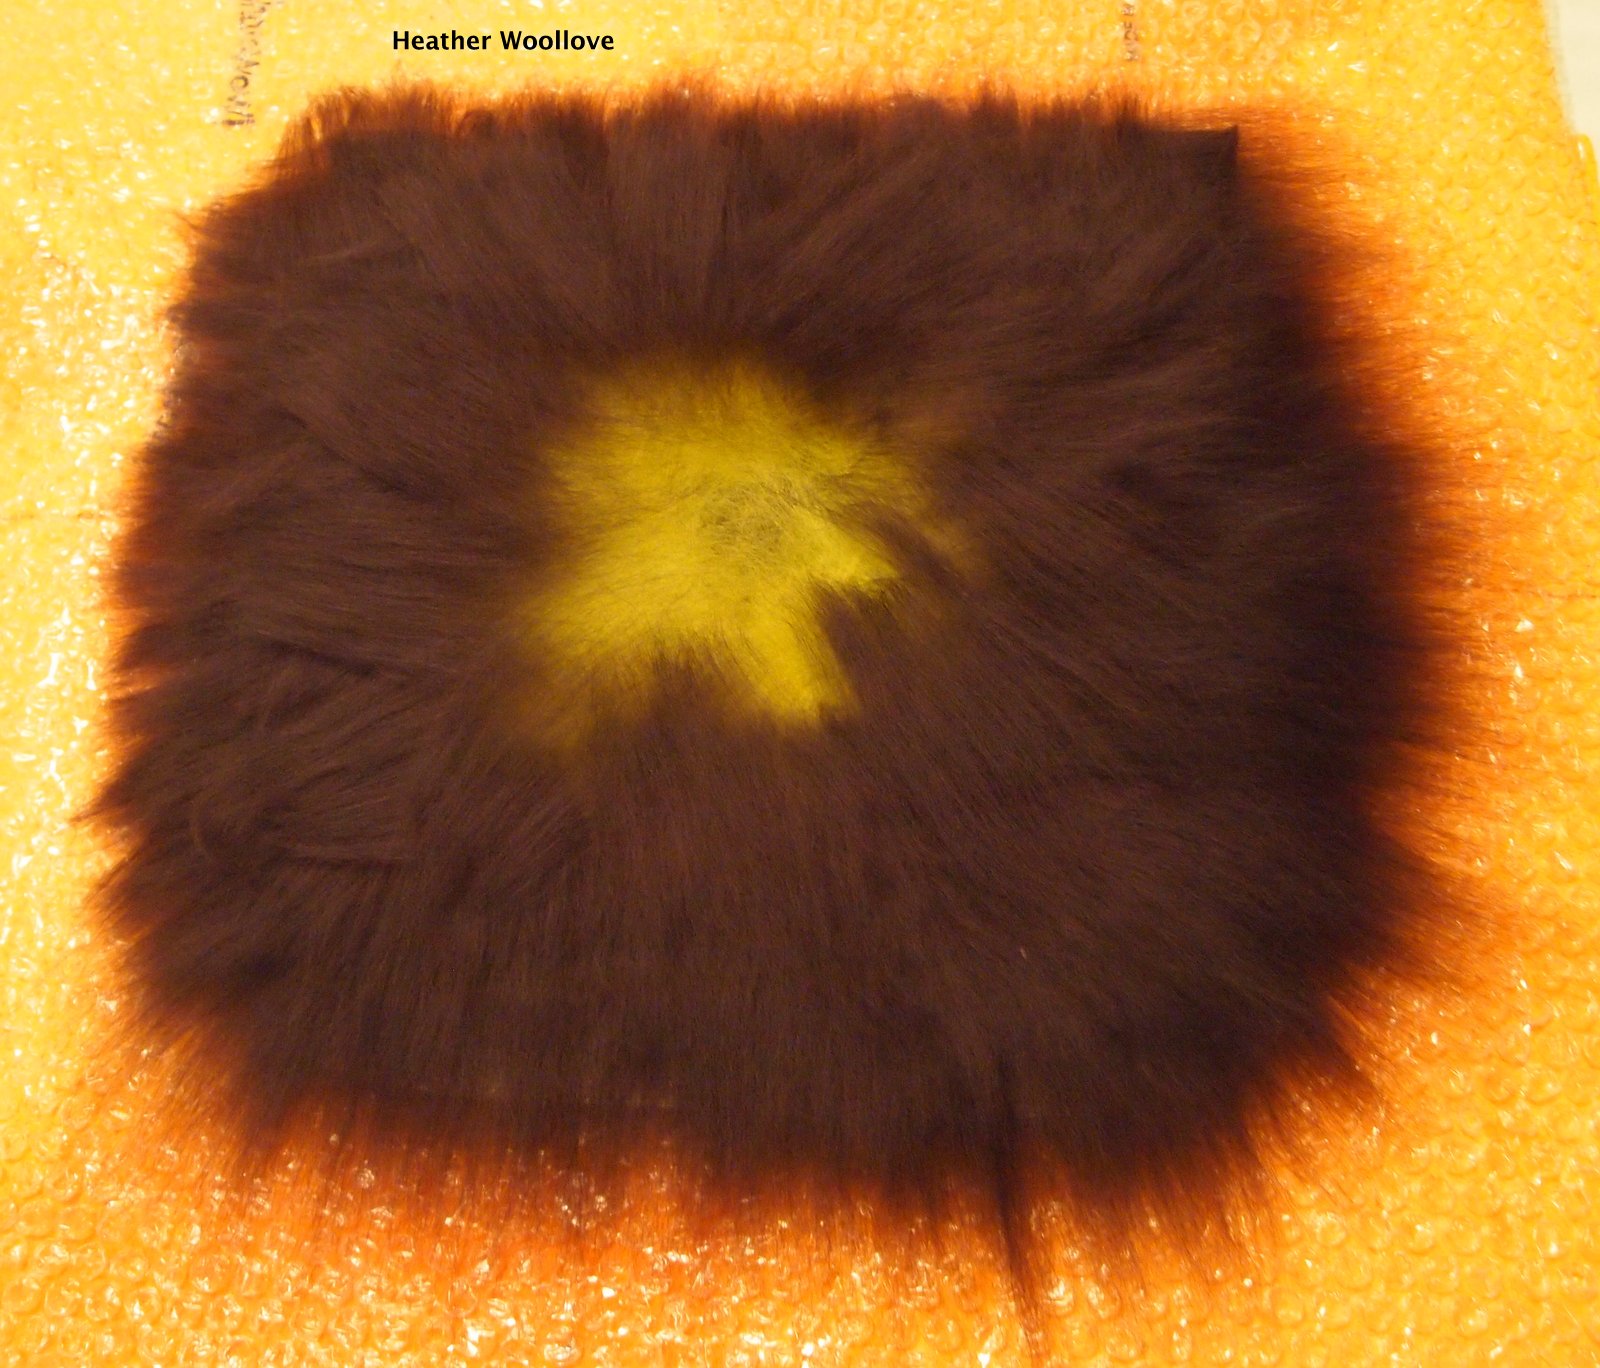
Wetting out the project...


...and mid-way through felting. 
 
The bold colors of the stripes...


...migrate through to the back of the scarf during felting.

 
The back side of the finished scarf...

 
...and the front side.

 
My letter carrier is a terrific guy...

...and I wanted to make him a useful Christmas gift...

...that could be worn to ward off the bitter cold this winter.

I laid out sections of merino roving in several colors...

...and covered them with rust-colored fiber from a blended batt.

After checking the edges and squaring things off...

...I rolled, rubbed and threw the scarf in the usual manner.

Voila...a simple and colorful scarf for a kind and hard-working man.

Posted by Picasa

Monday, January 28, 2013

'Reptilian' Purse With Pre-Felt Flap- Part 2 of 2

Cutting slits into the pre-felt flap...

...prior to final felting.

 
Adding a bit of black felt (to extend the length of the flap)...

 
...and stitching it to the purse.

 
 The back (embellished) side of the purse...
 
...and, again, in close-up.

 
The opened purse...

 
...with inner pocket.

 
The finished purse.


Using the same pre-felt technique that I employed in some recent scarves...

...I snipped irregular slits into the pre-felt flap...

...and opened them up to make holes in the finished felt.

In order to position the flap properly on the bag, once sewn...

...I needed to add a little length to it...

...so I stitched it to an extra piece of black felt, prior to attaching it to the bag.

(The extra bit is located inside the bag and doesn't show..)

The back of the purse makes me think of a painted turtle...

...and the front flap reminds me of a crocodile! :)

 Posted by Picasa

Saturday, January 26, 2013

'Reptilian' Purse With Pre-Felt Flap- Part 1 of 2

Laying out two colors of wool for a pre-felt...

 
...and making cords for the purse handles.

 
Coiling variegated pencil roving onto the resist for embellishment...

...and cutting an oval pre-felt 'frame' for what will become the mouth of the bag.

 
Adding a layer of color behind the pencil roving...

...(working inside-out, of course)...

 
...and covering the whole shebang with layers of black wool roving.

 
Mid-felting, after attaching the cord handles.

 
Turning the bag right-side out.


If you look closely, you can see a faint line...

...where a plastic resist is still embedded in the felt.

(It will be removed to form a pocket inside the bag.)
 
Because I make a lot of purses and bags...

...I spend a considerable amount of time thinking about closures...

...and, while a tote is best left open at the top...

...purses need a little extra security.

This purse is a riff on an earlier project...

...minus the footer, and with the mouth relocated to the top of the bag.

Next time: the 'reptilian' flap is attached.

Posted by Picasa

Thursday, January 24, 2013

Acid-Dyed, Pre-Felt Male/Female Scarf Set- Part 2 of 2

The completed 'male' scarf...

 
...and the completed 'female' one.


Comparing the two scarves, side by side...

...you'll see that cutting slits in the pre-felt (which I later open up into holes)...

...results in a slightly wider and shorter scarf.

 
Note: the actual color is a bit more grey than these photos show.

 
I'm pleased to say that my quite inexpert dye job on these scarves...

...resulted in a variegated look that I like very much.

I find it interesting that merely manipulating the felt with slits at the pre-felt stage...

...so alters the final dimensions of the project!

Posted by Picasa

Tuesday, January 22, 2013

Acid-Dyed, Pre-Felt Male/Female Scarf Set- Part 1 of 2

Making a long white pre-felt rectangle...


...and letting it dry. 
 
Preparing to cut the pre-felt lengthwise into two.

 
Cutting slits into one pre-felt section, prior to felting.

 
Nylon stitches turn each long rectangle into an 'infinity scarf'...

...by forming it into one continuous circle.

 
Placing bubble wrap within each circle of pre-felt...

...helps to keep it from felting together.

 
Mid-way through felting...

 
...and during the fulling process.

 
Yes...sighhhh...I'm afraid that we're back to scarves again! Grin.

This set of two pre-felt scarves...

...is another take on these.

Using soft, white merino roving...

...I laid out a large rectangle of wool and turned it into a pre-felt...

...by rolling it 50 times from each of the four ends, squeezing out the water and letting it dry.

Next, I cut the dried pre-felt into two long strips...

...and hand-stitched each of them into a 'ring'.

For the more feminine version of the scarf...

...I cut slits into the pre-felt prior to felting.

(The masculine version was left 'as is'.)

Next time: the finished scarves...

...in all of their dyed glory! :)

Posted by Picasa

Sunday, January 20, 2013

Green Pre-Felt Leaf Bag

Glorious 'Tiffany Glass' variegated hand-dyed roving...

...from my dear friend, Lorin Fields.

 
After covering both sides of the resist with roving...

...the project is wetted out.

 
A pre-felt leaf is added here...

 
...and a second one, here.

 
After felting for a time...

...a slit is made in the felt to remove the resist...

...and the project is felted to completion.

 
The finished bag with leather closure and brass button.

 
The bag back.

 
The finished bag.

 
With wonderful blue and green variegated roving from my friend, Lorin Fields...

...I created a small felted bag for Christmas gift-giving.

I used silk and wool pre-felt left over from this project...

...to make the cut-out leaves for embellishment.

A strip of green leather and a brass button from my stash...

...finish off the project.

Posted by Picasa