Friday, June 30, 2017

'Art Nouveau' Zippered Bags- Part 2

Placing merino stripes on the resist surface...


                                         ...and covering them with a layer of wool.


                                                Flipping the project to side two...


                                                         ...and adding two...


                                             ...perpendicular layers of roving.


                                                    Wetting the project out...

                  ...and drawing a 'cutting line' using a narrow length of dark wool.


                                            Flipping the piece back to side one...

                                              ...for its second layer of wool.


                                 After wrapping the fibers closely around the resist...


                                                        ...the felting begins.


                                                Rubbing and rolling continue...

                                         ...until the project passes the 'pinch test'.


                                                   The soft felt is cut open...


                                                ...and the resist is removed.


                                                       As the felting continues...


                                                 ...the wool begins to shrink...


                                                        ...and become firmer.


                                                                 It's rolled...


                                                      ...and worked evenly...


                                        ...to keep the piece as square as possible.


                                               Next time: zipper installation!

Wednesday, June 28, 2017

'Art Nouveau' Zippered Bags- Part 1

A small rounded lid or shallow bowl comes in handy...


                                                     ...when drafting a resist...


                                                   ...with a rounded-off corner.


                                            Applying the pre-felt embellishments...


                                       ...and then turning them to face the resist...

                                              ...(since I'm working inside-out).


                                                  Covering the whole shebang...


                                           ...with a layer of bright merino roving...


                                                   ...and wetting out the bag.


                                               The resist is flipped to side two...


                        ...and the excess wool is wrapped up and around the resist.


                                                Next time: side two = stripes!

Monday, June 26, 2017

Reversible Felted 'Japanese Knot Bag'- Part 3

The foam resist is removed...


                                       ...and the project is turned from one side...


                                                              ...to the other...


                                                            ...during felting.


                                                         After a final fulling...


                                            ...it's stuffed and blocked for drying.


                              The top of the long tote strap was drafted at an angle...


                                    ...(to better follow the slope of my shoulder)...


                                    ...but because I chose to make it reversible...
                                                        

                                                     ...it was a design 'fail'. :(                                                      


                                                        As befitting a sample...

                                               ...I made this project quite small.                                        

                                                      
                         (I wanted to check both the dramatically truncated strap...

                                     ...and the 'curvier' overall shape of the bag.)


                                   At first I wasn't sure whether its diminutive size...

                                      ...would lend itself to any real functionality...


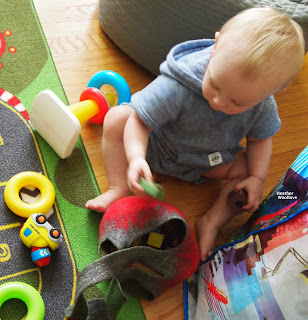
                       ...but happily, it's found purpose as a 'wooden blocks keeper'...

                                                 ...for my baby grandson. :)


Saturday, June 24, 2017

Reversible Felted 'Japanese Knot Bag'- Part 2

Adding new colors...


                                                   ...to the white wool surface.


                                               Flipping the project to side two...


                                  ...folding in the overhanging wool from side one...


                                           ...and repeating the layering process.


                                                     Mid-way through felting...


                                               ...the wool is beginning to shrink...


                                                     ...and to become firmer.


                                         Once the project passes the 'pinch test'...


                                                        ...the soft felt is cut...

                                                  ...and the resist is removed.


                                                   Next time: the finished tote.