Wednesday, February 27, 2013

Tablet Cover- Part 1 of 2

Cutting small, square pieces of pre-felt.


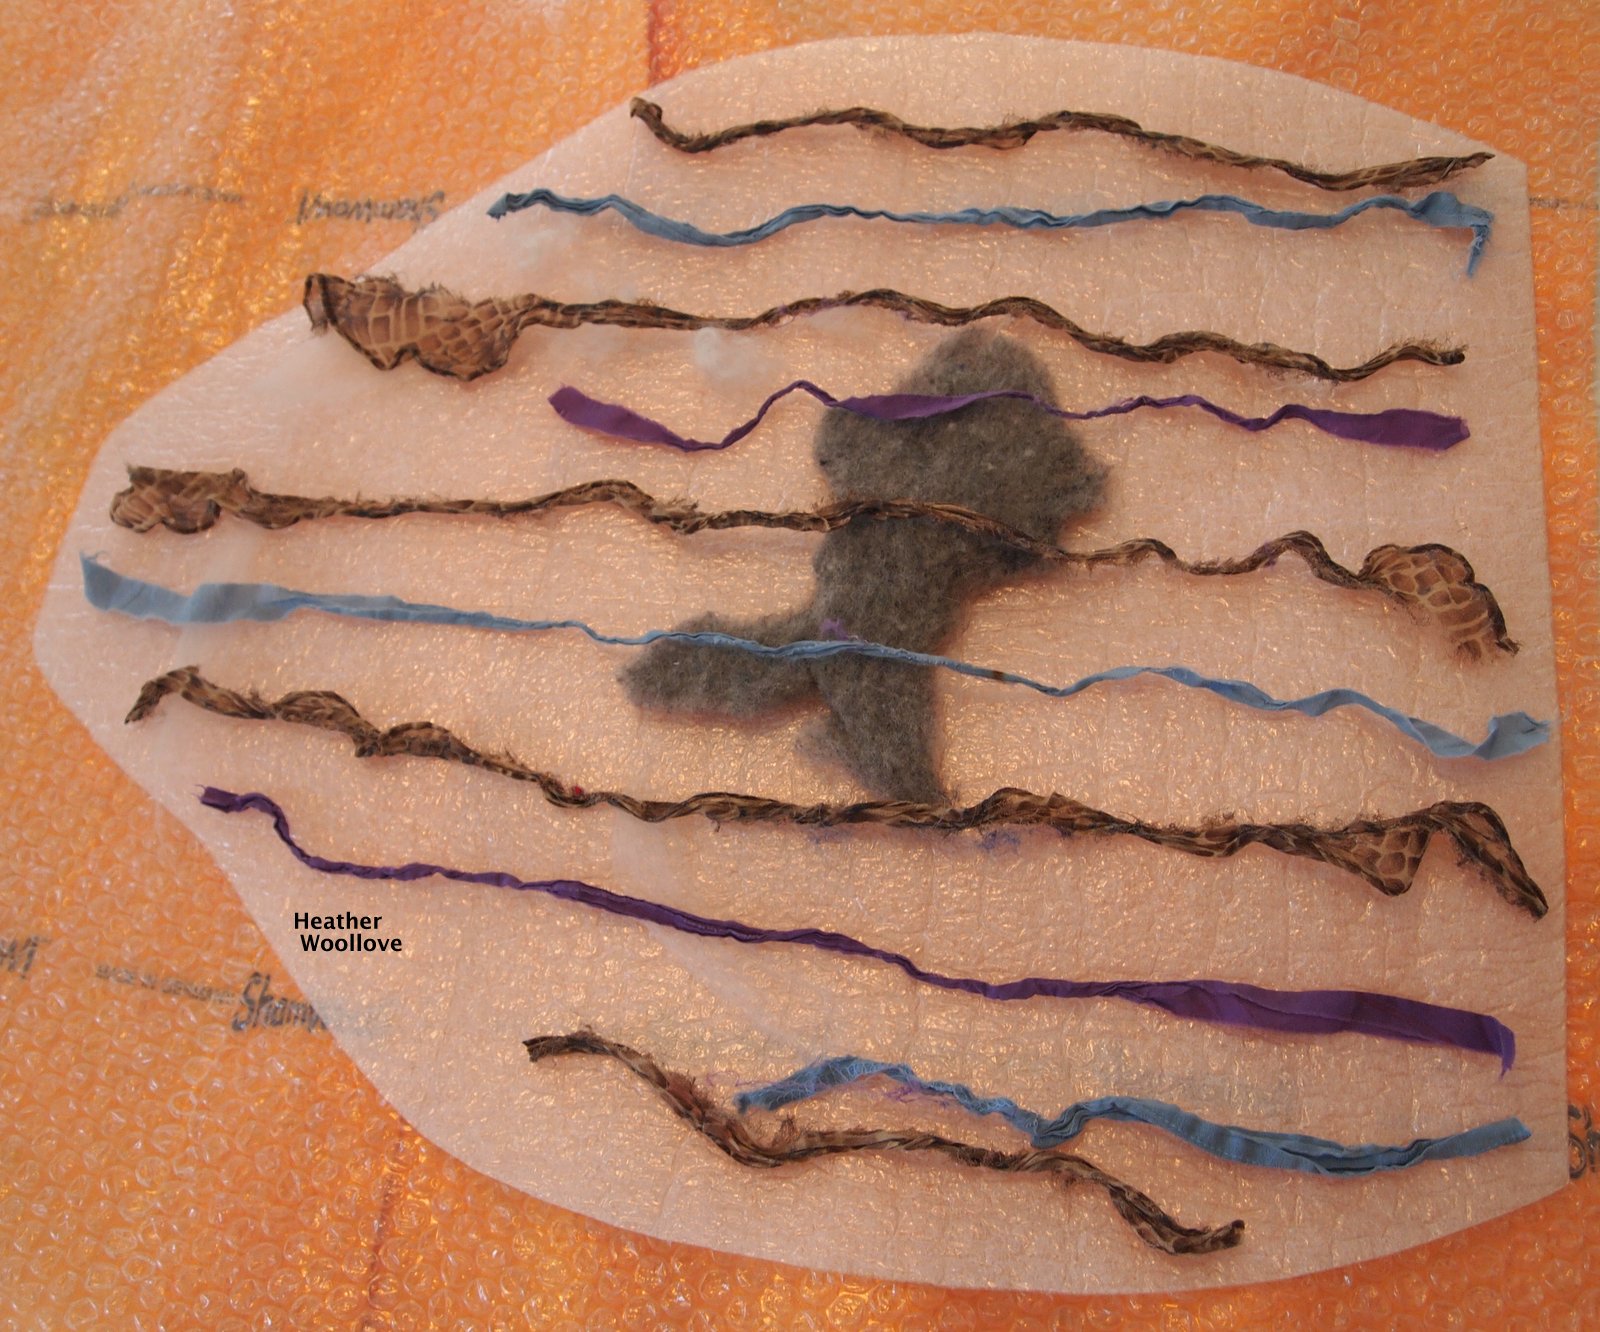
Fashioning a resist from foam floor underlayment. 


Placing the pre-felt squares on the resist surface...

 
...and covering them with a layer of wool roving.

 
Applying (fewer) pre-felt squares to side two.

 
Adding additional layers of roving to each side of the resist...

 
...and marking a 'cutting line' with a thin length of green wool roving.


After the piece is partially felted...

...cutting on the green line and removing the resist. 
 
From leftover pre-felt strips in mauve and green...

...I prepared a pile of perfectly square pieces.

After placing them into a grid design on the resist...

...I covered them with several layers of wool roving.

Mid-way through felting, I made a slit in the felt...

...and pulled out the plastic resist...

...then continued felting until the piece was done.

Next time: the finished cover...

...with vintage button and leather button loop.

Posted by Picasa

Monday, February 25, 2013

"Just Right" Beret- Part 2 of 2

The fully felted beret top...

 
...and bottom.

 
Stuffed with dish towels to keep its shape while drying.

 
The beret in place...

 
...with orange woolen 'clouds' showing on the underside...

 
...and, here, a bit of the design on top.

 
The finished beret bottom...

 
...and top.

(The multi-colored cotton dots in the orange wool really 'pop' in the finished felt.)

 
I call this my "just right" hat...

...because the weight and density of the finished felt is finally as I think it should be.

Since I made this as a gift, without an accurate head measurement...

...I dared not trim or band the opening in any way...

...in case it needed to be stretched, or was already on the large side.

If I were to make another one (with measurements)...

...I think I would band it with a strip of coordinating fabric or felt...

...for a more finished appearance.

Posted by Picasa

Saturday, February 23, 2013

"Just Right" Beret- Part 1 of 2

Laying out the design...


...and covering it with superfine merino roving. 
 
Fluffy 'clouds' of batt adorn side two.

 
The fully wrapped resist, wetted out.


Centering a 5-inch diameter paper circle as a pattern... 
 
...and cutting out a matching circle of partially felted wool.

 
After a bit more felting...

...the beret is turned 'right-side' out.


The beret top, mid-way through felting.
 
As a 'wink wink' send up for a painter friend...

...I decided to make her an art-to-wear beret as a gift.

Using shapes cut from a fluffy, cotton-dot-studded wool batt...

...I laid out a design for the beret top.

After covering the shapes with deep blue roving...

...I flipped the resist and added opened-up 'clouds' of the same batt...

...for underside embellishment.

Using a 5-inch paper circle as a template...

...I cut out a standard-sized 'head hole' for the beret.

Next time: the finished hat.

Posted by Picasa

Thursday, February 21, 2013

Small Clutch Bag And A New 'Soap Glue'-Making Method

Whipping 'soap glue' in a mixing bowl.

 
Laying out white roving on a small, rounded-off-square resist...


...and adding variegated pencil roving stripes. 
 
The finished felt (front)...

 
...and back.

 
Adding a button and strip of leather for the closure.

 
The pencil roving felted in easily and completely...

 
...though it's not quite as blue as it looks in this photograph.

(See the pencil roving photo for a closer approximation.)

 
Making 'soap glue' has always been a bit of a mystery to me...

...and I've found that everyone who makes it has their own special way to do it.

For my purposes, it needs to be softer than a bar of soap so that it dissolves easily in water...

...and mucilaginous enough that it keeps my design elements from shifting on the resist...

...while they're being covered with layers of wool roving.

Recently, I hit on the idea of adding boiling water to a grated bar of olive oil soap...

...and carefully (remember, it's hot!) whipping it in an electric mixer.

Easy and quick! :)

***********************************************************************************
The clutch in this post is pretty straight-forward.

I wrapped the resist with layers of white wool roving and added pencil roving as an embellishment.

After felting, I stitched on a large grey button with a black leather loop for the closure.

Next time (finally): the 'just right' hat! :)

Posted by Picasa

Tuesday, February 19, 2013

Wet-Felted Fish Hat- Part 2 of 2

Covering the colored roving with a second layer of white wool.

 
The felted project, turned 'right-side' out.


After shaping and drying. 


This hat is certainly firm enough... 
 
...and you can see the subtle shading from the 'hidden' layers of color.


The fish is now hiding in sea grass...
 
...or maybe in the beds of kelp? :)

 
In situ.

 
So, this hat certainly turned out a lot thicker and firmer than my last one...

...but I feel like I could 'split the difference' and try a medium weight one next time.

The fish needs a bit of definition (embroidery?) to make it 'pop'...

...and since I trimmed the edge of the hat to get a better fit...

...I need to seal the edges, or edge it with a blanket stitch for a nicer look.

For now, though, I wear this on very cold mornings...

...when I'm feeling a little 'fishy'! :)

Posted by Picasa

Sunday, February 17, 2013

Wet-Felted Fish Hat- Part 1 of 2

Laying out a needle-felted fish...

 
...and adding torn strips of silk fabric to the (newly truncated) resist.

 
Covering the design with a layer of white wool roving...

 
...followed by several layers of colored roving...

...laid out in painterly blobs. :)

 
Wetting out the project.

 
Laying out strips of silk fabric on side two...

 
...and covering them with more blobs of wool roving.

 
Back to side one...

...and the felting commences.

 
Using a needle-felted fish left over from this project as my focal point...

...I added a watery habitat made up of strips of silk fabric.

One layer of white roving came next...

...and because I wanted the colors in the finished project to 'bleed' through the thin white layer...

...I added discrete sections of wool roving in various shades.

I used a lot more wool than I did in the last one...

...to insure that my finished hat would be firm enough to really hold its shape.

Next time: the completed hat.

Posted by Picasa