Tuesday, March 31, 2015

"Bricks and Mortar" Pillow- Part 1 of 3

Tearing cotton scrim fabric...


                                                 ...into long, narrow strips.


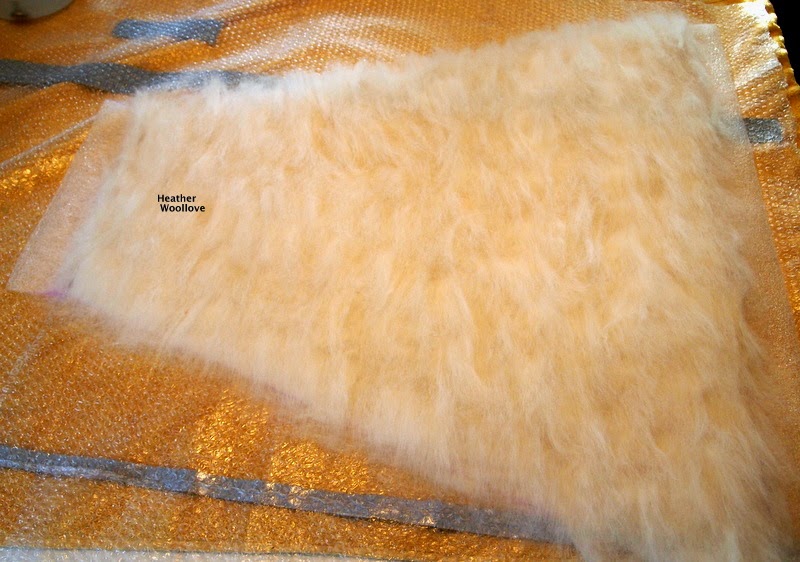
                                          Laying out a thin layer of wool roving...


                                       ...and topping it with the torn fabric strips...

                                                   ...in a geometric pattern.


                                                  Covering the entire project...


                                         ...with layers of black wool from a batt...

                                                     ...and then wetting it out.


                                             Flipping the project to side two...


                                                   ...after rubbing for a time.


                                                 The dark side of the piece.


                                                Next time: the felting continues.

Sunday, March 29, 2015

Lampshade 'Facelift' - Part 2 of 2

The project, mid-way through felting.


         The cotton scrim additions are visible as lighter spots along the shade bottom.


                                Stretching and clamping the felt to the metal rings...

                                                              ...for drying.


                                          The shade is hand-stitched into place...

                                                 ...using strong, nylon thread.


                                                The finished shade in situ.
                                                     

                                                 With the light lit at night...


                                   ...the texture of the wool fibers is made visible...


                                          ...and when it's used during the day...

                                           ...it yields a warm, golden glow.


Friday, March 27, 2015

Lampshade 'Facelift' - Part 1 of 2

A floor lamp with an aging lampshade...

 ...seemed ripe for a makeover, recently.


                                    Carefully removing the dangling, amber beads...

                     ...because 'who knows?''...they might come in handy one day! :)


                                         Employing both scissors and a hemostat...

          ...to cut and pull the paper and tape from the shade's metal components...


                                     ...(a much trickier job than you might imagine!)


                                                    Drafting a resist pattern...

                                     ...and cutting it from foam floor underlayment.


                                      Adding pieces of open-weave, cotton scrim...

                                                   ...to the resist surface...


                      ...and covering them with a layer of wool roving in one direction...


                                ...and then a second layer, perpendicular to the first.


                                                   Wetting the project out...

                                       ...and folding in the top and bottom edges.


                                             Next time: the felting begins.

Wednesday, March 25, 2015

'Stripy Orbs' Pillow- Part 3 of 3

Machine stitching the felt to the leather...


                                                ...with the wrong sides out.


                                                 An opening is left on one side...


                                                   ...for pillow form insertion...


                                      ...after the envelope is turned right-side out.


                              Strong, nylon thread is used to stitch up the opening.


                                            The three bumpy inclusions ('orbs')...

                                     ...remain quite elevated in the finished project...


                                     ...and the 'striping' comes from color blending...


                                                      ...during the layout.


                  If you look closely, you'll see a few marks and striations in the leather...

                                       ...but I rather like these little imperfections. :)


                                                       The finished pillow.


Monday, March 23, 2015

'Stripy Orbs' Pillow- Part 2 of 3

Felting...


                                                    ...and fulling the project.


                                                 The original pillow exterior...

                                                 ...now slated to be hidden.


                                            Choosing leather for the pillow back.


                                                          The finished felt...


                                                            ...after drying.


                                                    Trimming it into shape.


                                            Hemming one side of the project...


                        ...and clipping the felt and leather together for machine stitching.


                                                Next time: the finished pillow.

Saturday, March 21, 2015

'Stripy Orbs' Pillow- Part 1 of 3

Combining hairy wool roving and finished felt scraps...


                                                     ...to form firm fiber balls.


                                              Laying out layers of spongy wool... 

                                                   ...from Hog Island sheep...


                                     ...and placing the balls on the project surface.


                                                  Covering the entire layout...


                                        ...with merino wool in a warm, brown color.


                                        Adding a strip of novelty silk to the layout...

                                                  ...and wetting it all out.


                                                    Mid-way through felting...


                                                           ...the back side...


                                   ...is starting to look better to me than the front. :(


                                       This is the second pillow project, recently...

                                             ...that needed a tweak, mid-project. 

                                           (A little hitch in my felting mojo?)

                             Next time: I choose a shade of leather for the back...

                                 ...and assemble and stitch the felt envelope.