Monday, December 30, 2013

More Christmas Totes- Part 1 (Dallas 'Starfish')

Laying out a pencil roving design...

 
...and filling in the center of the star with blue wool roving.

 
Adding a layer of white wool roving...

...then flipping the project to the back.

 
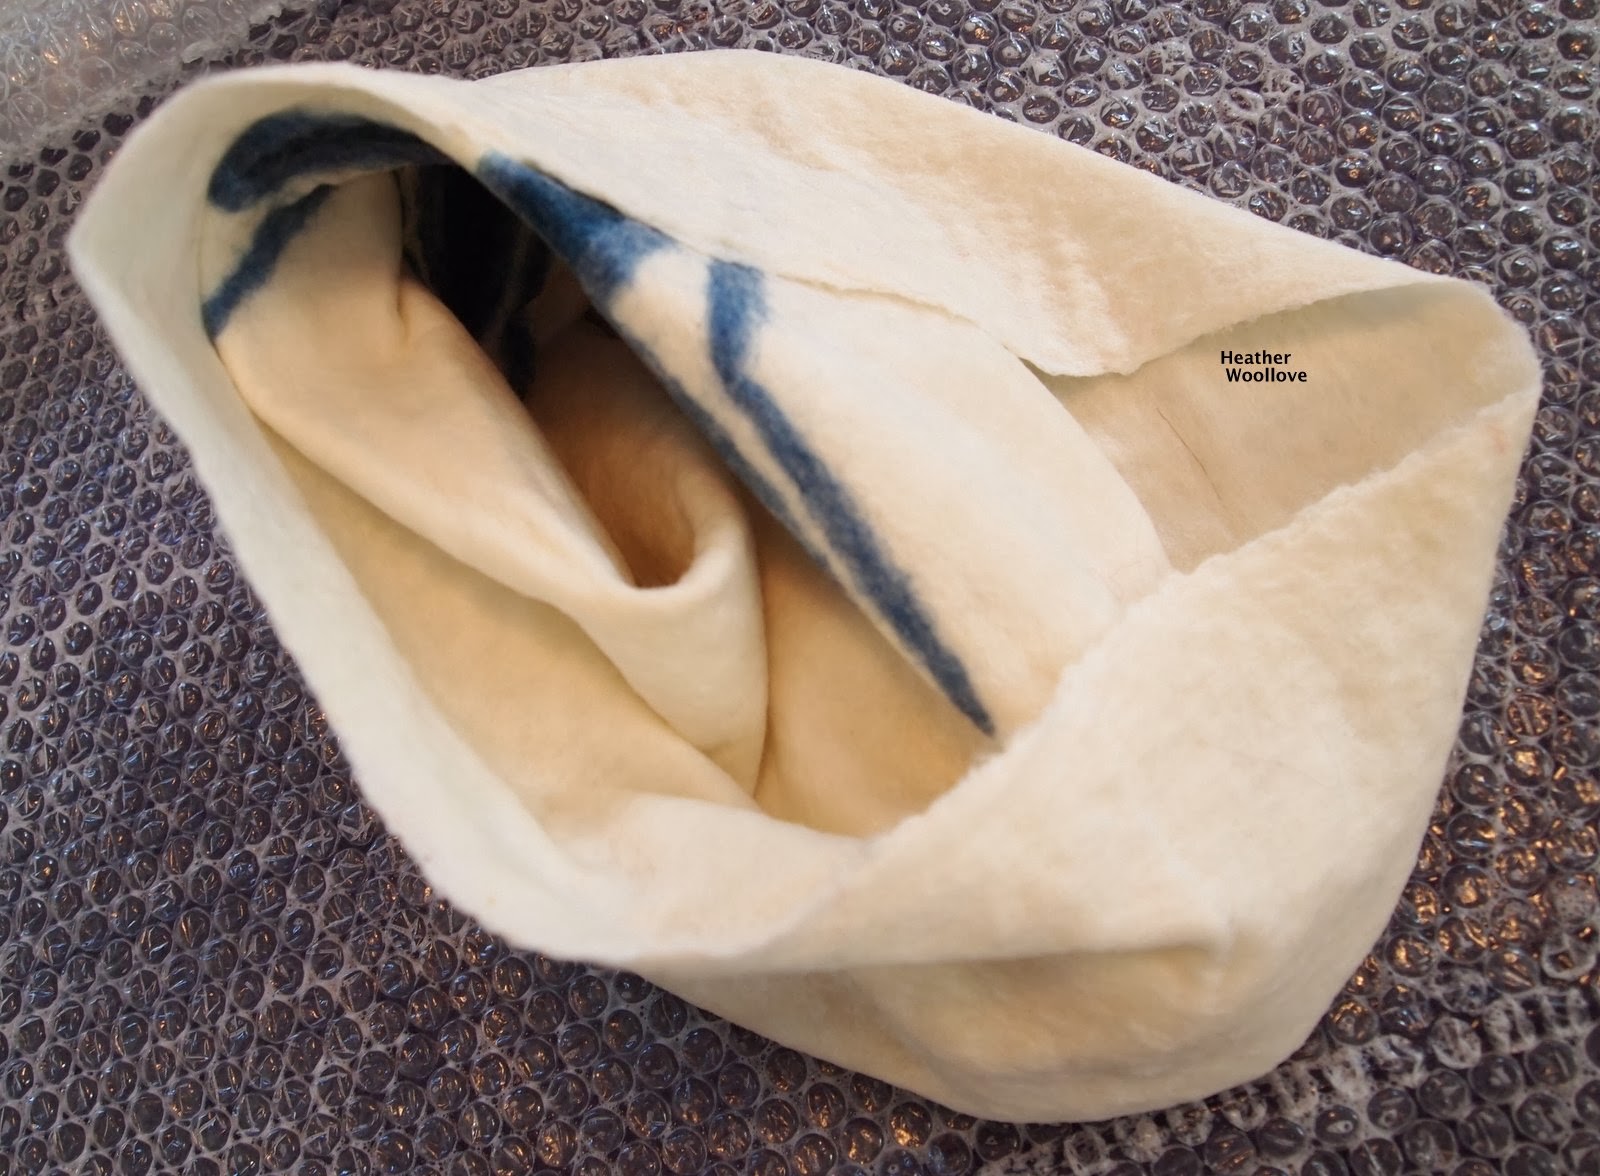
Adding additional layers of white wool, wetting out the project...

...and neatly folding down the top edge of the tote...

...prior to rubbing and rolling.

 
Mid-way through felting...

...removing the resist and turning the project right-side out.

 
Centering the soft felt...

 
...and cutting curved slits (front and back)...

...for tote handles.

 
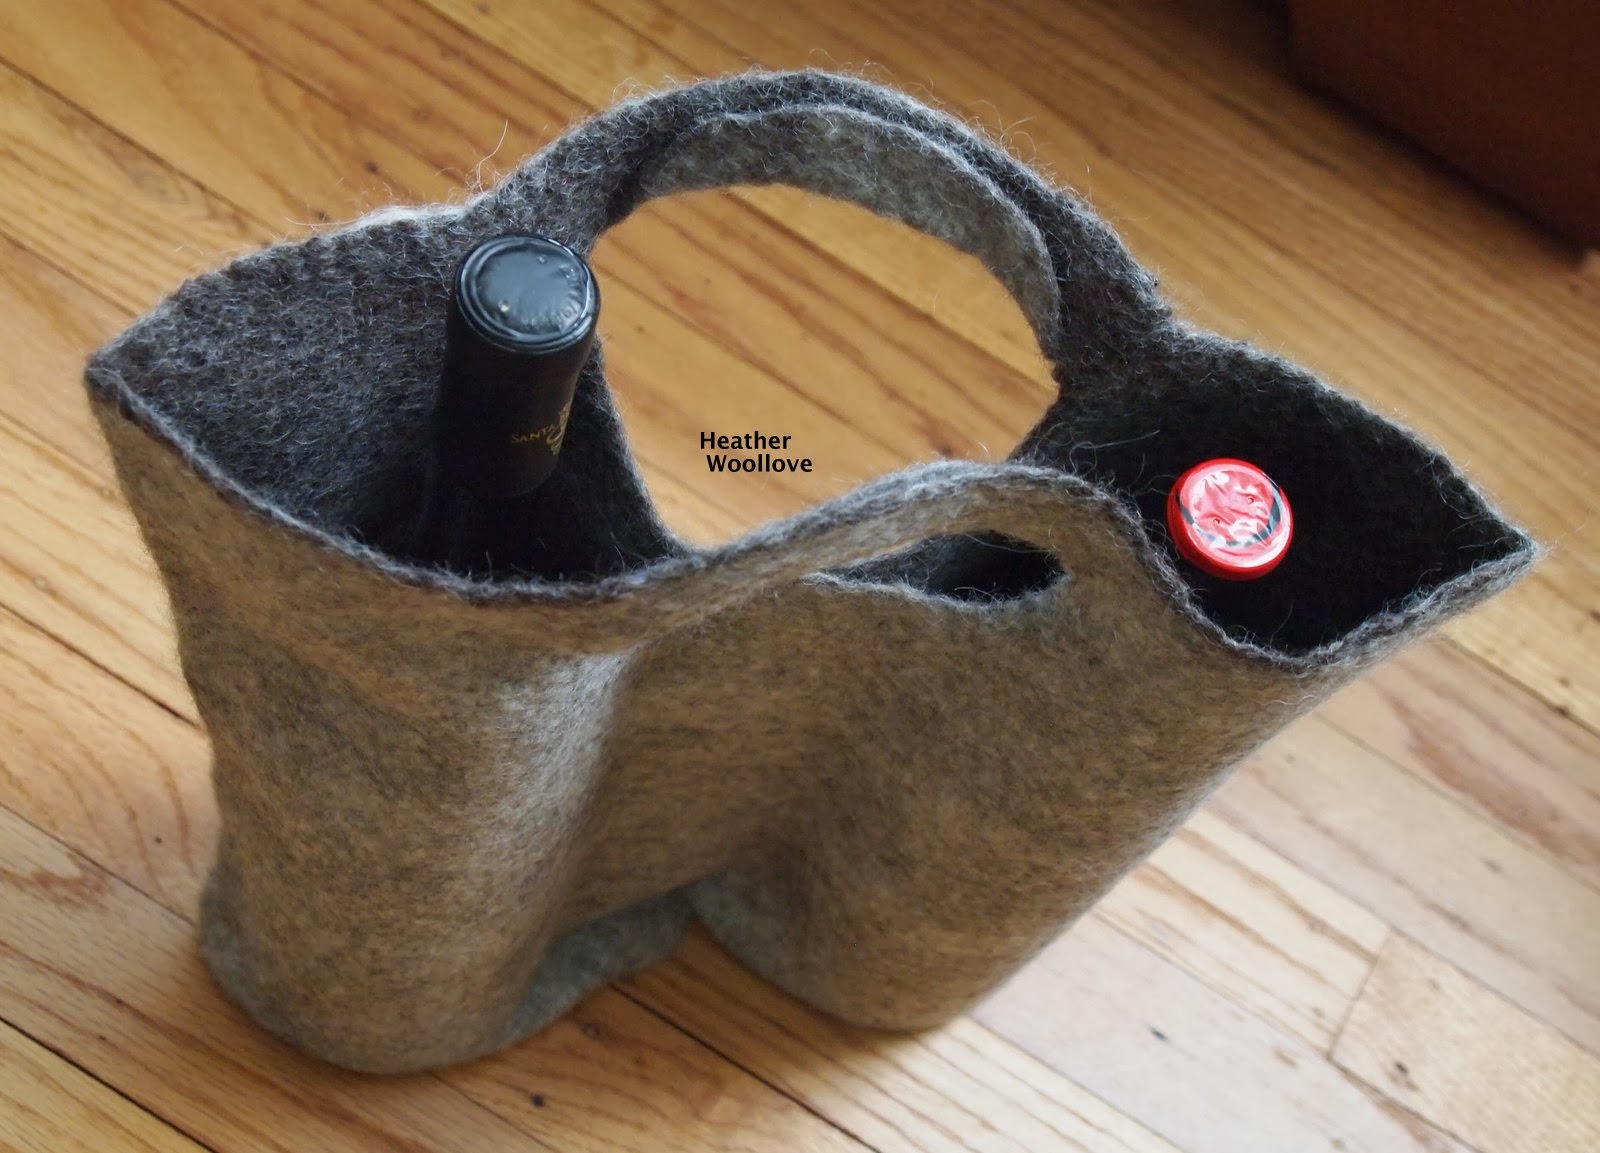
The finished bag (back)...

 
...and front.

 
I have a work friend who's just mad about the Dallas Cowboys...

...and I thought that a sports-themed tote would be a fun Christmas gift for him this year.

My drawing skills being as they are, however...

...I'm afraid that it looks a bit more like a tote for the 'Dallas Starfish', than the Cowboys!

Next time: a book tote with a slightly 'naughty' message. ,)

Posted by Picasa

Saturday, December 28, 2013

Green Nuno Felt Purse With Batik Lining- Part 3 of 3

My finished, fabric-lined bag...

...still needed some sort of a closure...


...so I fashioned a strap from a short piece of black leather...

 
...used a medicine bottle cap to shape the curved end...

 
...and machine-stitched a buttonhole into it.

 
Here it is, in situ.

 
To finish off the closure, I used a special button...

...that my daughter bought for me in Morocco.

 
The purse back...


 ...and front.
 

Even though I lost some pieces of decorative fabric during the felting process...

...I think that the cotton-dot-studded felt provides plenty of interest on its own.

The unexpectedly 'naked' section on the back of the purse...

...also gave me the perfect opportunity to break out some of my vintage buttons...

...and have a go with my sewing needle! :)

Posted by Picasa

Thursday, December 26, 2013

Green Nuno Felt Purse With Batik Lining- Part 2 of 3

The second side...

...also with 'problem child' bits of loose fabric.

 
Solution?

I cavalierly ripped off all of the wonky bits...

...then camouflaged the largest naked section...

...with sewn-on vintage buttons in the style of this terrific bag (see last photo).

 
Luckily...

 
...the rest of the fabric pieces felted-in beautifully...

 
...and look quite pretty.

 
Evening out the top edge of the purse...

 
...prior to adding a batik fabric lining...

...(from an outdoor market in Rotterdam)...


...and a hand-sewn leather strap.

 
Next time: I fashion a leather buttonhole closure.

Posted by Picasa

Tuesday, December 24, 2013

Green Nuno Felt Purse With Batik Lining- Part 1 of 3

Placing sheer fabric on the surface of my resist...

 
...and covering it with layers of a cotton-dot-studded wool batt.

 
Flipping the project to side two...

...and adding additional fabric.

 
Covering the entire resist with layers of wool.

 
Turning the project right-side out...

...midway through felting.

 
Side one...

 
...and side two.

 
As you can see...

...some of the fabric didn't 'felt-in' very well and is starting to bubble.

 
This project is one that I began this summer...

...with time left over at the end of my week at Felter's Fling.

Using green wool batts with multi-colored cotton dots from Wollknoll...

...and silk and rayon pieces left over from other projects...

...or purchased from Annemie Koenen's lovely and well-stocked shop in The Netherlands this summer...

...I laid out an inside-out purse.

Because time was of the essence...

...I didn't spend as much time rubbing as I should have...

...and several of the fabric bits didn't really 'felt in'.

Next time: the denuded purse...

...and how I rescued it! :)

Posted by Picasa

Sunday, December 22, 2013

Piscine Wine Tote- Part 3 of 3

The fully felted (but still wet) tote front...

 
...and back.

 
Now that the project is completely dry...

...the silk noil 'scales' show up much more clearly. :)

 
Flipped to show its proper orientation (front)...


...and back. 
 
A view from above...

 
...with wine bottles in place...

 
...and its (slightly wonky) 'fishy embellishment' fully on display! :)

 
Posted by Picasa

Friday, December 20, 2013

Piscine Wine Tote- Part 2 of 3

Adding silk noil 'scales' to my herring...

 
...then wetting out the tote.


As I work, brown and white fibers begin to blend...

...and my fish is beginning to look more and more cartoonish!

 
Cutting out tote handles.


Using white roving as a thin, secondary layer...

...gives blended colors which form a lovely heathery brown. 
 
The finished tote...

...blocked and drying.

 
Next time: the finished bag!

P.S. Can you believe that this is my 800th blog post?!?

Posted by Picasa