Monday, October 17, 2011

2 Year Bag-i-versary- Part 2 of 3

Laying out the final row of hand-dyed silk squares...


...and in close up.


After the initial felting..."Where did all of my pretty colors go?" :(


A needle-felting 'fix'.


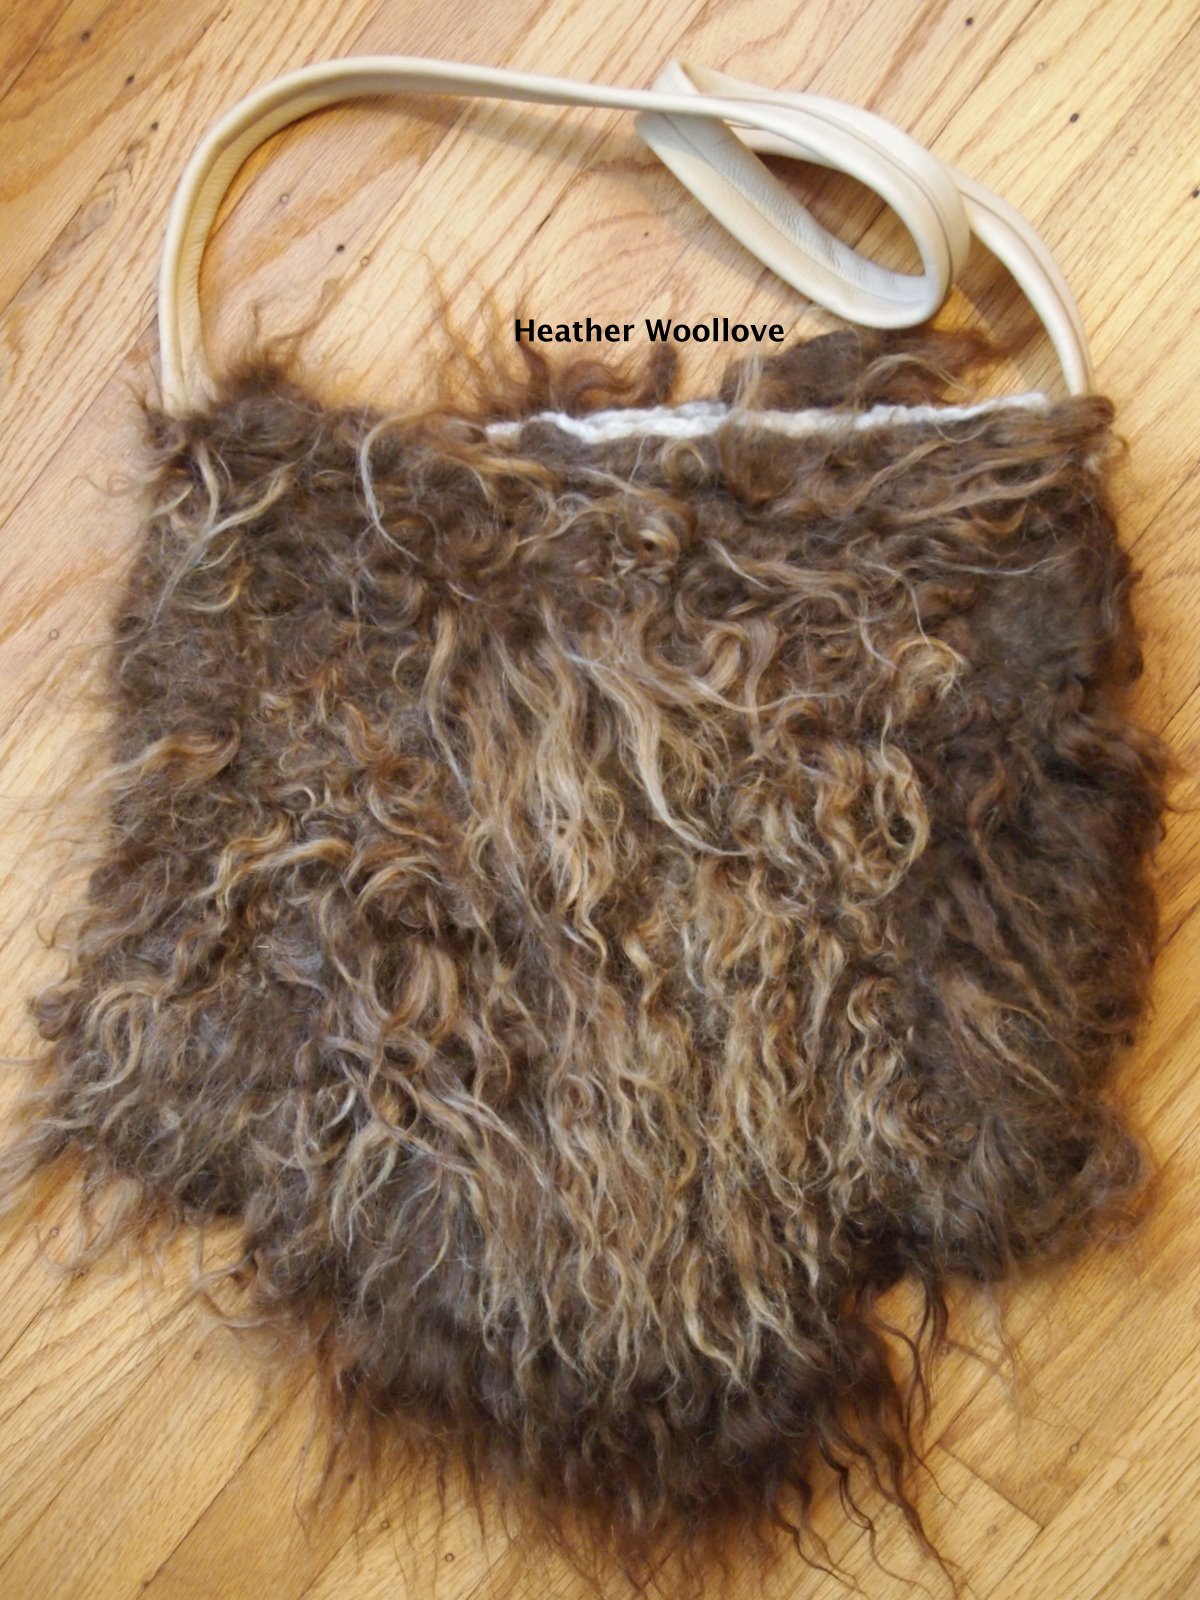
One side of the (phew..finally!) fully felted bag...


...and the other.


As you can see...

...this bag fought me every step of the way!

After felting for a much longer time than usual...

...I still couldn't get the Wollknoll 'fine multicolor merino tops' to felt, no matter how I tried...

...and the silk gauze wouldn't felt in for me either!

I also noticed that the icing dyes had faded quite dramatically during felting...

...especially the bright yellow-green!

I decided to secure the silk squares with a multiple-needle felting tool...

...and pop it into the washing machine (well-wrapped and with bubble wrap between the layers)...

...to see if it would help.

I checked and stretched and repositioned it every four minutes...

...until it reached a well-felted stage.

All of this time and effort notwithstanding...

...I was still unhappy with the bag's shape and general appearance...

...and I had to scramble for yet another 'save'! :)

Next time: how a little judicious sewing saves the day!

Posted by Picasa

Saturday, October 15, 2011

2 Year Bag-i-versary- Part 1 of 3

New multicolored wool roving from Wollknoll.


Laying roving onto the resist...


...and here...


...adding a layer of cotton gauze.


More layers of wool roving.


Wetting and wrapping the roving around the resist.


Adding hand-dyed silk squares.


Even though I can hardly believe it...

...in a few short days' time, I will have been blogging for two whole years!

And as odd as this sounds, it's been a lot like having a new baby...

...who wasn't there...

...until she was...

...and then you can no longer imagine your life without her! :)

So, to thank all of you who read or follow or comment...

...or who have, over time, become true and dear friends to me...

...I will be having a give-away to mark the occasion!

It is for a bag that I have struggled over...

...(in truth, am struggling over, still)...

...but which I hope will turn out very pretty in the end.

I laid out variegated wool roving on the resist...

...then added more roving and a layer of cotton gauze for strength.

For a decorative touch, I added irregular squares of silk gauze...

...which I hand-dyed in the microwave using non-toxic icing dyes.

Next time: the real struggle commences!

P.S. If you comment on any of the three 2 Year Bag-i-versary posts...

...you will automatically be entered in the give-away drawing!

Posted by Picasa

Thursday, October 13, 2011

CFG Raw Fleece Purse #2- Part 2 of 2

After attaching the strap...back side.


The purse front.


With the addition of a button closure.


A close up of the tagua nut (corozo) button...


...notice how the brown Icelandic fleece has migrated through the layers of white wool roving to the inside of the bag?


This bag is delightfully wild...


...and I especially love the different shades of color in the locks...

...(could it be that this sheep visited her hairdresser regularly for highlights?!?!?!) Giggle.


I debated the color of the leather strap on this bag for some time...

...since I had pieces of both brown leather and natural deer-hide.

In the end, though, I decided that the brown was not exactly the right shade...

...and that the lighter strap echoed the paler color of the sunburnt fleece tips.

After machine stitching the strap to the purse...

...I used a pair of sharp scissors to cut a hole for the button closure.

Using waxed beading thread...

...I stitched all around the buttonhole opening for strength.

Then, keeping in mind the placement of the buttonhole...

...I hand-stitched a tagua nut button to the inside of the purse.

Posted by Picasa

Tuesday, October 11, 2011

CFG Raw Fleece Bag #2- Part 1 of 2

Laying out raw Icelandic locks onto a wool roving-covered resist.


Wetting them down and beginning to felt.


During felting...


...and here.


Making a leather strap from deer hide.


This is the second (of three) raw fleece purses...

...that I made at the Creative Felt Gathering this year.

I cut a template for the resist...

...and covered it with three thin layers of white wool roving.

Next, I added sections of raw Icelandic fleece...

...placing the cut ends 'down' onto the surface of the roving.

After wetting down and rubbing the piece on both sides for a loooooong time...

...I rolled it for a bit and finished felting it...

...taking care to keep the tips of the locks as loose and free as possible.

After returning home, I trimmed deer hide into a strip, stitched it lengthwise...

...and attached it to the bag for a shoulder strap.

Next time: the finished purse...

...with a tagua nut button closure.

Posted by Picasa

Sunday, October 9, 2011

Resist Dyeing With Chad Alice Hagen

'Tools of the trade'.


A piece still showing fold lines from the dye bath.


Flattened out and drying.


The finished pieces...


...and here...


...and my favorite one. (Wonder why?) :)


At the Creative Felt Gathering in September...

...I was lucky enough to have two classes with the inimitable Chad Alice Hagen!

For our first one...

...we did resist dyeing using all manner of clamps, clips, pieces of rusty metal, heat-resistant plastic, and wood.

Chad is a remarkably orderly and efficient teacher...

...and you come away from each class with her...

...just filled with techniques and wonderful new possibilities for your own art!

Utilizing three different-colored dye baths...

...and re-folding and clipping (or not...as you choose) between colors...

...each of us made gloriously patterned felt pieces to use as we wish!

In a week or so...

...I will be showing you how I used one of these pieces in a very special way!

Posted by Picasa

Friday, October 7, 2011

Arboretum Visit

Brown and white-capped mushrooms.


Datura arborea (I think).


Sunlight filtering through the leaves.


A giant planter filled with pumpkins and gourds.


Milkweed pods.


A sundial sculpture...designed by artist Mark Mennin.


Ornamental peppers...


...and pinecones.


I took a quick trip to visit one of my daughters this week...

...and we spent a lovely afternoon walking around the arboretum at Penn State University.

It was the perfect day, with sun and cool breezes...

...and many things still in bloom.

Posted by Picasa

Wednesday, October 5, 2011

Icelandic-Cross Raw Fleece Purse

Laying out an inner pocket.


Adding raw locks...note the color of these locks and compare it to the finished bag...this fleece was absolutely filthy!


A peek at the olive and aqua merino lining.


(Please ignore the white stitches holding the straps on...
...I hand-sewed them while at the Creative Felt Gathering...
...and haven't yet covered them with a bit of olive felt.)


The finished bag in all of its hairy glory! :)


The perfect vintage button for this bag...
...given to me by my sweet friend, Melissa!


The back side of the bag.


Black nylon webbing makes a fitting strap.


See the olive roving peeking through the raw locks?


This is one of three raw fleece bags...

...that I made at the Creative Felt Gathering last month.

Elis Vermeulen was the instructor for this class...

...and she was (as always) truly inspiring!!!

She has a conceptual and highly physical way of teaching...

...and she delights in experimentation and artistic challenges!

I adore her...

...both as a teacher, and as a friend.

I purchased these locks at the Endless Mountains Fiber Festival recently...

...and I really wasn't certain how well they would felt.

I used olive green and aqua merino roving for my first layers...

...then added the locks with their cut ends down.

(This is a departure from my usual manner of placing cut ends up and covering them with roving and gauze!)

As a 'wild girl' at heart...

...I just love these hairy raw wool bags...

...and when I realized that I had recently been given the perfect button for the bag closure...

...I was in heaven!!

If you use nylon webbing for a strap, just remember...

...fuse the cut ends with a lit match prior to stitching...

...so they don't unravel!

Posted by Picasa