Laying out the final row of hand-dyed silk squares...
...and in close up.
After the initial felting..."Where did all of my pretty colors go?" :(
A needle-felting 'fix'.
One side of the (phew..finally!) fully felted bag...
...and the other.
As you can see...
...this bag fought me every step of the way!
After felting for a much longer time than usual...
...I still couldn't get the Wollknoll 'fine multicolor merino tops' to felt, no matter how I tried...
...and the silk gauze wouldn't felt in for me either!
I also noticed that the icing dyes had faded quite dramatically during felting...
...especially the bright yellow-green!
I decided to secure the silk squares with a multiple-needle felting tool...
...and pop it into the washing machine (well-wrapped and with bubble wrap between the layers)...
...to see if it would help.
I checked and stretched and repositioned it every four minutes...
...until it reached a well-felted stage.
All of this time and effort notwithstanding...
...I was still unhappy with the bag's shape and general appearance...
...and I had to scramble for yet another 'save'! :)
Next time: how a little judicious sewing saves the day!
The function of the artist is to express reality as felt. Robert Motherwell
Showing posts with label icing dyes. Show all posts
Monday, October 17, 2011
Saturday, October 15, 2011
2 Year Bag-i-versary- Part 1 of 3
New multicolored wool roving from Wollknoll.
Laying roving onto the resist...
...and here...
...adding a layer of cotton gauze.
More layers of wool roving.
Wetting and wrapping the roving around the resist.
Adding hand-dyed silk squares.
Even though I can hardly believe it...
...in a few short days' time, I will have been blogging for two whole years!
And as odd as this sounds, it's been a lot like having a new baby...
...who wasn't there...
...until she was...
...and then you can no longer imagine your life without her! :)
So, to thank all of you who read or follow or comment...
...or who have, over time, become true and dear friends to me...
...I will be having a give-away to mark the occasion!
It is for a bag that I have struggled over...
...(in truth, am struggling over, still)...
...but which I hope will turn out very pretty in the end.
I laid out variegated wool roving on the resist...
...then added more roving and a layer of cotton gauze for strength.
For a decorative touch, I added irregular squares of silk gauze...
...which I hand-dyed in the microwave using non-toxic icing dyes.
Next time: the real struggle commences!
P.S. If you comment on any of the three 2 Year Bag-i-versary posts...
...you will automatically be entered in the give-away drawing!
Labels:
bag,
cotton gauze,
give away,
hand-dyed silk gauze,
icing dyes,
resist,
wool roving
Wednesday, June 22, 2011
Hand-Dyed Roving And Silks
Hand-dyed roving.
Hand-dyed silk gauze (microwave method).
Silk that was dyed, wrapped in plastic wrap and steamed to set the color.
Dyed silk chiffon scarves and silk gauze yardage.
As you can see, we were quite the prolific little dyers last week...
...and I'm delighted to report that my biggest fear went unrealized...
...(that my wool roving would felt during dyeing).
I'm always a little unnerved by chemical dyes, but we were very careful...
...and since the icing dyes didn't worry me at all...
...I was much less cautious, and still have stains on my hands to prove it! :)
I think I prefer the speedier methods of microwaving in a dish or a ziplock baggie...
...to the more traditional 'steam in an enamel pot' method...
...but...in the summer at least...solar dyeing is quite nice, too!
Next time: What I did for yarn! :)
Labels:
acid-dyeing,
hand-dyed silk gauze,
icing dyes,
solar dyeing,
wool roving
Saturday, July 24, 2010
Dyeing With Icing Dyes: Flat Felt
I needed some pieces of flat felt for a future project...
and had been reading about dyeing wool with non-toxic food dyes.
I've dyed projects with Kool-Aid in the past...
...but could only ever find it in a few colors. :(
When I read that people were using icing dyes for this, too...
...I just had to buy some and try it!
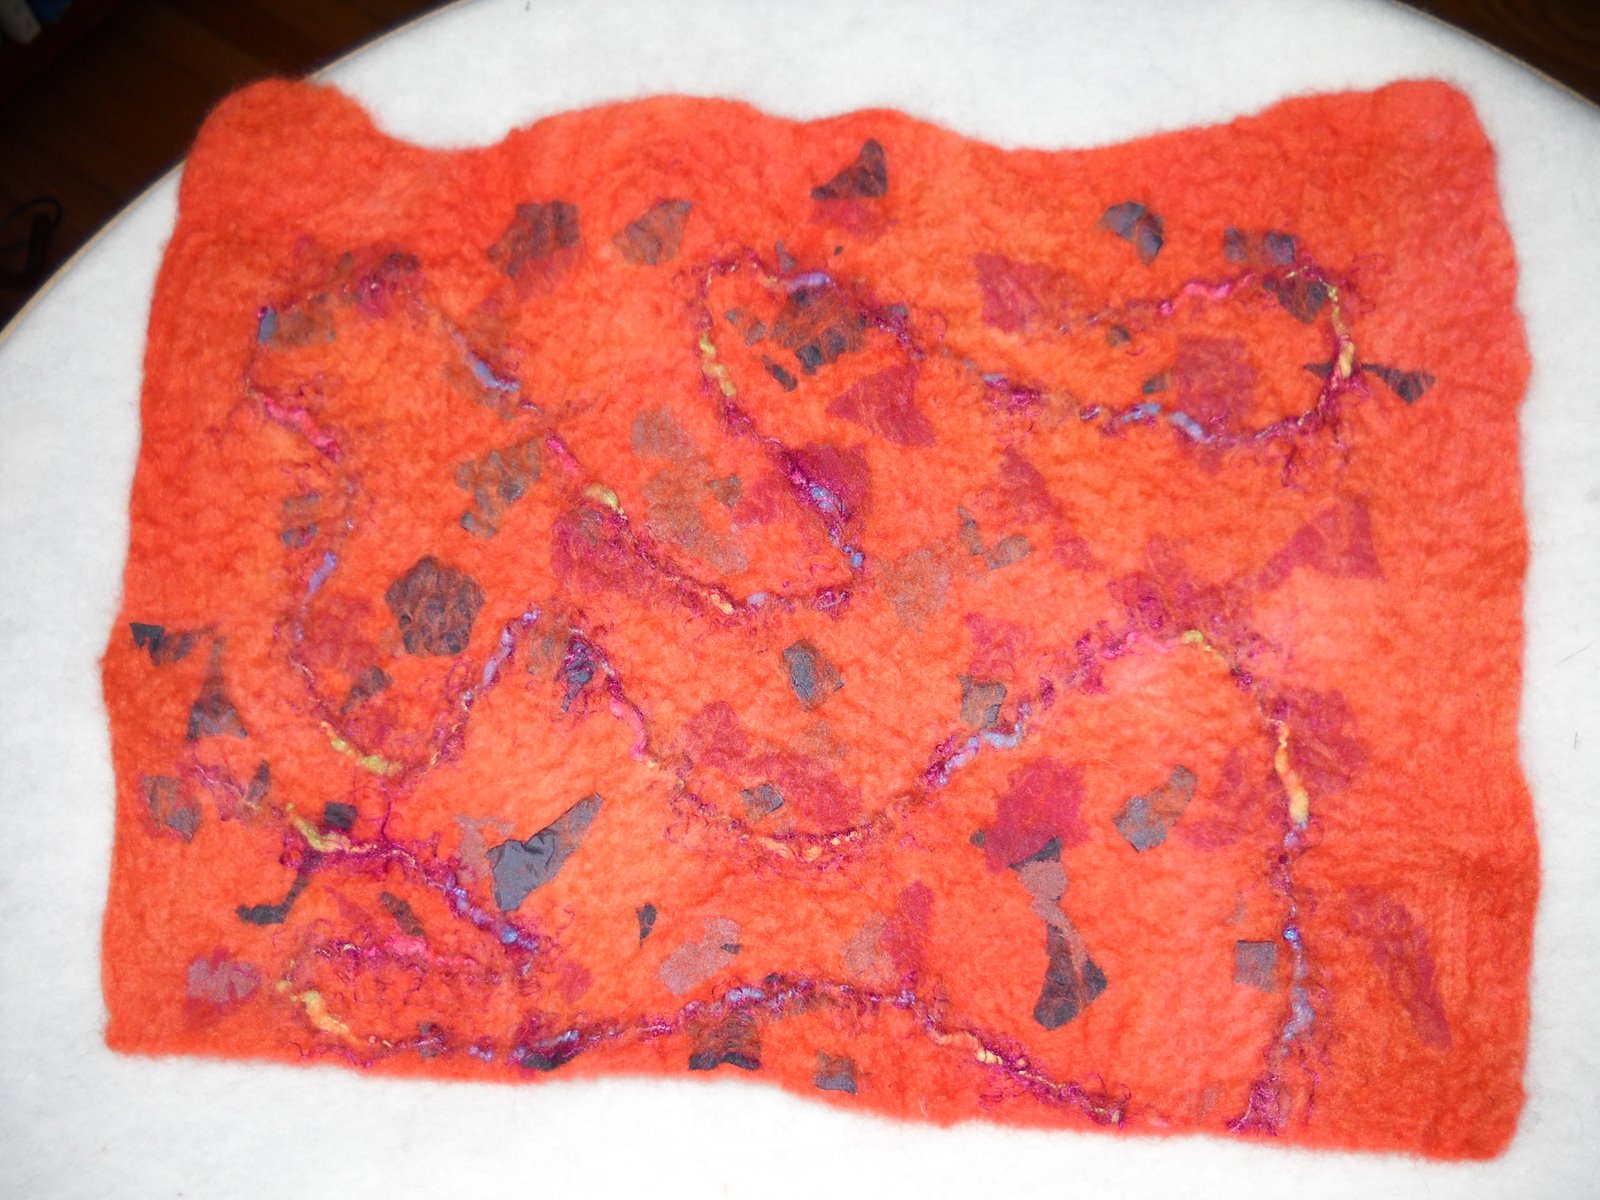
I made a large piece of flat felt with two layers of white wool roving...
...then added novelty yarn and bits of colored silk to the surface of the felt.
I 'veiled' these additions with a thin layer of wool...
...to help trap them into the piece during felting.
After I finished the felt, but before drying it...
...I cut it in half and made a dye bath for each piece.
I used teal (mixed in boiling water) for one half...
...and copper (made the same way) for the other.
It only takes a small amount to make a very vibrant dye bath...
...and I probably could have gotten away with using a bit less.
(These are really intense!)
I'd like to try mixing colors next time, too...
...and with 12 different colors per box, it should be easy to get exactly the shade I want.
I allowed the felt to sit in the dye for 30 minutes or so...
...then re-heated each bowl in the microwave and stirred in a few teaspoons of white vinegar.
When the color was mostly discharged into the felt...
...and the remaining water was left nearly clear...
...I removed the felt, rinsed it, and hung it to dry.
If any of you have done shibori or tye-dying on finished felt projects using icing dyes...
...I'd love to hear how you did it! (Plastic condiment bottles?)
Subscribe to:
Posts (Atom)