Saturday, August 7, 2010

More Bookcovers (Best Laid Plans)


Well, the photos that I intended to show you...

...are being held hostage by my recalcitrant computer.

It must have a virus, because I can't log on...

...and must wait for someone who is 'in the know' to help me.

In the meantime, I've borrowed my daughter's new tablet PC...

...and I've taken some new photos (of my finished covers) for you.

I promise that the process photos will be posted as soon as I can manage it...

...but for today, I'll skip to the end (again).

The green book cover was made with bits of sari silk...

...pieces of a sheer synthetic scarf, and bright green roving.

For the Goddess hand book cover...

...I cut a multi-colored piece of pre-felt into a hand shape, and needle-felted a pencil roving swirl onto it.

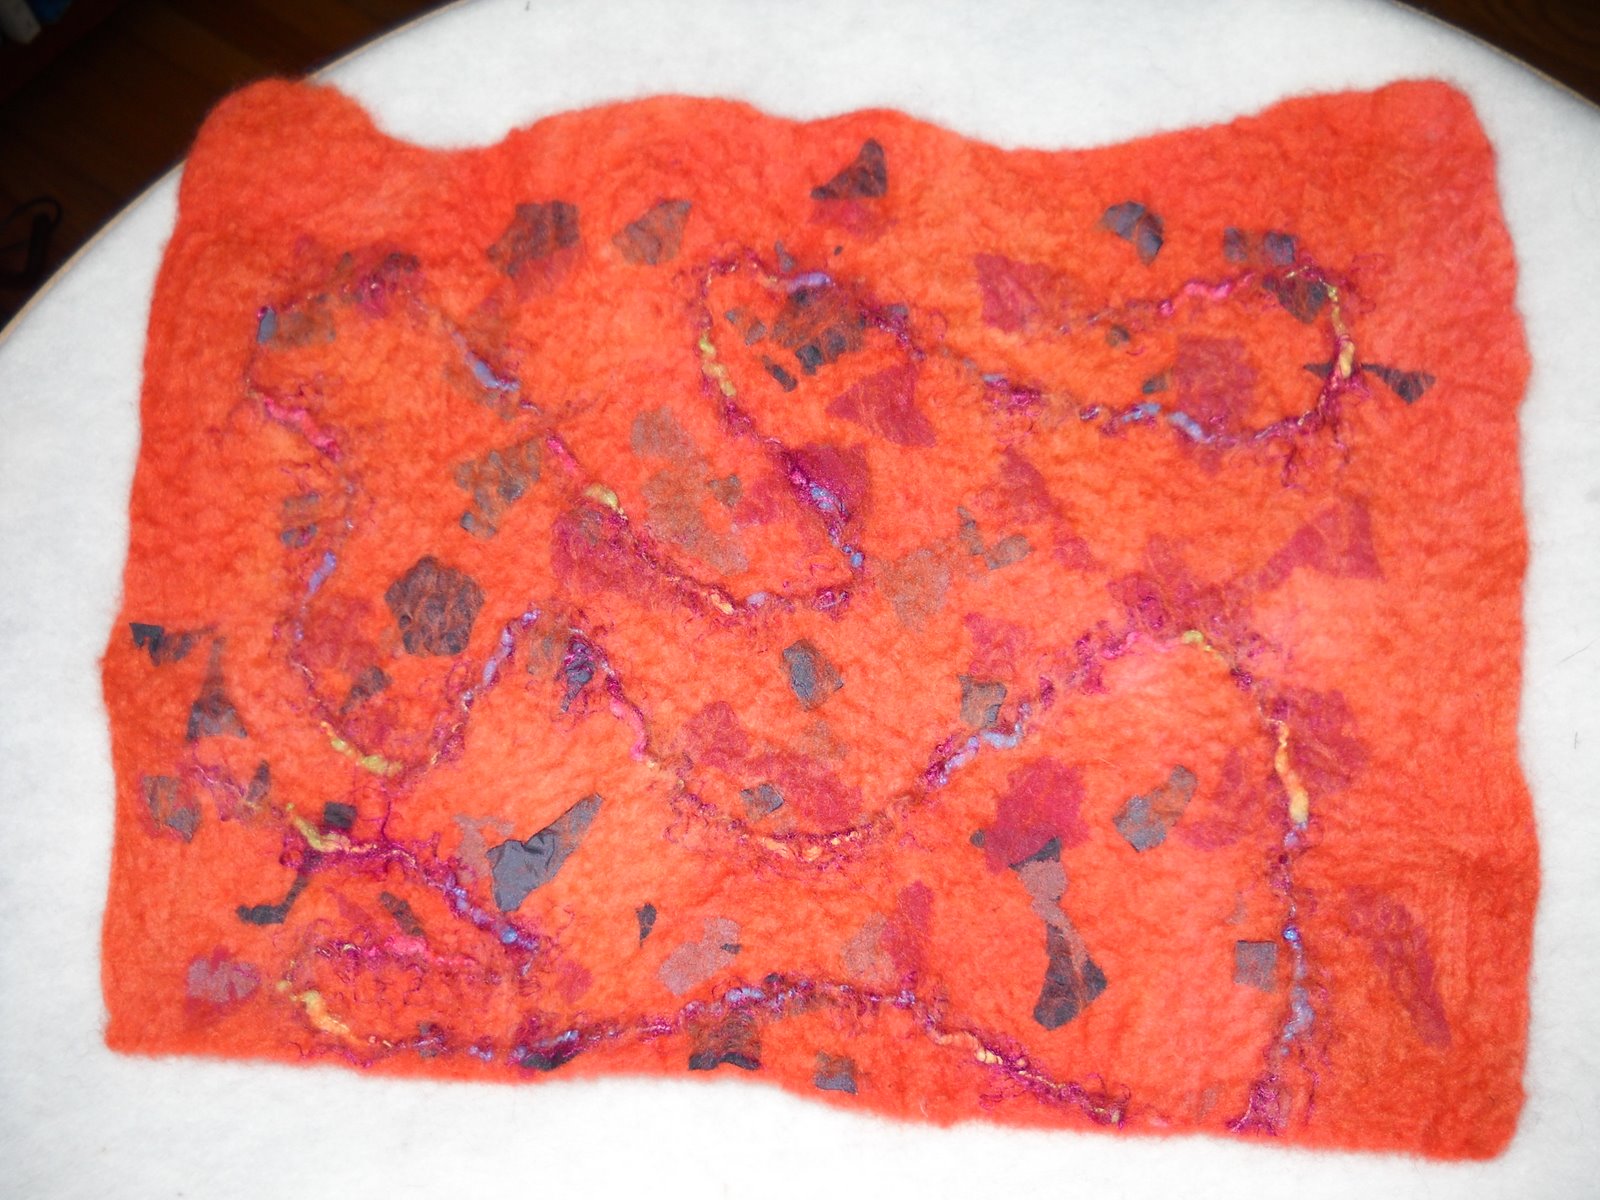
Because I used a closed resist, and wanted you to see how the cut was made (to make way for the book)...

...I've shown you the 'back side' of the burnt orange one.

You'll notice that I left a small 'lip' along the center of the cover...

...for better coverage along the spine.
Posted by Picasa

Wednesday, August 4, 2010

Yellow Embellished Bookcover


This is the first bookcover that I've ever tried...

...and to make it, I followed the Journal Cover directions in Uniquely Felt.

I had hoped that the silk petals and other silk bits...

...would felt into the wool but still really show.

Unfortunately, I used roving that was too dark...

...and the designs were nearly obliterated.

To the rescue?...

...embroidery!

I stitched around each flower and along the yellow edging on the front cover...

...adding beads to a couple of the flowers as centers.

Because I struggled a bit with the partial resist...

...there is a little bit of book showing along the top and bottom of the spine.

(You can see this more clearly in the previous post.)

Getting silk pieces 'veiled' enough to 'felt in', but not disappear entirely...

...is a technique that I still need some practice (HELP!) with. :)

The cover fits a standard hardback book perfectly, though...

...and since I only ever embellish under duress, maybe it wasn't such a bad thing after all!?!?!?

Posted by Picasa

Monday, August 2, 2010

A Tale of Two...Bookcovers


I'm breaking with tradition today...

...by showing you my 'after' photos before I show you the 'process' photos.

It's a gift to some of my regular readers (you know who you are!) giggle...

...who get a bit impatient with me, having to wait days for a 'reveal'.

Ever since I received the exquisite Uniquely Felt felting 'bible'...

...I've been wanting to try some seamless wet-felted bookcovers.

I tried one using the book's directions...

...but had trouble with the 'partial resist'.

My second one was made with a 'full resist', just like you might make a pillow...

...but then cutting out a section of felt after the piece was dried.

I prefer the second method...

...feeling like I have more control during the felting process...

...and liking the 'book spine coverage' a bit better.

The rest of the week will be process photos for each cover...

...plus some close-ups.

Believe it or not...

...embellishment (in the form of hand-embroidery and beads!) is actually involved!!!

Har.


Posted by Picasa

Friday, July 30, 2010

Part 2: "Mr. Smiley" Door Stopper


Actually, it was one of my daughters who suggested that the cut I had made in the felt...

...looked a lot like a smile.

At the time I made it, I had merely worked out that a slit at the top or bottom...

...would either interfere with stability or show too much...

...and had decided to put it where it could be hidden, instead.

I had planned on merely sewing up the hole...

...and putting it against the door during use.

My decision to use the cut as a design element...

...legislated how I needed to dry my finished piece.

In order to maximize his happiness...

...I stuffed cotton dishtowels into the top and bottom...

...creating a gaping mouth, flat bottom and a rounded, 3-D top.

(Remember, as with all single resist pieces...this started out flat and needed to be shaped during the drying phase.)

Using a pound bag of dried beans and the sleeve of an old knit shirt...

...I made a ballast by pouring the beans into the sleeve, and sewing up both ends.

(If you do this, you may want to use two pounds of beans. A little more heft would have been welcome!)

I filled the remainder of Mr. Smiley's cavity...

...with some wonky roving from my stash...packing it firmly.

Next, I cut a square piece of felt quite a bit larger than the 'grin'...

...tucked it inside the cavity, and stitched it firmly into place using embroidery floss.

For eyes, I used thin bits of black roving to make outlines...

...and filled them in with white and purple roving.

Because I have no formal artistic training (and cannot draw)...

...his facial proportions are, no doubt, all wrong.

I think he's quite cheerful looking, though...

...and he looks very content in the last photo, guarding his post! Grin.


Posted by Picasa

Wednesday, July 28, 2010

Wet-Felted Door Stop: Part One


At my request, my wonderful and enthusiastic bf J...

...took a can of WD-40 (water-displacing spray) to all of my squeaky door hinges a few months back.

Unfortunately, the one which separates the kitchen from the dining room...

...now glides quietly shut, instead of staying propped open like before.

I've been using a shoe to hold it open...

...but realized the other day that I 'had the technology' to make something nicer. Grin.

After thinking about the shape and size that I wanted it to have...

...I cut a foam underlayment resist 1 & 1/2 times larger than I wanted my finished project to be.

I made a yellow handle by folding a piece of roving into thirds...

...and needle-felting the middle section flat.

After covering the resist with a layer of wool on both sides...

...I splayed the dry ends of the handle and, using soap glue, stuck the handle to the top of the resist...

...folding one half of the dry area forward and the other half back.

I covered the resist with a second layer of wool...

...making sure that I used special care (and a little more fiber) around the 'attachment points' of the handle.

Because the handle wasn't felted prior to attachment...

...I had to be a little careful to keep it from felting into the green piece.

If you make one of these...

...you may want to take the time to felt the center section of your handle a bit first.

After felting for some time (until it passed the 'pinch test')...

...I removed the resist by making a curved cut with a pair of sharp scissors.

I had spent some time considering where best to make the cut...

...on the bottom so it was hidden? At the top for easy filling?

As you'll see in Part Two...

...the cut became part of the overall design.


Posted by Picasa

Saturday, July 24, 2010

Dyeing With Icing Dyes: Flat Felt


I needed some pieces of flat felt for a future project...

and had been reading about dyeing wool with non-toxic food dyes.

I've dyed projects with Kool-Aid in the past...

...but could only ever find it in a few colors. :(

When I read that people were using icing dyes for this, too...

...I just had to buy some and try it!

I made a large piece of flat felt with two layers of white wool roving...

...then added novelty yarn and bits of colored silk to the surface of the felt.

I 'veiled' these additions with a thin layer of wool...

...to help trap them into the piece during felting.

After I finished the felt, but before drying it...

...I cut it in half and made a dye bath for each piece.

I used teal (mixed in boiling water) for one half...

...and copper (made the same way) for the other.

It only takes a small amount to make a very vibrant dye bath...

...and I probably could have gotten away with using a bit less.

(These are really intense!)

I'd like to try mixing colors next time, too...

...and with 12 different colors per box, it should be easy to get exactly the shade I want.

I allowed the felt to sit in the dye for 30 minutes or so...

...then re-heated each bowl in the microwave and stirred in a few teaspoons of white vinegar.

When the color was mostly discharged into the felt...

...and the remaining water was left nearly clear...

...I removed the felt, rinsed it, and hung it to dry.

If any of you have done shibori or tye-dying on finished felt projects using icing dyes...

...I'd love to hear how you did it! (Plastic condiment bottles?)


Posted by Picasa

Friday, July 23, 2010

Bunting Flag Birthday Project


My friend, Angela's daughter...

...will become a teenager this Fall, and she's asked for some help with a project.

She wants to have a minimum of 60 bunting flags...

...to hang for a birthday celebration.

I can appreciate the enormity of the tasks she's laid before herself...

...as I was a rather zealous mother, myself, when I was younger. Grin.

She's smarter than I was about asking for (and accepting) help, though...

...the result being a greater diversity in bunting flags, plus new connections forged with others.

I consider thirteen to be a truly magical age...

...the portal to womanhood...

...and often the last year for birthday wishlists which include both makeup and toys!

Since I have four daughters of my own, and remember the joy of this milestone birthday for each of them...

...I wanted to help Angela make this one special for her daughter, as well.

I made the pink flag first...

...with handmade batts made of white wool roving and sparkly pink Angelina fiber.

Since she has a specific size requirement in mind for each flag...

...my felting endpoint became when my flag was just the right size.

She especially requested bling...

...so I glued on sparkly pink crystals when the flag was dry.

The purple batt used for the second flag...

...was made with grape-colored wool and white and acid-green Angelina fibers.

I added bamboo noils and small bits of multi-colored pre-felt...

...for extra color and texture.

For some reason, this one came out a bit oversized...

...and needed to be trimmed a little when it was dry (using the pink one for a size reference).

It was fun to take myself out of the equation and focus on someone else's vision for a change...

...and what a great idea for a future project of my own some day.

I'm sure she'd welcome more bunting flags...

...so if you'd like to try one (or more), please click on "Angela" in the top line of this post for a link to her blog.


Posted by Picasa