Tuesday, May 31, 2011

Felt Messenger Bag Tutorial- Part 2 (of 3)

Applying the striped silk rectangle.


The bag flap, prior to trimming, but after cutting and hand-sewing the handle.


The bag flap after trimming into a rectangular shape.


The 'extra-flap-turned-pocket' (shown with the bag turned inside-out).


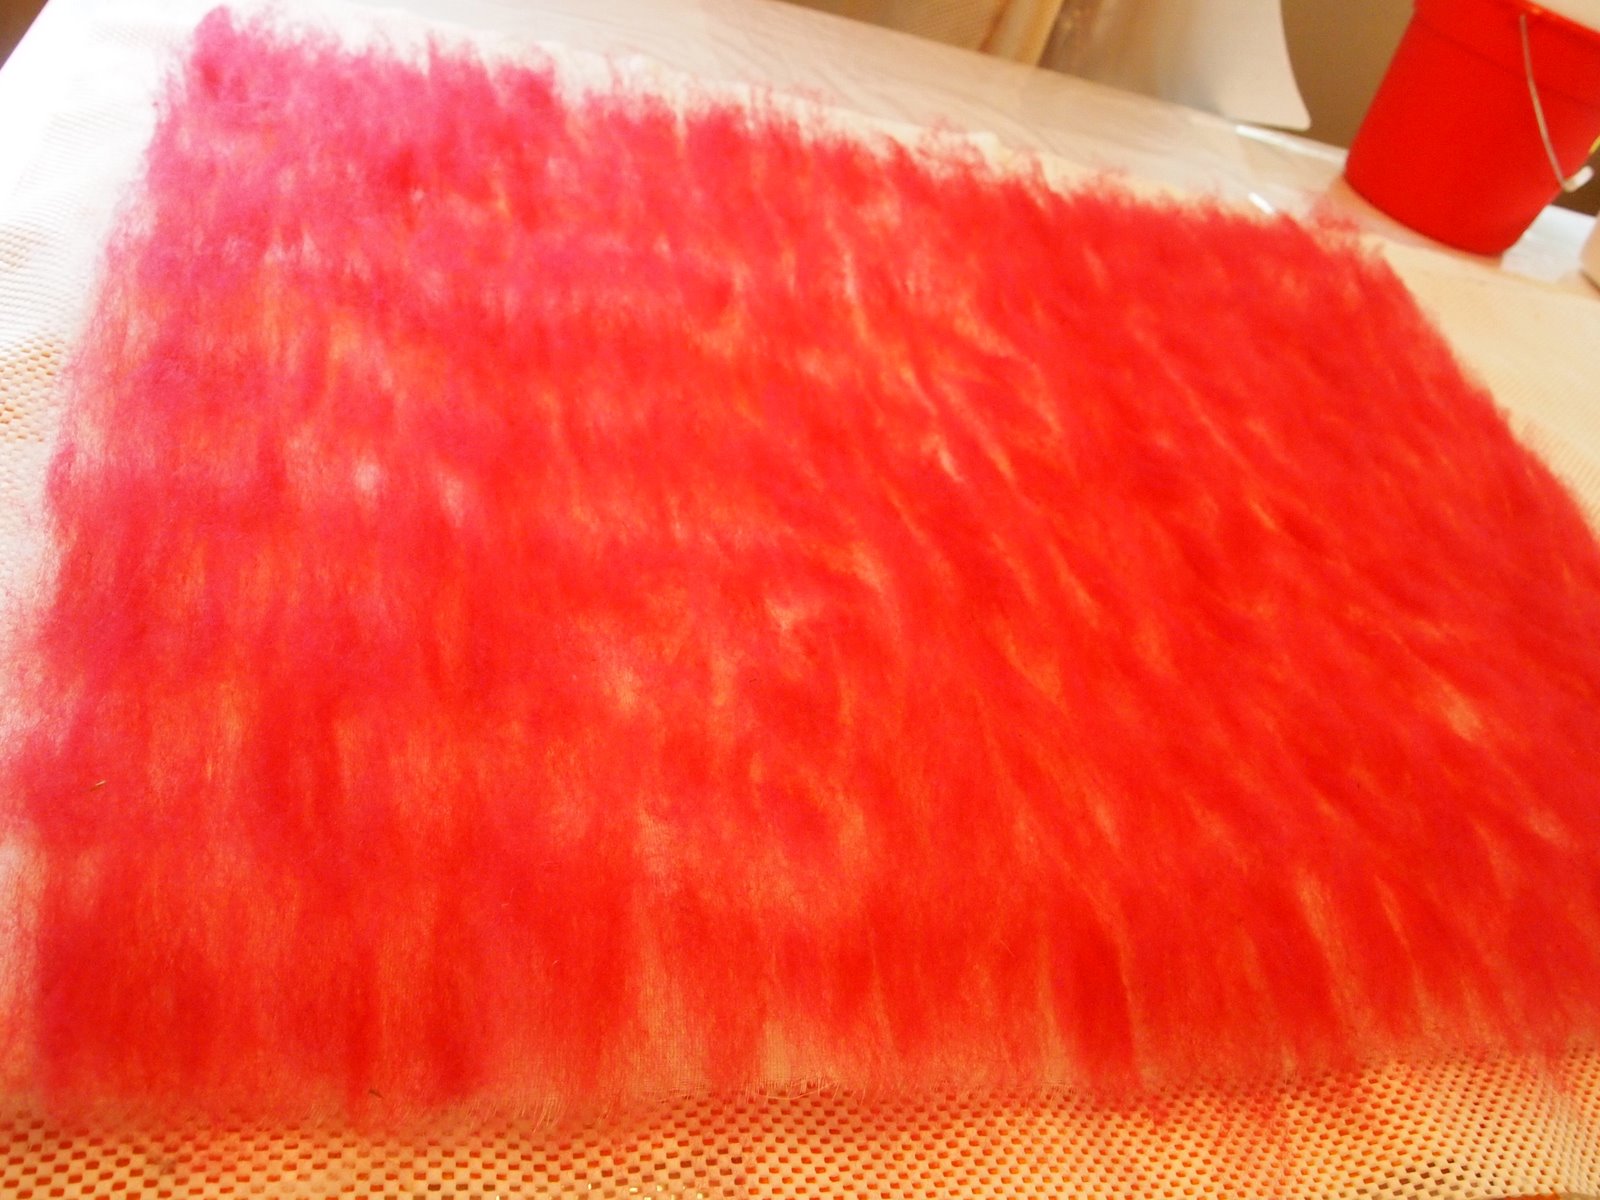
After applying three layers of wool roving to each side of the resist...

...plus the layer of cotton gauze to the bag bottom on both sides...

...I applied the rectangular piece of silk to the surface of one side of the bag.

Because I wasn't sure how this particular silk would 'felt in'...

...I added roving around the perimeter, plus several wispy bits
over the surface of the silk as insurance.

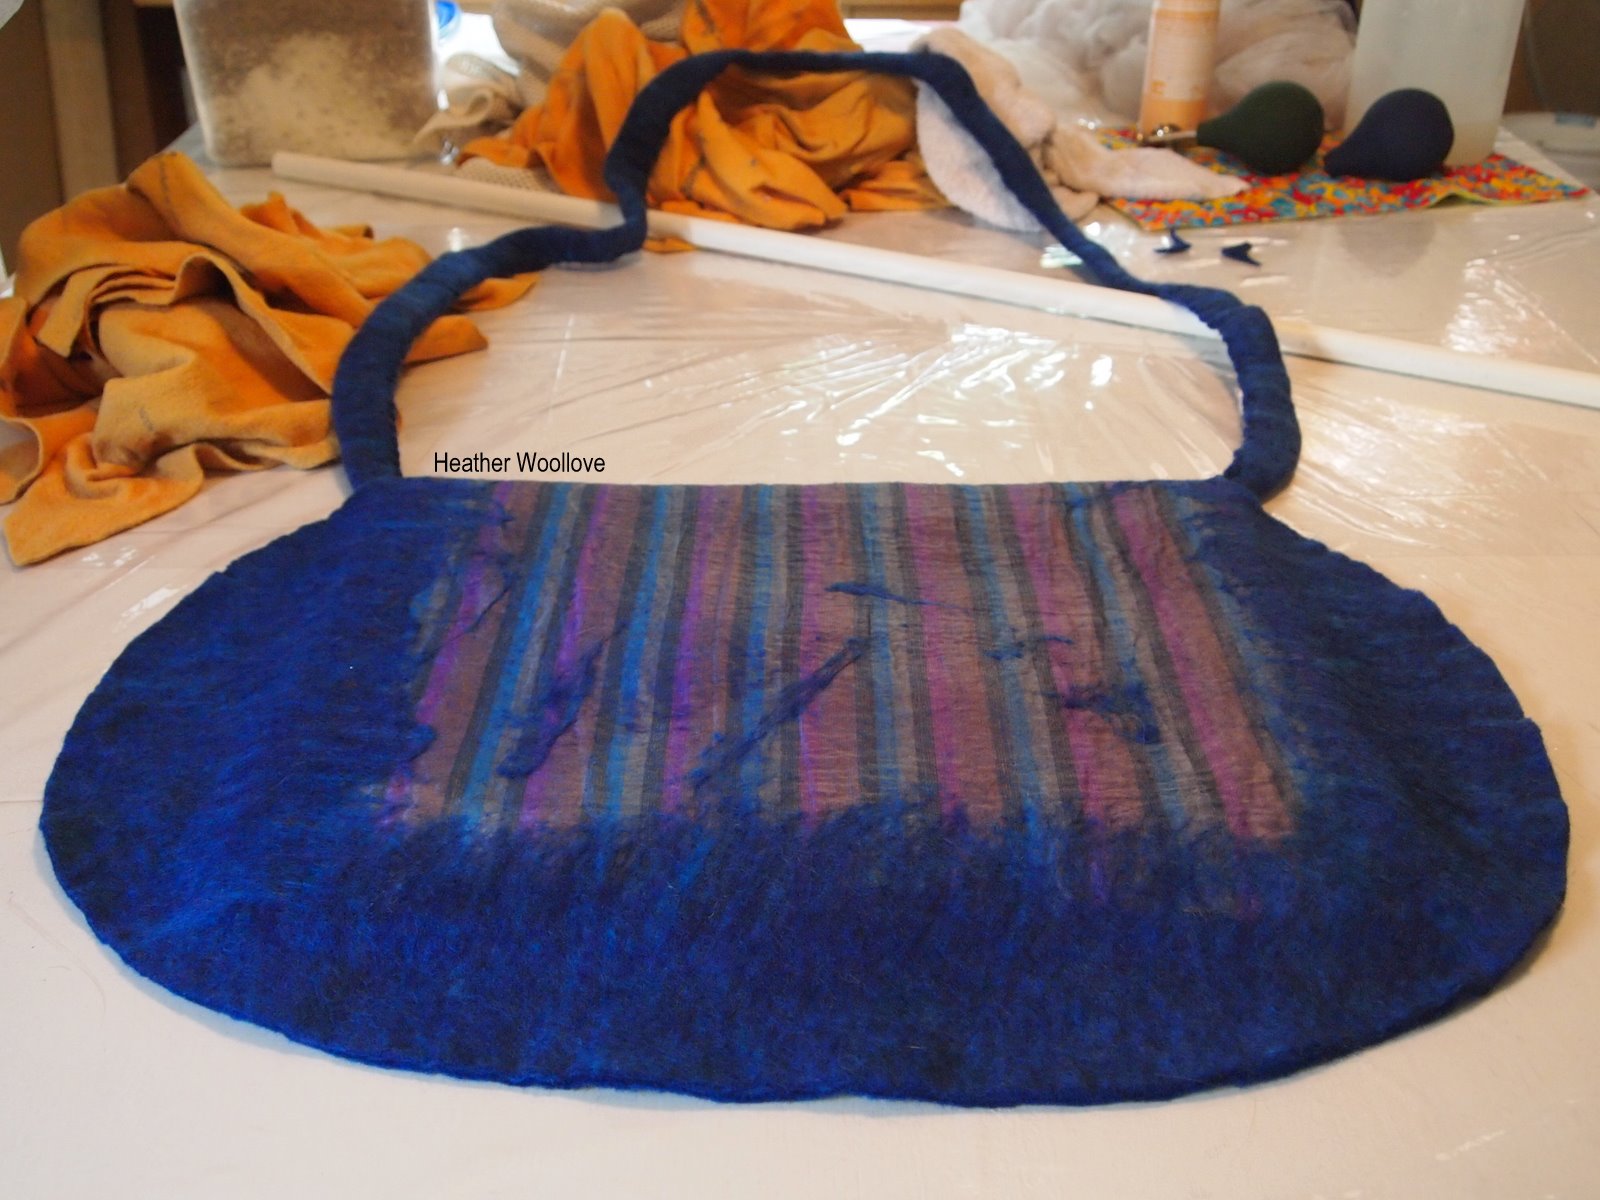
I trimmed out the handle, like I did here...

...and hand stitched it together, prior to further felting.

This time, I designed the resist to allow for a longer bag strap...

...so it could be worn 'cross-body', like they do with most messenger bags.

I also made it bulbous enough to allow for trimming...

...so that the bag flap could mirror the shape of the bag itself.

The 'extra flap' became an interior pocket (like this)...

...by sewing a layer of cotton cloth to the back side of the flap...

...and then sewing divided pocket sections for a cell phone, keys and pens.

All that was necessary was a careful trim with small, sharp scissors...

...and voila...inner pockets!

Next time: the finished bag.

Posted by Picasa

Sunday, May 29, 2011

Felt Messenger Bag Tutorial- Part 1 (of 3!!)

Drafting a new messenger bag template.


Foam floor underlayment resist.


Variegated blue, purple and teal roving, and a piece of sheer silk fabric.


Covering the resist in layers of wool roving...plus one layer of cotton gauze
(on the bottom section of the bag, only!)


I'm pretty sure that having a three-part blog post...

...is just about going to kill my friend, Kelly!

(She already feels tortured when I make her wait for a Part 2!! Giggle.)

And before you all start thinking that I've 'gone to the blue side' or something...

...this project was not for me, but was made for a blog friend who loves these colors the way I love ORANGE!

You'll notice that the shape of this resist is quite different than the rectangular one I used for my last messenger bag...

...a deliberate choice, so as to avoid having to cut and re-sew the handle!

Next time, I'll show you how I added the silk, trimmed the handle...

...and fashioned the inner pocket!

Posted by Picasa

Friday, May 27, 2011

Blue and Orange Pre-Felt Bag- Part 2

The weted-out project during felting.


After felting.


A fun, colorful button from our trip to Bath, England.


The finished purse.


I like using color complements from opposite sides of the color wheel...

...especially when they involve the color ORANGE!! Giggle.

Unlike some of my other bags...

...I didn't machine-stitch the handle together after the bag was completely felted and dried...

...but used a whip stitch to close the cut, partially-felted edges of the handle prior to further felting.

This way, the stitches virtually melt into the piece during felting...

...and the handle looks nearly as seamless as the bag.

As with my other peanut-shaped resist bags...

...the second flap was turned into an inner pocket, like this.

Luckily for me, the recipient of this purse (the adorable and very talented Andrea)...

...is a real orange-lover, too!! :)

Posted by Picasa

Wednesday, May 25, 2011

Blue and Orange Pre-Felt Bag- Part 1

Cutting the 'pleated' pre-felt.


Piecing where necessary with basting stitches.


Starting the layout with blue roving.


Adding the orange pre-felt layer (pleat-side down) and a second layer of blue wool.


Here's another one of my peanut-shaped resist bags...

...using sewn pre-felt and roving.

I machine-stitched several irregular 'pleats' into a sheet of pre-felt...

...and trimed it into the shape of the resist...just slightly smaller.

Since my pre-felt wasn't quite large enough in places...

...I pieced it by hand where necessary, using long basting stitches.

Since I had had trouble with my pre-felt 'flapping' in a previous project,...

...this time, as 'insurance', I started the layout with a layer of wool roving around the perimeter of the resist.

This extra bit of wool helped the bag to form a cohesive whole during felting...

...and I like it as a design element, as well.

Next time: the finished bag...

...and NO symbolism!! Giggle.

Posted by Picasa

Monday, May 23, 2011

Wedding Table Topper- Part 2

Adding burgundy cross-pieces.


After felting and drying.


Trimmed table topper.


The bricks and mortar of a happy marriage.


Sometimes when I hint about my next blog post...

...I later come to regret it, because the pressure is ON!! Giggle.

My intended symbolism here isn't naughty (Riet) :)...

...nor is it really all that profound.

It's just that I was considering how one goes about making a brick wall...

...and that it requires both fixed and fluid components.

I think that to have a strong, healthy, and lasting marriage...

...the same two elements are necessary.

A good marriage manages to meld the unalterable characteristics of each individual...

...while allowing for the beautiful inevitability of change and growth.

I wanted my gift to suggest such permanence and flux subliminally...

...while still being a good place to put a bubbling cassoulet! :)
Posted by Picasa

Saturday, May 21, 2011

Wedding Table Topper- Part 1

Laying out white wool roving.


Adding a layer of cotton gauze.


The first fuchsia layer (here it looks more red than it actually is).


Burgundy and fuchsia stripes.


I have a co-worker who is getting married in a few weeks...

...and I wanted to make her something useful that won't take up much space when they move.

I decided to take a cue from her wedding colors, fuchsia-pink and burgundy...

...and make a table topper for her dining room table.

I started with a base layer of white roving...

...then added a layer of cotton gauze for strength.

A layer of fuchsia was next...

...followed by stripes in burgundy and fuchsia.

Next time: the finished table topper...

...but be forewarned- there will be symbolism! Giggle.

Posted by Picasa

Thursday, May 19, 2011

Raw Fleece Guest Room Rug- Part 2

The rug with tulle covering during felting.


The finished rug.


I think it looks a little like apricots and nuts in nougat! :)


The finished rug in situ.


Compared to my own raw fleece rug...

...this one came out a bit thinner and larger.

And without the addition of Icelandic locks...

...it's definitely less hairy and boingy!

I'm excited about the little bursts of color that the orange and red roving provide, though...

...and because it's multi-colored, I think it will coordinate with lots of different color schemes.

The best surprise was how well the grotty grey roving felted in...

...reminding me that there's nearly always a way to salvage less than stellar supplies. :)

So there you have it; the rug and room are here, just waiting for you...

...for when you come to visit me someday!

Tuesday, May 17, 2011

Raw Fleece Guest Room Rug- Part 1

Starting the layout.


Adding Black Romney and Jacobs fleece, white roving and bright bits.


With a mountain of raw fleece left to add! :)


The finished layout.


After making my own raw fleece bedroom rug...

...I wanted to try another one for my guest room ...for when all of you fiber artist friends of mine come to visit!! :)

This was also a clean up my stash kind of project...

...since I was able to use what was left of my first Jacob Hoggett fleece...

...some wonky white and grey roving that I normally only use for stuffing...

...and some of the red and orange 'felted while dyeing' commercial roving that you last saw here and here.

I wanted to make a larger rug this time...

...and one with a more oval shape (for more cold feet coverage when you get out of bed in the morning!).

As I added the concentric rings of roving...

...I tucked in colored bits of 'ribbon roving' here and there.

And I used lengths of wonky white and grey roving...

...to wrap around and corral my raw fleece into place.

Next time: the finished rug.

Posted by Picasa

Sunday, May 15, 2011

Rainbow Faucet Table Runner- Part 2

After adding all of the rainbow stripes.


Adding a prefelt water droplet.


The finished layout, prior to rolling.


The completed runner.


I enjoyed laying out the rainbow stripes in this project...

...remembering elementary school and ROYGBIV! :)

Unfortunately, because of the curvature of the stripes...

...my finished runner came out a bit wonky after rolling. Sighhhh.

Ideas, anyone?

Should I have made it larger and just trimmed it...

...or is there a way to compensate for this fiber folly?!?

Luckily for me, my plumber was delighted with the gift and the thought behind it...

...that he brings people joy and rainbows in his work! :)

Posted by Picasa

Friday, May 13, 2011

Rainbow Faucet Table Runner- Part 1

Covering prefelt faucet with black roving.


After needle-felting.


Applying finished faucet to the prepared table runner.


Adding the first rainbow stripes.


If you're 'une femme d'un certain age', like me, you probably remember a thing called 'customer service'...

...when clerks or tradespeople could regularly be relied on for expert help and assistance.

Sadly, this is an experience often lacking in today's busy world...

...but I recently was reminded of just how great it can be!

I have a new plumber who exemplifies the term 'work ethic'...

...he is friendly, honorable, and goes out of his way to help.

I wanted to thank him for contracting a large sewer replacement job for me recently.

...so I made him this table runner.

I started with a layer of white roving and cotton scrim...

...then added two more layers of roving...

...folding the edges in to make a nice, clean rectangle.

I cut a faucet shape out of prefelt...

...and needle-felted black roving onto its front and back surfaces.

I applied the faucet to the prepared runner...

...and began adding rainbow stripes.

Next time: the finished runner.


Posted by Picasa

Wednesday, May 11, 2011

My Maryland Sheep &Wool 'Booty' :)

I couldn't resist showing you one more cutie-pie in regal profile!


Some of my 'spoils'!


Raw Jacobs fleece...you know how I love this!! :)


More new roving.


My children convinced me to think outside of my usual color box this time...

...and purchase roving in some new colors!

Although I did buy solid white, grey and black, I was especially happy with my new variegated roving...

...since I think it produces finished felt with depth and a wonderful visual texture.

Of course, I needed to buy some more raw fleece, too...

...(you know how I adore the multi-colored, textural quality of Jacobs wool!)

I indulged myself with a few other fun things, as well...

...pewter buttons with sheep on them, large, colored buttons that look like they were cut from a branch...

...scented handmade soap (patchouli and lavender)...

...a festival tee shirt and note cards...

...and a drop spindle that I now have to figure out how to use!! :)

If you've never had the chance to experience a Sheep and Wool or Fiber Festival...

...I highly recommend planning a trip around one, sometime.

The combination of 'fibery people', amazing supplies and "all wool-all the time"...

...is quite an intoxicating experience!!

Posted by Picasa