Friday, November 11, 2011

Two Projects From Art Batts- Part 3 of 4

Laying out fiber.


After felting...the bottom (one pointy end) of the project...


...and the top (with a hole cut) after the resist has been removed.


Cutting in toward each corner with scissors...


...and voila, it's an open-topped cube!! :)


From another angle...


...and from the top.


Surprised?

It sure is a strange-looking resist that produces a cube (or box) like this!!

The trick is to lay out roving on each section of the two-part resist...

...placing bubble wrap between the layers as you work, so the sections don't felt together.

When the felt is starting to shrink and constrict the resist...

...you make a cut at one pointy end and remove it.

(If you want a box and not an open-topped cube...

...make a smaller cut somewhere along another edge for resist removal!)

Continue to felt the piece until it is finished...

...then dry it and make cuts into the four corners for the top flaps.

Next time: Storage cube embellishments!

Posted by Picasa

Thursday, November 10, 2011

Two Projects From Art Batts- Part 2 of 4


Covering the resist with fiber.


Adding deep red roving for the inner layer, plus a layer of cotton gauze for strength.


The back of the finished purse...


...and the front.


Vintage buttons change a rather dull purse into something special!


I barely had time to finish felting this bag...

...before my middle daughter whisked it off for herself.

Since it wasn't the most exciting bag I had ever made...

...she jazzed it up with a bunch of vintage buttons from my stash!

You can see that she didn't even wait for a sunny day to photograph it properly...

...but into her suitcase it went, and off to Minneapolis! :)

**********************************************************************


Mystery resist...


...can you guess what this will become?

(Felter's Fling participants will certainly know!!) :)


Next time: the mystery is solved! Giggle.

Posted by Picasa

Wednesday, November 9, 2011

Two Projects From Art Batts- Part 1 of 4


Blending different fibers for art batts.

Shimmery sari silk waste.

Some finished batts...

...with big chunks of color...

...and in all different colourways!

Laying out project # 1: a peanut-shaped resist bag.


I have a lot of oddball fibers in my stash...

...and in late summer, I thought it would be fun to utilize my drum carder...

...and make some sassy mixed-fiber batts!

I blended bits of wool and mohair, tussah silk, alpaca...

...variegated pencil roving, sari silk waste and cotton sliver...

...into these interestingly-textured batts.

The first project is a (ho-hum...the 'usual') peanut-shaped resist bag...

...but after I had felted this one, my middle daughter took it away for embellishing...

...and wait until you see how cute it is!! :)

Next time: the finished bag...

...plus a sneak peek at project # 2!!

Posted by Picasa

Monday, November 7, 2011

Green Felt Bag With Seams- Part 2 of 2

The felted bag with matching leather straps (a gift from my friend, Nicola).

A good view of the exterior pockets. Don't they look like smiles? :)

After sewing machine seaming (back side)...

...and the front of the bag.

The back side again...in close-up.


The bag turned inside-out during the 'amputation of the protruberences'. :)

(notice how the exterior pockets look from the inside of the bag!)

The bag's new post-surgical appearance (back side)...

...and the finished bag front.


After working so hard to finish this ginormous felt bag...

...at the end of the day, I was left feeling rather unhappy and at sea. :(

Luckily, Elis had access to a scary old sewing machine at the Creative Felt Gathering...

...and she worked her magic on it by sewing shaping seams into the finished felt!

Reducing the size and adding some curves didn't solve all of my problems, however...

...since there was still the matter of the weird boingy bits at the bag's bottom!

As these things are wont to do, my small dreads had grown to gargantuan proportions during felting...

...and I had no idea what to do with them!!

After tying them 'up' or 'together', or coiling them didn't solve my problem...

....but merely made what is already a rather ungainly purse even more so...

...I made the harsh decision to amputate!!

At just over 20 inches across at the bottom, now...

...it's a bag which can finally actually be carried (woohoo!!). :)

Posted by Picasa

Saturday, November 5, 2011

Green Felt Bag With Seams- Part 1 of 2

Initial bag sketch...

...transformed into a resist.

Laying out roving for an inner pocket.

Adding the first layer of roving...

...for a tri-color bag.

Wrapping wool around the resist and adding additional layers of color.

Working this large (with the ends hanging over the sides of the table) was rather challenging. :)

Felting the bag with a pottery 'felting stone'.


At the Creative Felt Gathering this summer...

...I took a 'complex bag' class from one of my favorite people in the whole world...

...the fierce and loving Elis Vermeulen. :)

Prior to beginning a project, she recommends taking the time to sketch out your ideas...

...and I utilize this method often, feeling like it really helps me to crystallize my thoughts...

...and provide a 'plan of action'.

Something about the scale of Elis' own felt work (huge!) and her encouraging presence...

...always makes me want to push myself in these classes!

And, much like last year, I again challenged myself to try something quite large!! :)

For the exterior pockets (designed to be pushed inward after felting)...

...I hand-stitched three foam pieces to the main resist surface like 'flaps'.

I used a second method to make the interior pocket...

...covering a small piece of foam resist with several layers of roving, folding the top edge down...

...and then flipping it over onto the surface of the main resist.

Felting was a bit awkward due to the size of the piece vis a vis the size of my work surface...

...but I persevered anyway, and will show you the much altered finished bag next time! :)

Posted by Picasa

Friday, November 4, 2011

Birthday Scarves

Laying out silk pieces on bubble wrap.

Adding a layer of wool roving...

...over the entire bubble wrap surface.

Adding two long pieces of synthetic fabric...

...(in order to make both scarves at once).

Separating and fulling the individual scarves.

One of the completed scarves.


Taking a page from my friend, Dawn's book...

...I took it a little 'easier' while making these birthday scarves for my two youngest daughters. :)

Unfortunately, this time I made the mistake of using a 'synthetic silk' for the nuno layer...

...a problem that I'll chalk up to vendor hyperbole on Philadelphia's Fabric Row. :(

I laid out the silk bits and wool roving for both scarves at once...

...leaving a 'no-man's land' between them when I added the synthetic sections.

As disappointed as I was with the way this 'fake silk' felted (or didn't, as the case may be)...

...I did get the sense that my 'gentle felting' did the trick this time...

...helping to keep the scarf margins straight and the shrinkage minimal.

Posted by Picasa

Wednesday, November 2, 2011

Silk Bits Scarf

Picking colors from my stash of silk fabrics.


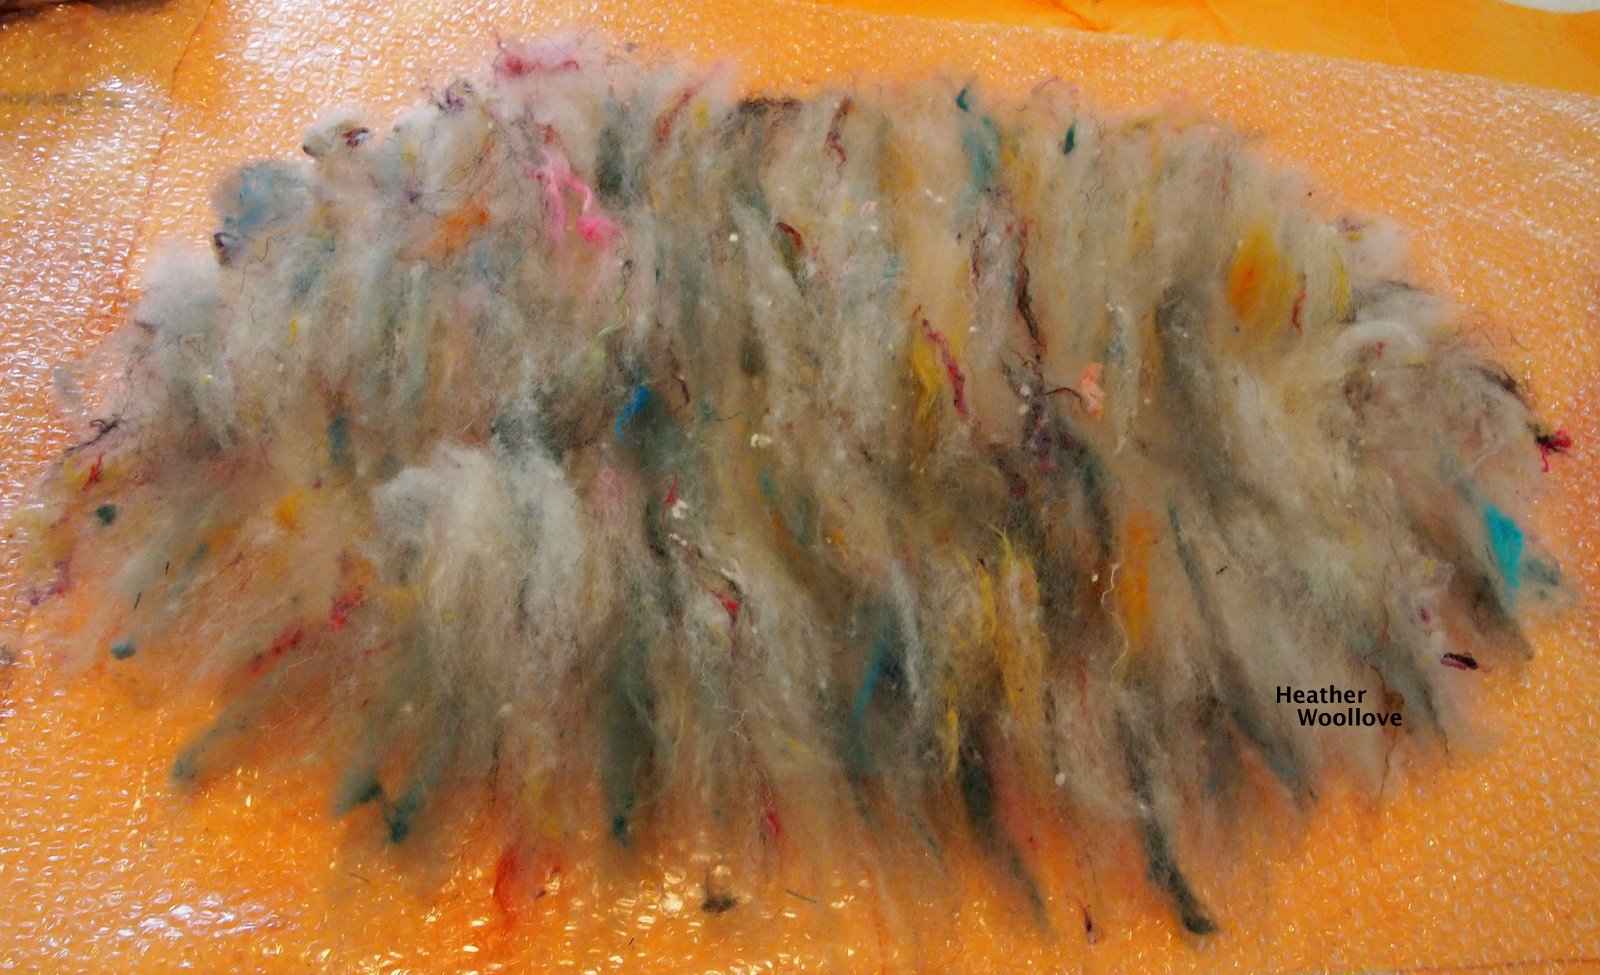
One layer of silk gauze topped with wool roving.


Adding cut out pieces of silk fabric.


Wetting out the scarf.


The finished scarf...


...and up close...here.


When my dear friend, Dawn, and I encountered Hurricane Irene at the Felter's Fling...

...we thought it best to acquiesce to her power and head home immediately. ;)

And since we now had an extra day together to fiddle with felt...


...we decided to attempt some of the new projects and techniques that we had each seen or tried...

...or even just heard about from other felters at 'Fling'!

What struck me, as we worked that day...

...was just how disparate our 'felting personalities' are when it's just the two of us!

In class, with lots of others, I don't usually take much notice of Dawn's meticulous and tidy work.

But while I was crashing around that day, throwing and stretching and generally abusing my scarf...

...she was here patting hers (with one little finger, sometimes!), tidying the edges...

...and making small adjustments with teeny, tiny scissors.

Not surprisingly, Dawn's finished scarf turned out to be perfectly rectangular and full-sized...

...while this one ended up looking a bit wonky (shape-wise), and more like a 'scarflette' in length!! Giggle.

So why am I telling you all of this?

I guess it's because I find this to be one of the most wonderful things about feltmaking...

...that you really can find your own path and method of creating...

...while continuing to learn skills and techniques from others along your journey!

For me, precision is absolutely essential in my professional life as a hospital Pharmacist...

...where sometimes, even a microgram can make the difference between life and death.

When I make felt, I like to feel wild and free and unfettered...

...and that's why I often prefer projects that are uneven, raw, or organic in nature!

So...I continue to grow as an artist and feltmaker...

...learning which technique works for which kind of project...

...and perhaps this lesson from Dawn...a slightly more gentle approach with my next scarf? :)

Posted by Picasa