Laying out a thin layer of blue roving and rolling it in bubble wrap to make holes in the pre-felt.

Adding a layer of white and green roving to one side of the perforated pre-felt.

The finished felt...showing white and green in the 'open' areas.

The same piece held up to the light.
(You can see that the white/green layer is very thin and translucent.)

After stitching and trimming around the open top of the cube.

The finished cube with a circular embellishment...

...and more on this side!!

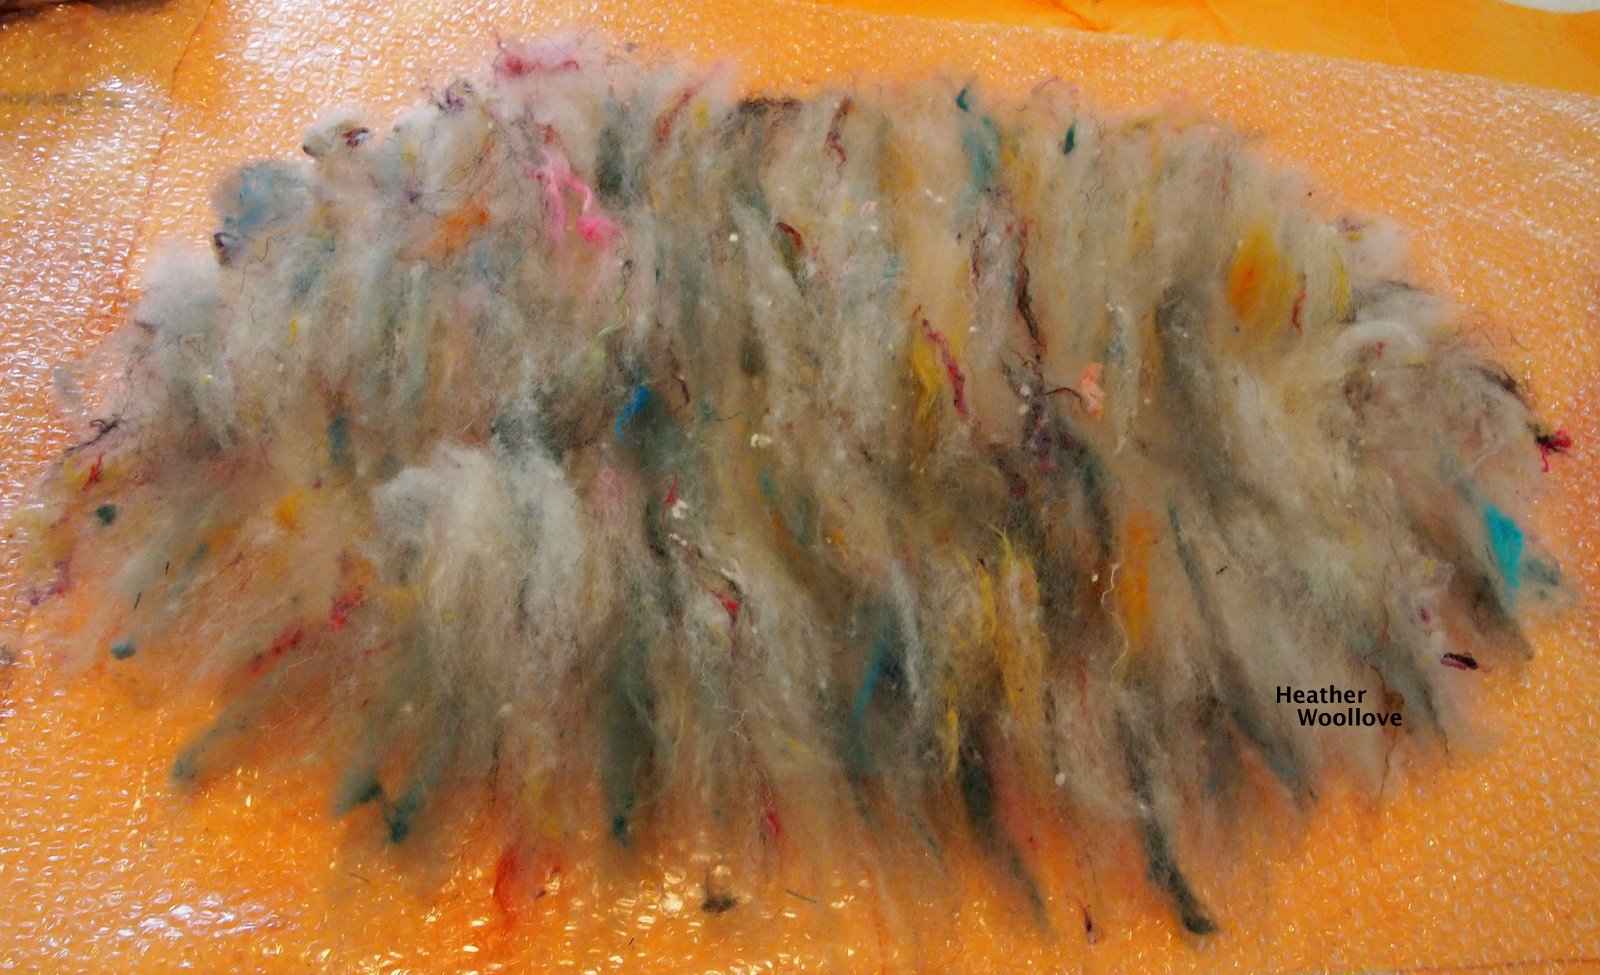
When I was at Felter's Fling, one of my classmates made beautiful, cobwebby pre-felt...
...by laying out a thin layer of roving on bubble wrap...
...and rolling it very fast and hard for a brief time.
This pre-felt could then be laid out on a second layer of roving or pre-felt...
...for a lovely decorative effect!
Since this cube project cried out for a bit of embellishment...
...I decided that it was high time to try this technique!
After felting the 'perforated' blue piece...
...I cut it into circular bits and machine stitched them to the cube.
I also stitched around the top of the cube (to hold down the flaps)...
...and trimmed off the extra felt.
Because I used a very thin layer of light colors for the back layer of the blue felt...
...the holes look rather like translucent windows!
Next time: A painted silk messenger bag that is a collaboration with a friend!!