Sunday, March 18, 2012

'Marine Life' Purse For A Pisces- Part 3 of 3

The fully felted bag...

 
...and how it looks on side two.

 
Shown here with the flap folded down, hiding the red fish.

 
The front side...after sewing on a leather strap...

 
...and the back.

 
Adding a button in the shape of a rounded-off triangle...

 
...and a 'blind' button-hole...

...so that the button disappears (along with the fish) when the purse is closed. :)

 
My beautiful friend Becky holding her new purse...

...in the gift shop of the Textile Center in Minneapolis, MN.


After felting the bag and letting it dry...

...I added a fabric lining with two inner pockets.

I sewed on a strap that I had fashioned from a strip of grey leather...

...and made a hidden buttonhole so that the seahorse's tail would remain unblemished.

The last photo shows my blog friend (and now 'in person' friend, too!) Becky...

...as we loitered about the Textile Center gift shop...

...just soaking up all of that 'fiber inspiration'!! Grin.

Although I didn't know it before I met her that day...

...we are both Pisces women (having birthdays just two days apart)!

In this context, my choice of an underwater theme seems positively inspired...

...but in truth, it was just a lucky coincidence!! :)

Next time: the 'mini Minnesota travelogue' begins!! :)
Posted by Picasa

Friday, March 16, 2012

'Marine Life' Purse For A Pisces- Part 2 of 3

Placing one fish strategically on the bag front...

...(you'll see how it will later come as a 'surprise' when the purse flap is lifted!)

 
Adding seaweed and sea grasses using various shades of green roving and dyed tussah silk.

 
Laying out the bag flap and bag back...


...and in close-up here... 
 
...and here (notice the needle-felted details on the seahorse).

 
The partially felted bag with flap folded...

 
...and after felting...

 
...with the resist removed.

 
Since I am not much of a representational artist...

...it was a real stretch for me to make this new purse.

I did a lot of 'image searching' for fish shapes on the internet...

...but created the sea plants using my own fevered imagination! Grin.

I 'drew' seaweed and sea grasses with merino roving and dyed tussah silk...

...and positioned the red fish in such a way that it hides when the purse flap is closed...

...and the seahorse appears to be alone in its watery habitat! :)

Next time: the finished bag...

...and more about its beautiful recipient!
Posted by Picasa

Wednesday, March 14, 2012

'Marine Life' Purse For A Pisces - Part 1 of 3


Cutting out my new resist shape...

 
...and checking the fold placement for the flap.

 
Cutting two layers of cotton gauze in the shape of the resist.

 
Beginning the layout with one layer of white roving...

 
...then, after adding a gauze layer and another layer of white...

...switching to a variegated dark blue/purple wool for a base.

 
The fully wrapped resist (I know, it does look like a bunny!).

 
Adding color gradations in various shades of blue and aqua.

 
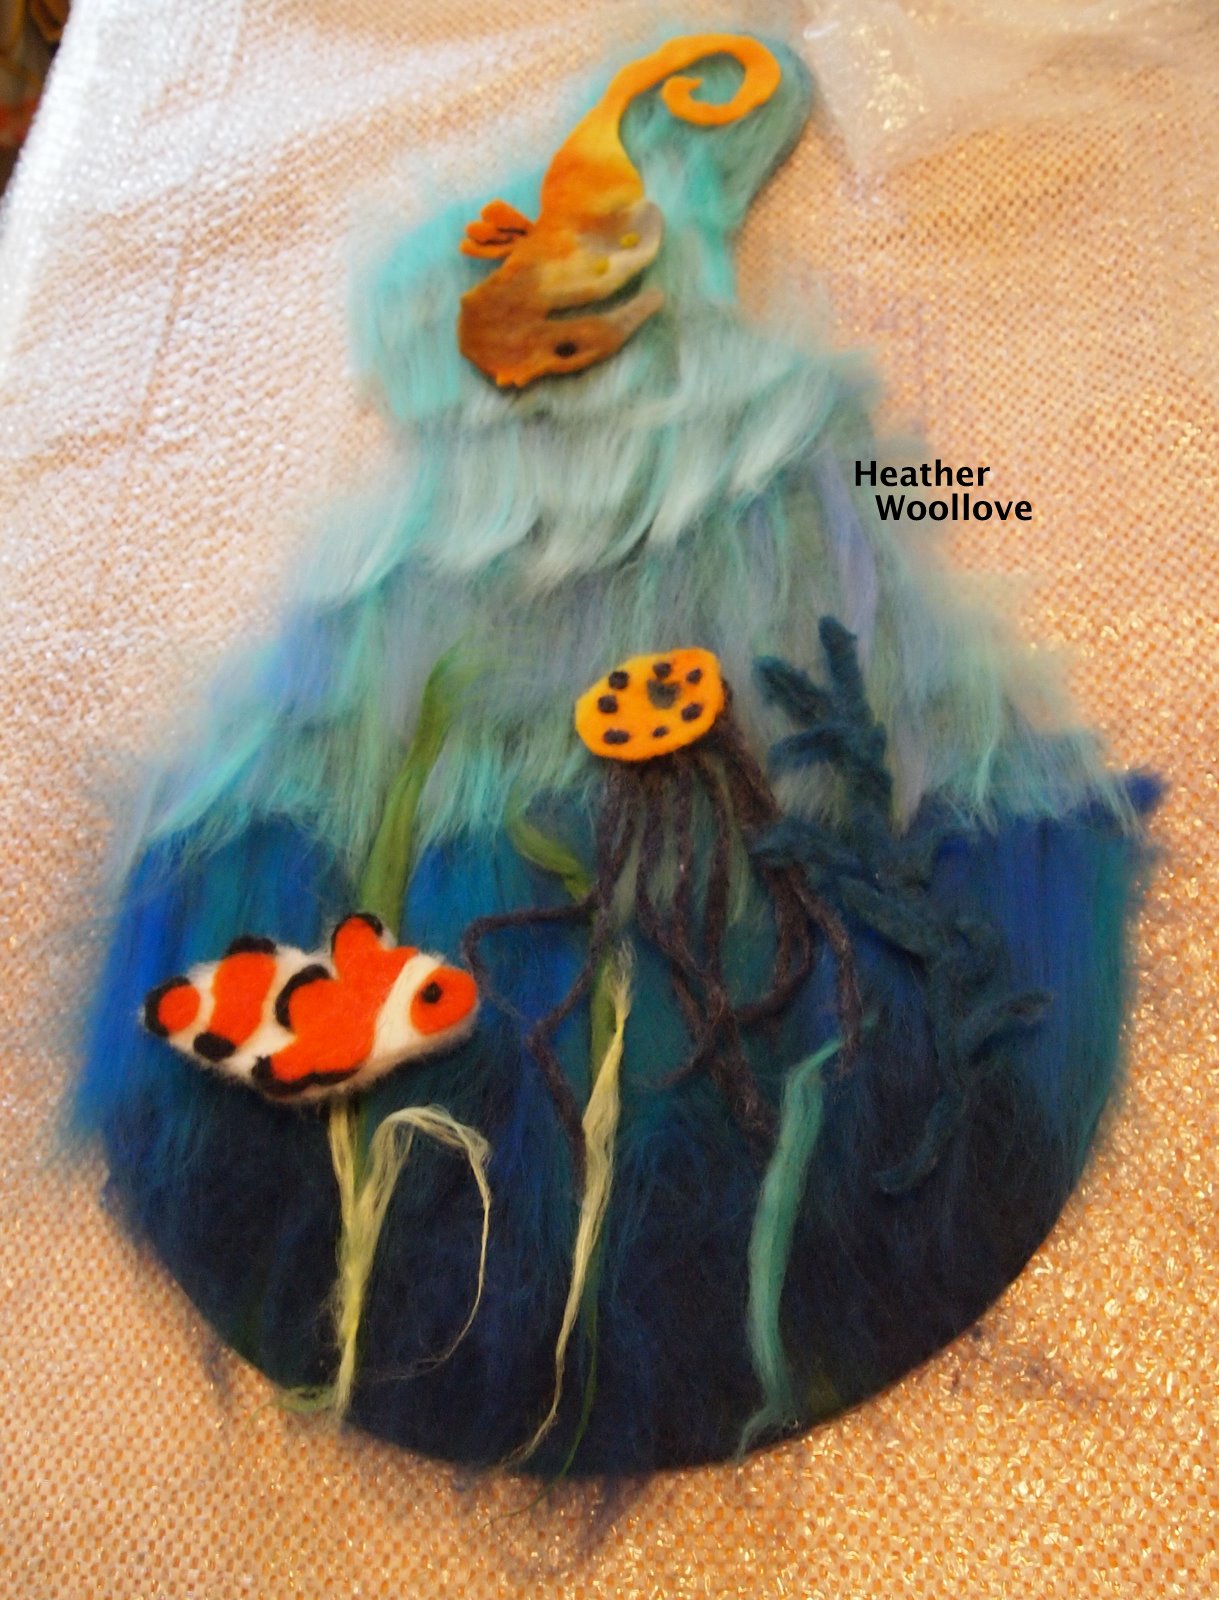
Needle-felted and pre-felt denizens of the sea. :)


Sorry for my short blog absence...

...but I was away from home for nearly a week, visiting my daughter L in the twin cities.

It was an amazing trip and, as you might imagine, I'm tired and I have a lot to sort out...

...but I look forward to sharing my MN photographs and experiences with you in the coming weeks. :)

Here's the most exciting part: not only did I get to spend days with a beloved daughter...

...but I also managed to spend time with a college friend I hadn't seen since 1987...

...and a whole day with a dear blog friend whom I had never met!!

*******************************************************************************
Weeks ago, because I wanted to make something special for my two friends...

...I started working out a new shape for a purse resist.

I had an idea for an aquatic bag, and I needed the flap to undulate 'just so'...

...so I sketched and fiddled until it was right. :)

I chose to reinforce the bag with a layer of cotton gauze...

...so I cut it out to match the resist shape, then trimmed it slightly smaller all around...

...and sandwiched one between two thin layers of white roving on each side.

I added a dark blue/purple layer for a base of 'watery deep'...

...then added several hand-blended shades of blue and aqua roving.

I cut a fish and a seahorse out of pre-felt and decorated them with needle-felted details...

...and made a needle-felted clown fish, shark and seaweed.

My daughter, H-2, decided to join in the fun, as well...

...and created a jellyfish from pre-felt, pencil roving, and needle-felted dots. :)

Next time: the purse begins to come together...

...and the creatures find a habitat!
Posted by Picasa

Sunday, March 11, 2012

Mandala Pillows- Part 3 of 3

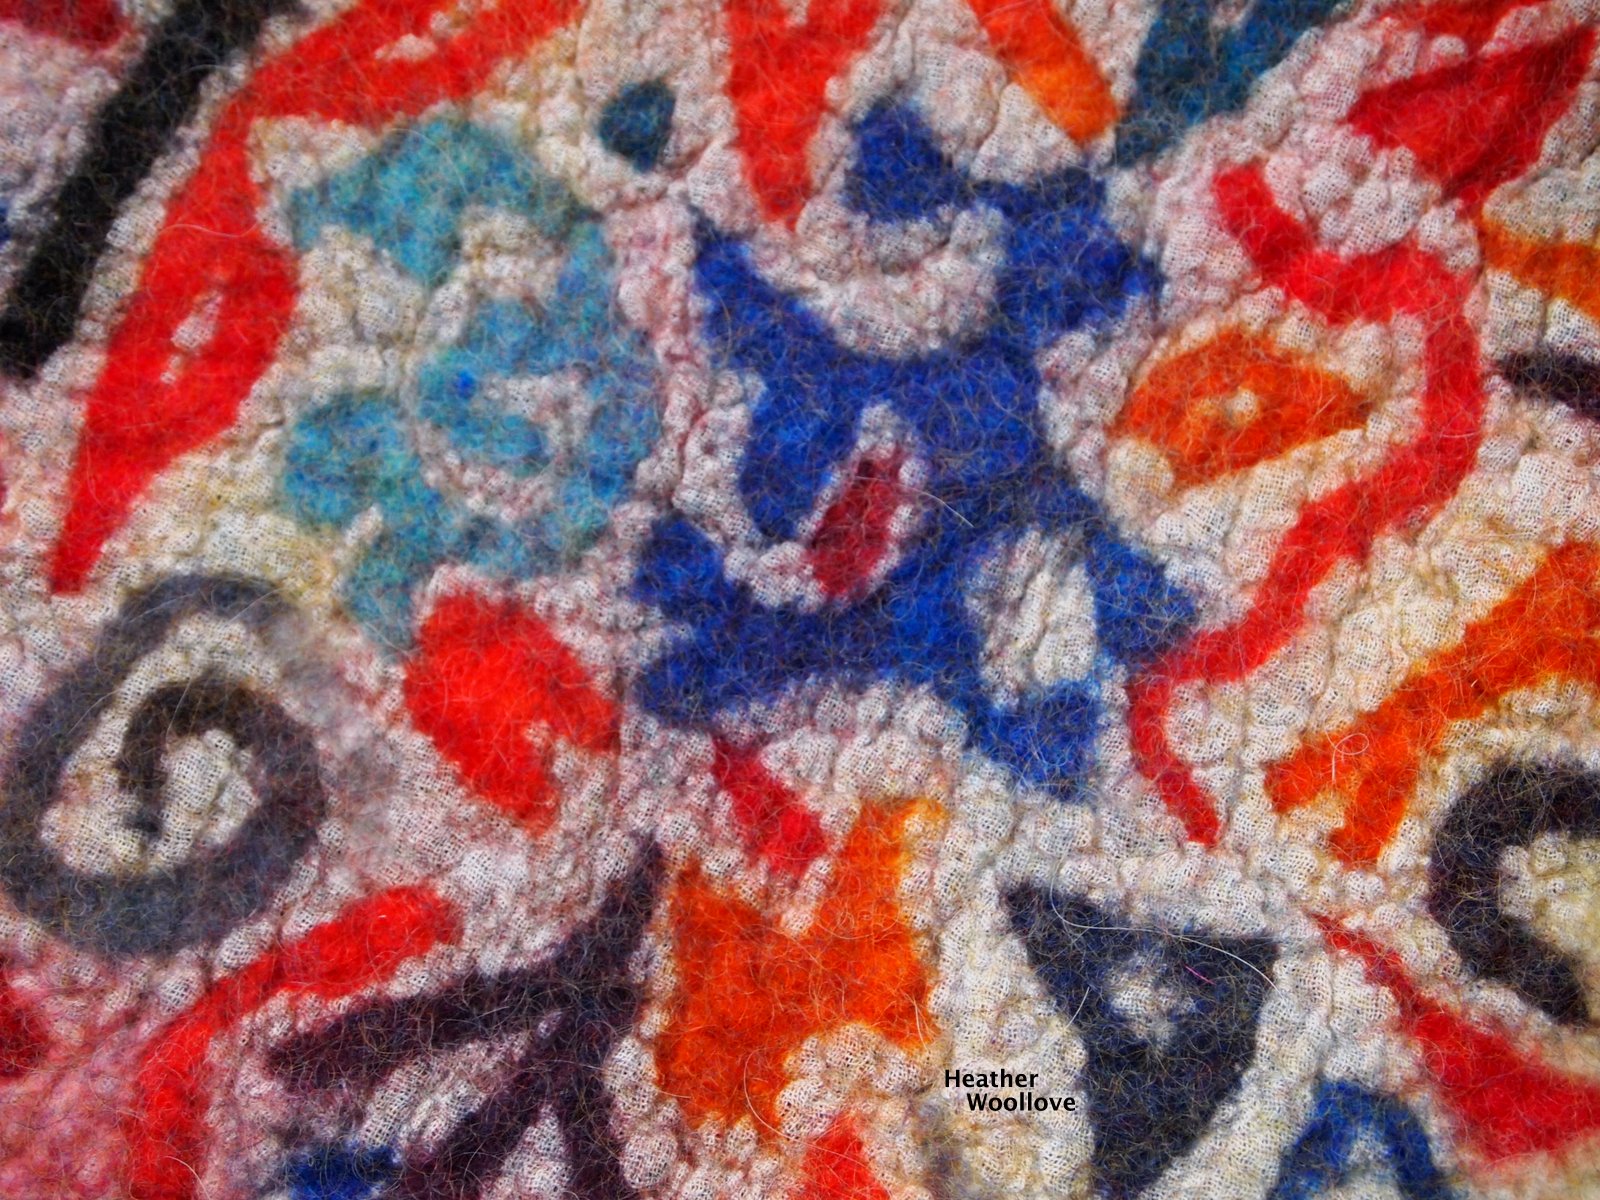
The finished pillow number two...


...and in close-up.


Pillow number one after stuffing.


Cutting chenille fabric for the 'pillow inserts'.


The fully stuffed back side of pillow #1 with felt loops and button closures.


The more lightly stuffed pillow #2 with a single button and loop.


Side by side comparison of the pillow backs...


...and shown with the original rug.

Because these were not made to a 'standard' pillow insert size...

...I had to customize the filling for each pillow.

I made pillow #1 an over-stuffed one...

...and used decorative closures for an appealing backside. :)

I made the second one much thinner...

...and found that it needed only a single button closure.

My goal was to maintain the round shape of each pillow...

...and, unfortunately, I didn't find that the 'flange' idea worked all that well.

Neither design provided enough extra felt to make an actual flap...

...and I think it may need to be quite a bit wider to work in this manner.

I was hoping to test this hypothesis further, prior to posting this project for you...

...but my mind moved back to (where else?) purses, and I never did. (Sorry!)

I'm hoping that one of you pillow-makers out there will pick up where I left off...

...and see whether there is any utility in this idea, or not. :)

Posted by Picasa

Friday, March 9, 2012

Mandala Pillows- Part 2 of 3

The partially felted pillow, slit open along the 'flange' edge.


The fully felted pillow...stuffed with cloth placemats to dry.


The finished pillow.


Beginning the lay-out for pillow number two...

...(this time, I've put a thin layer of roving around the perimeter, over the pre-felt).


Adding the cotton gauze.


Making the resist 'flange' a bit wider and shorter, too.


Notice how the cotton gauze is much more integrated this time...

...with no 'hairy' cloth edges showing?


You can really see the difference when you compare pillow edges...

...(pillow number 2 is on top).

Working with cotton gauze for rug making is not a problem...

...since you merely tuck it around the back side as you work. :)

Pillows, however, are another matter entirely...

...since the gauze edge is visible for all to see. :(

My thought with pillow #1 was to cut the fabric larger than the resist...

...and merely wrap it to the back side where it wouldn't be too visible.

While that's true, I still didn't like the look of the edge when it was done...

...so I decided to put a thin layer of wool (only at the perimeter)...

...between the pre-felt and the gauze for pillow #2.

Next time: the finished pillows...

...and thoughts on 'flange utility'! :)

Posted by Picasa

Wednesday, March 7, 2012

Mandala Pillows- Part 1 of 3

Because several of you had questions in December about the size of this pre-felt rug...


...here are photos with a 36-inch (yardstick) for reference.


I really fell in love with the look and texture of this project while working on it...


...so I decided to make a couple of Mandala pillows to match!


I began by covering the resist with pre-felt snippets...


...then added a layer of cotton gauze and wool batts, and flipped it over.


The art batt-wrapped 'design' side...


...and the back (flap) side.


Because my daughter was so happy with her rug...

...I decided to make two coordinating pillows for her, as well!

I used the same felting method as before...

...covering the resist with bits of pre-felt, then cotton gauze, then wool batts.

 I wanted the shape to remain round after felting (and not narrow into an oval)...

...so I hypothesized that if I added a narrow resist 'flange' to the back side...

...I would have enough additional felted 'material' to act as a flap for stitching the pillow closed.

Next time: how this idea worked out for me...

...and some modifications for pillow number two. :)

Posted by Picasa