I used variegated handmade pre-felt...

...and a double layer of commercial pre-felt...

...to prepare this table topper.

Wetting out the project (back side)...

...and front.

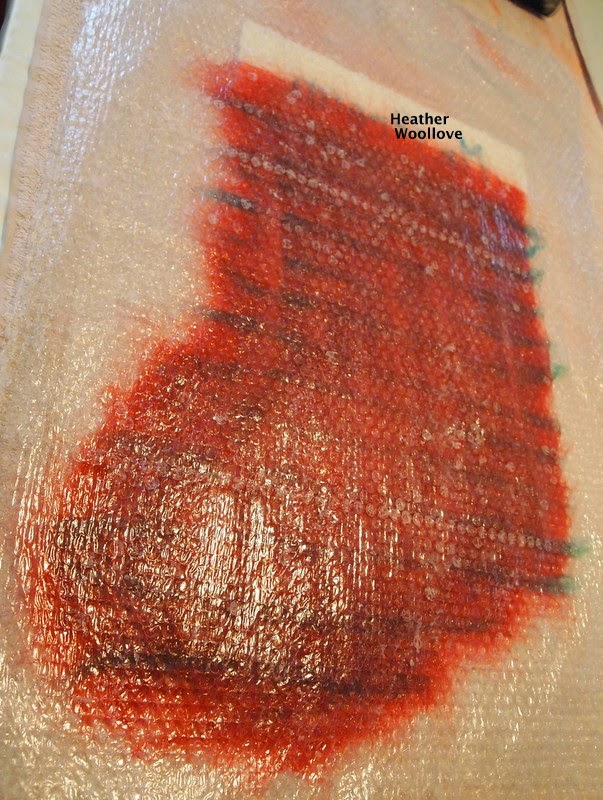
Mid-way through felting...
...color from the pre-felt squares begins to migrate through the orange pre-felt.

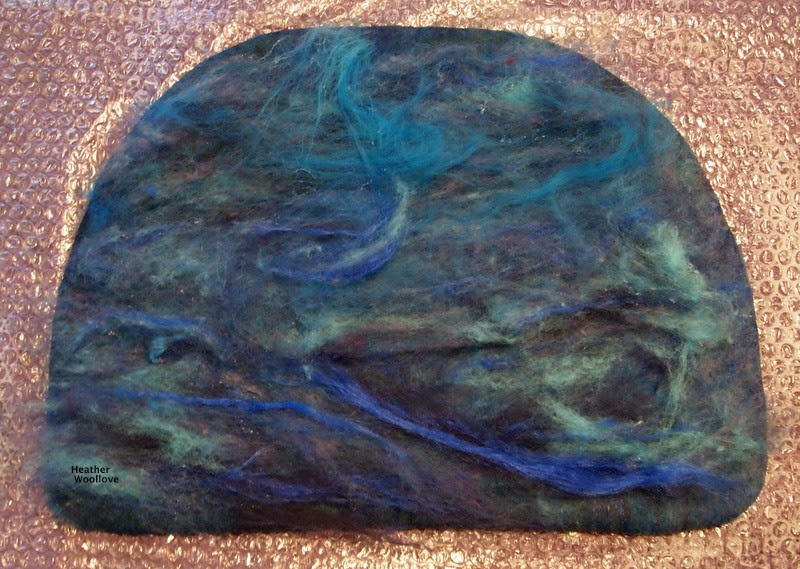
The finished table topper (front)...

...and back.


...I hand-stitched around the perimeter of the felt...
...with embroidery floss.

Next time: I use more of these variegated pre-felt squares...
...to make a "windowpane" table topper!


