Wednesday, April 11, 2012

Another Stab At Ruffle-Making: Blue Purse- Part 3 of 3

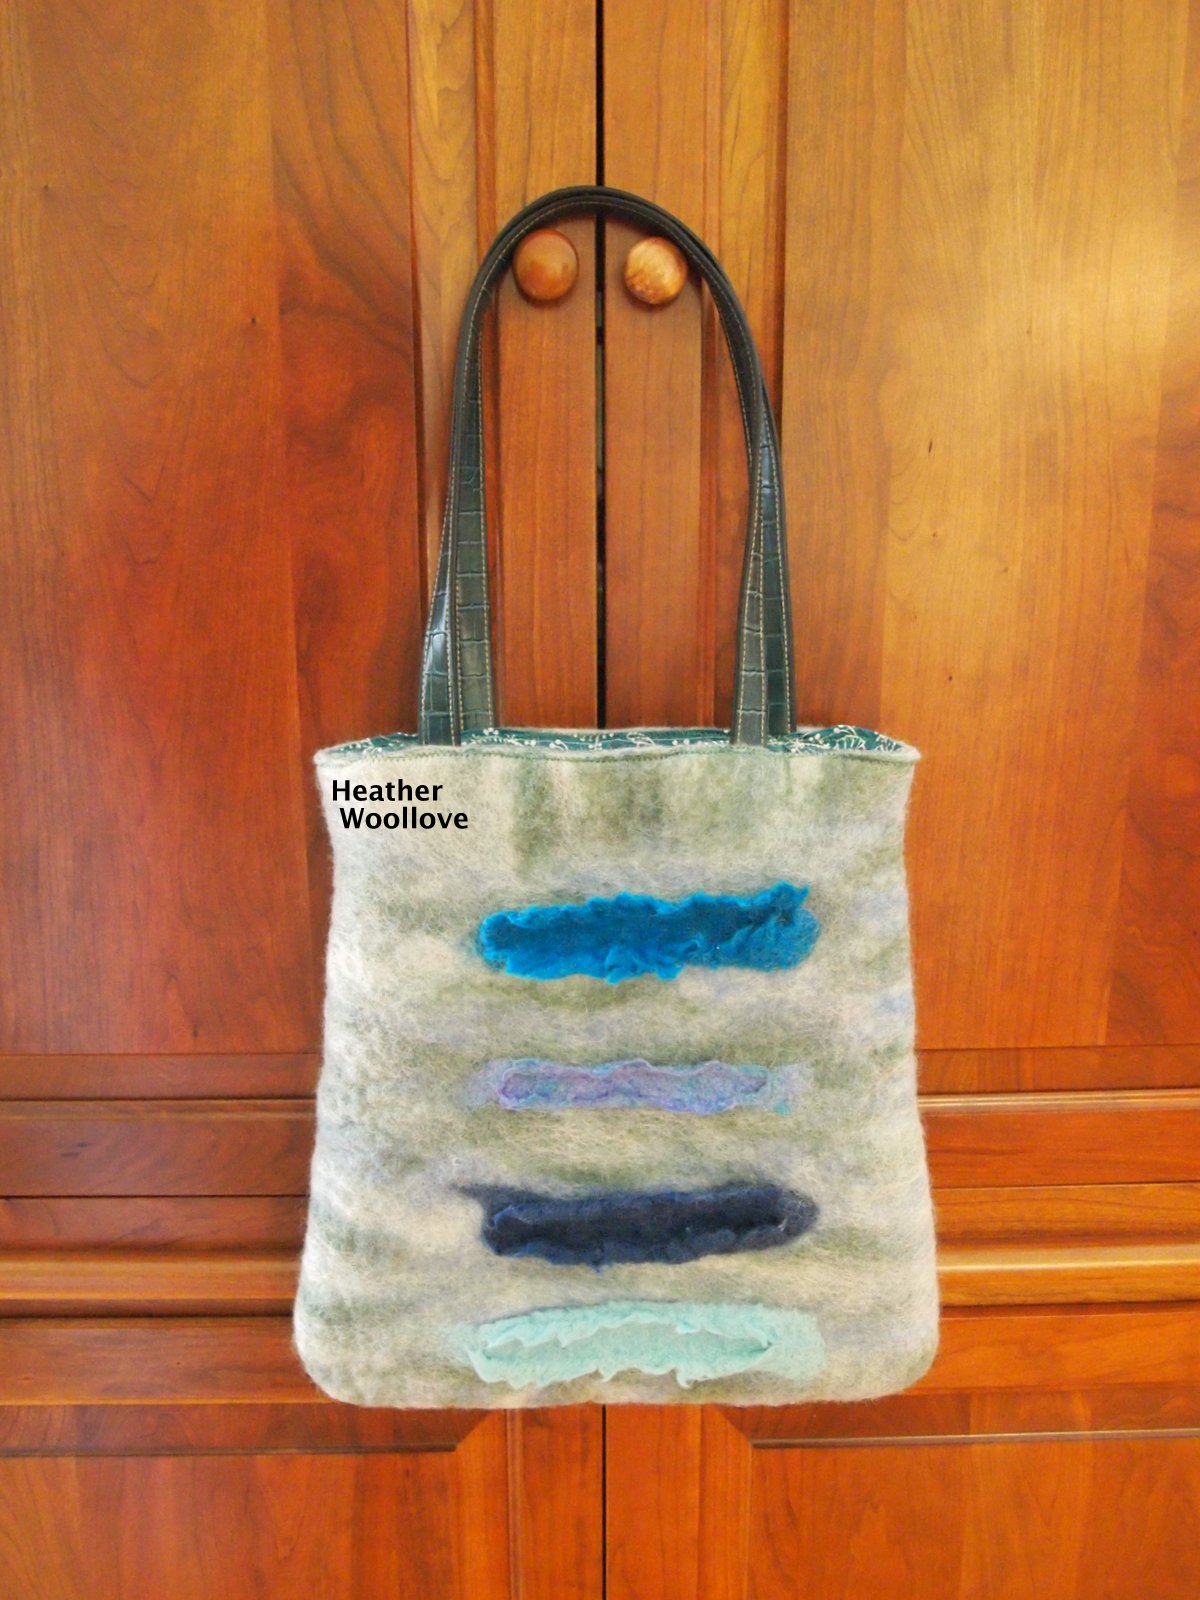
One side of the finished bag...

 
...and the other.

 
Outdoors on the patchy grass(!)...

 
...playing in the ivy...

 
...and hanging around in the lilac tree!

 
Thanks to a random number generator...

...the winner of this giveaway is Terrie!

Terrie--I hope that you will enjoy using this bag...

...please send your mailing address to woollove-fiberart(at)hotmail(dot)com.

Next time: a sunny and whimsical pre-felt scarf!

Posted by Picasa

Monday, April 9, 2012

Another Stab At Ruffle-Making: Blue Purse- Part 2 of 3

Cutting out the fabric lining...

 
...and stitching on a leftover bit of felt for a pocket.

 
Making 'positioning pockets' for the leather straps...

...from pieces of yellow scrap felt.


Stitching the handles firmly to the scrap felt and fabric lining. 
 
The finished purse...

 
...front side...


...and back... 
 
...and open to show the lining and pocket.

 
I found a beautiful piece of white and blue-green fabric in my stash...

...and fashioned it into a lining for this purse.

I stitched a roomy felt pocket to the lining...

...and re-purposed straps from an old, discarded, leather purse.

If you would like an opportunity to win the purse for your own...

...please comment on this post (if you haven't already on Part 1).

I will be announcing the giveaway winner on Wednesday, April 11th...

...so be sure to get your comments in before Midnight (EST) on Tuesday, April 10th!

Next time: more finished photos...

...and a winner!

Posted by Picasa

Saturday, April 7, 2012

Another Stab At Ruffle-Making: Blue Purse- Part 1 of 3

Laying out some of the necessary 'elements'...

...merino roving, plastic straws and a resist.

 
Rolling the straws in several layers of merino wool...

 
...and covering them with variegated roving.


Cutting the felt to remove the resist. 
 
The partially felted bag with 'intact' straws...

 
...and with the straws removed.

 
The fully felted bag...

...stuffed (to block) and drying.

 
The finished felt.

 
The concept of ruffle-making continues to elude me...

...yet I persevere. :)

I had a collection of soft, short, plastic straws in my studio...

...that originally sheathed the stems of cut flowers.

I thought that they might work well as resists...

...so I decided to test this theory out.

I wrapped each straw in layers of merino roving...

...and placed them on the surface of the resist.

After covering the whole shebang with variegated wool roving...

...I felted the bag until it was mostly felted...

...then cut out the straws.

It took a bit of work to fashion the cut edges into proper ruffles...

...and I do think that, next time, I would want to go a bit larger...

..."bye-bye, straws...it was nice while it lasted!" ;)

Those of you who know me well, will notice right away that this purse was not designed for me...

...but in a colourway that I hope will appeal to one of you.

Since I missed my usual 'birthday giveaway' in March...

...this bag will be a 'spring giveaway', instead!

Please leave a comment on this post or the next one...

...and I will add your name to the list for the drawing.

Next time: sewing a lining for the bag...

...with a re-purposed felt pocket!

Posted by Picasa

Thursday, April 5, 2012

Hand-Painted Silk Tote Bag- Part 2 of 2

Turning the tote right-side out...

...and looking a little 'Alien'-like in the process! :)

 
The felted bag prior to trimming...

 
...and after trimming (back side)...


...and front. 


Using white roving behind the painted silk helps to preserve the delicate design. 
 
Placing roving around the edge of the resist keeps the raw fabric edges from showing.


This side looks rather 'planetary', I think...


 ...while this side reminds me of diatoms swimming happily in the sea!
 
Unlike some of my other totes...

...with this one, I wanted less of an open 'market tote' and more of a 'project tote'.

So, in order to keep my friend's knitting needles and works-in-progress from falling out...

...I angled the layout of the handle to make it a bit more secure.

I like that so much of Melissa's beautiful hand-painted silk is visible in this project...

...and I hope that she has it filled with yarn as we speak!! :)

Posted by Picasa

Tuesday, April 3, 2012

Hand-Painted Silk Tote Bag- Part 1 of 2

Laying out teal roving in a 'tote shape' (on a round resist)...

 
...then adding a layer of hand-painted silk gauze.


On the reverse side, adding hand-painted circles...

...cut from the corners of the silk square (above).

(I didn't want to waste even a scrap of this lovely silk!)
 
Here are the circles in close-up.

 
Covering side two with concentric rings of roving...

 
...and wetting it out.


The red dot helps me to know where to cut (important!).


Covering side one with mostly white roving...

...in order to showcase the painted silk design.

 
You may remember a messenger bag...

...that I made some time ago for my friend, Melissa.

Because it was a collaborative project...

...and she had designed and painted the silk herself...

...I never felt quite right, even with her permission...

...thinking of using the second (spare) piece of silk for anyone else but her.

So...I recently decided to make her a slightly different kind of bag with the left-over piece...

...and, since she's a master knitter/crocheter...

...a tote bag seemed 'just the thing'!! :)

You'll notice that I learned my lesson with the Mandala pillows...

...and I took special pains to place wool roving between the resist and the silk...

...around the edges of the tote, and those of the added silk circles.

Next time: the finished tote!

Posted by Picasa

Sunday, April 1, 2012

"Fern and Flower" Drawstring Bag- Part 2 of 2

The finished bag (fern side)...

 
...and flower side.

 
I used narrow, grosgrain ribbon for the drawstring...

 
...but made the straps a bit shorter than with my previous bag.

 
Filled with things, it looks like this...

 
...and I hope that my friend will find it a useful size for storage...

 
...since she may already own a few too many of my purses!  Grin.

 
After sewing on the satin ribbon casing...

...I threaded lengths of narrow grosgrain ribbon through it...

...one from each side of the bag.

This enabled the drawstring to work easily...

...while allowing the bag to open to its full width, as well.

By working inside-out , the pencil roving just melted into the felt...

...and the design didn't shift or deform...like it might if you added it last.

Posted by Picasa