Showing posts with label felt scraps. Show all posts

Wednesday, April 8, 2015

"Spring Cleaning" Compost Bin and Lid- Part 2 of 3

Fulling the project.


                                                        The completed lid.


                                                The finished felt was very thin...


                        ...and even though I intended to cover a wire frame with it...

                               ...I decided to 'beef it up' with a thick felt insert.


                                       From leftover fiber and finished felt scraps...


                                              ...I created a thick, round pile.


                                                 Using a combination of felting...


                                                    ...and hand-stitching...


                                       ...I prepared a 'pad' for the original felt lid.


                              Threading the bubble wrap 'channel' with a drawstring...

                         ...I cinched the felt tightly around the wire frame and felt pad...


                                  ...and added a wooden handle for ease in opening.


                                           Next time: the finished compost bin...

                                 ...stitched together from re-purposed, finished felt.

Wednesday, April 11, 2012

Another Stab At Ruffle-Making: Blue Purse- Part 3 of 3

One side of the finished bag...

 
...and the other.

 
Outdoors on the patchy grass(!)...

 
...playing in the ivy...

 
...and hanging around in the lilac tree!

 
Thanks to a random number generator...

...the winner of this giveaway is Terrie!

Terrie--I hope that you will enjoy using this bag...

...please send your mailing address to woollove-fiberart(at)hotmail(dot)com.

Next time: a sunny and whimsical pre-felt scarf!

Posted by Picasa

Monday, April 9, 2012

Another Stab At Ruffle-Making: Blue Purse- Part 2 of 3

Cutting out the fabric lining...

 
...and stitching on a leftover bit of felt for a pocket.

 
Making 'positioning pockets' for the leather straps...

...from pieces of yellow scrap felt.


Stitching the handles firmly to the scrap felt and fabric lining. 
 
The finished purse...

 
...front side...


...and back... 
 
...and open to show the lining and pocket.

 
I found a beautiful piece of white and blue-green fabric in my stash...

...and fashioned it into a lining for this purse.

I stitched a roomy felt pocket to the lining...

...and re-purposed straps from an old, discarded, leather purse.

If you would like an opportunity to win the purse for your own...

...please comment on this post (if you haven't already on Part 1).

I will be announcing the giveaway winner on Wednesday, April 11th...

...so be sure to get your comments in before Midnight (EST) on Tuesday, April 10th!

Next time: more finished photos...

...and a winner!

Posted by Picasa

Friday, February 4, 2011

Two Projects Made From Leftover Felt

A piece of a purple bark scarf (what was I thinking?), cut to fit around my dust mop.


Environmentally sound dusting...just shake or wash the cover, then re-use!


Stuffing scrap felt into an onion bag.


Won't my birds have colorful nests this year?


I have a drawer full of felt scraps from finished projects...

...and every now and then, I like to think of new ways to use them!

I had read somewhere about using a sock, instead of expensive, disposable cloths with my dust mop...

...so I decided to try to fashion one out of felt!

I cut and wrapped the piece around my mop, stitching the ends...

...and attached two small pieces of velcro to the flaps for easy removal.

*********************************************
The nesting material bag is an idea that I appropriated from my friend, Ruth...

...and I can't wait to watch as the bag empties, and the felt-lined nests appear!! :)

Posted by Picasa

Thursday, December 23, 2010

'Ribbon Candy' Garland + Cookie Recipe

My daughter, L, working hard.


The garland progresses.


It's nearly there.


The finished garland, wrapped on cardboard to keep it from tangling.


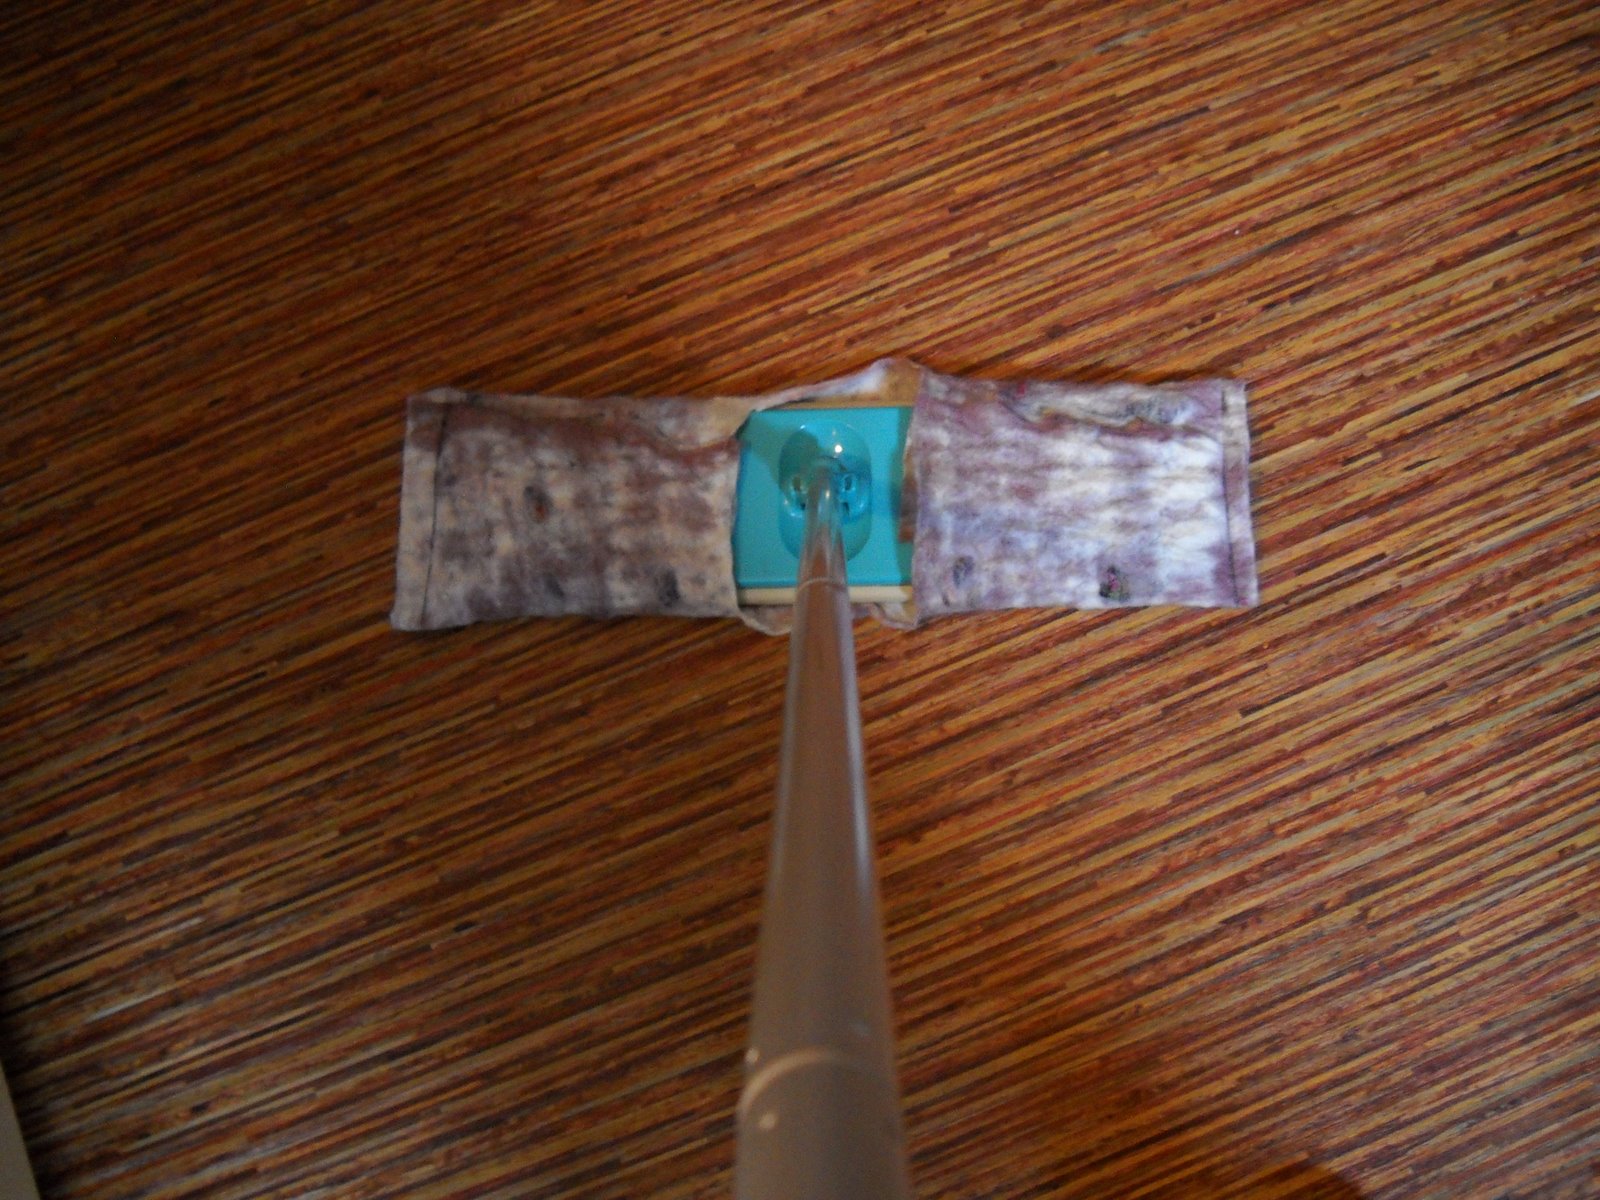
My daughter, L, had a terrific idea the other day...

...for using up some of the trimmed-off bits from my pillow covers.

She threaded the thin felt strips using a heavy-duty needle and upholstery thread...

...then tied knots before and after each color, leaving areas of bare thread in between.

I think it's a rather magical Christmas tree garland...

...and I'm really glad she thought of it!
*****************************************

In case you're in need of an easy, last-minute cookie recipe...

...here's one of my favorites from a long-ago Gourmet magazine.

Orange Almond Biscotti

2 cups flour
1 cup sugar
1 teaspoon baking soda
1/4 teaspoon salt
2 large eggs
1 large egg yolk
1 teaspoon vanilla
1 tablespoon orange zest; freshly grated
1 and 1/2 cup whole almonds; toasted lightly & chopped coarsely

----EGG WASH----
1 large egg; beaten with 1 teaspoon water

In the bowl of an electric mixer, fitted with a paddle attachment, blend the flour, the sugar, the baking soda and the salt until the mixture is combined well.

In a small bowl whisk together the whole eggs, the yolk, the vanilla and the zest, and add this mixture to the flour mixture, beating until a dough is formed.
Stir in the almonds.

Turn the dough out onto a lightly floured surface, knead it several times and halve it.
Working on a large buttered and floured baking sheet, with floured hands form each piece of dough into a flattish log 12 inches long and 2 inches wide.
Arrange the logs at least 3 inches apart on the sheet and brush them with the egg wash.
Bake the logs in the middle of a preheated 300 F oven for 50 minutes and then cool them on a baking rack for 10 minutes.

On a cutting board, cut the logs crosswise on the diagonal into 1/2 inch thick slices.

Arrange the biscotti, cut sides down, on the baking sheet and bake them in the 300 F oven for 15 minutes more on each side.

Transfer the biscotti to racks to cool and store them in airtight containers.

For a festive touch, drizzle them with melted dark chocolate.

Posted by Picasa