Sunday, March 11, 2012

Mandala Pillows- Part 3 of 3

The finished pillow number two...
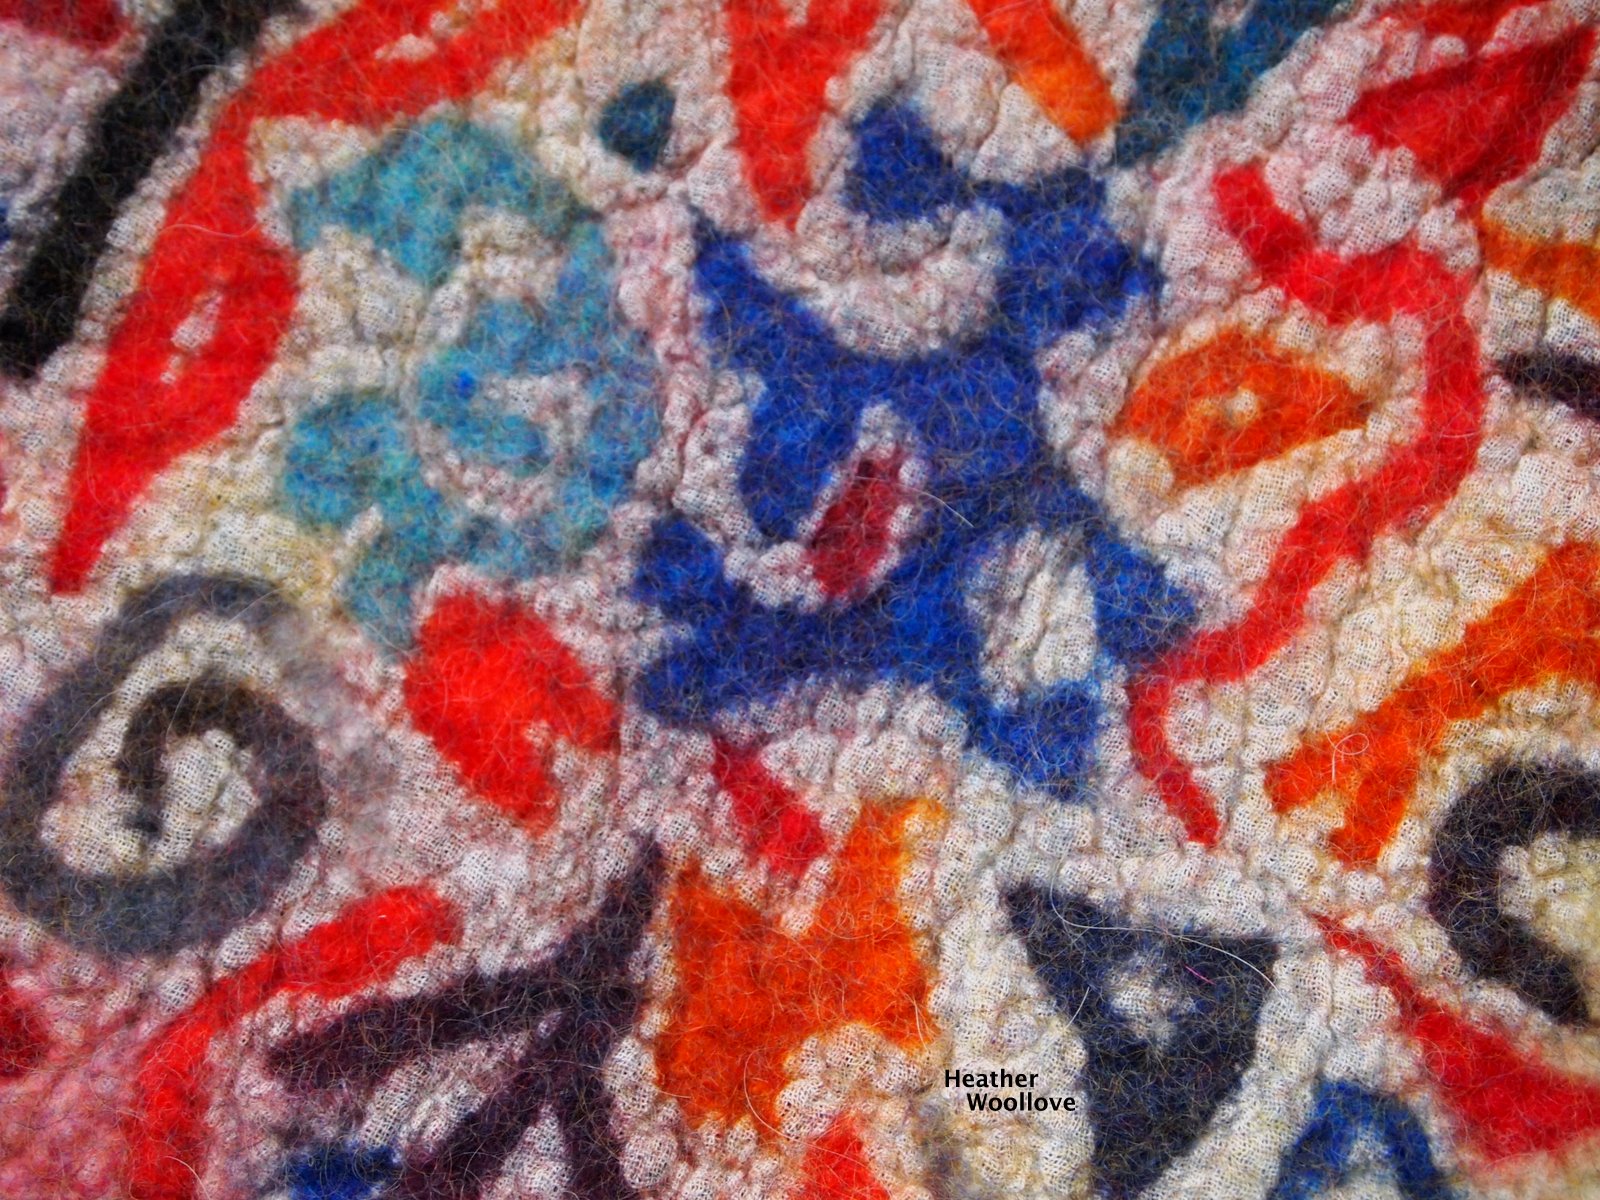

...and in close-up.


Pillow number one after stuffing.


Cutting chenille fabric for the 'pillow inserts'.


The fully stuffed back side of pillow #1 with felt loops and button closures.


The more lightly stuffed pillow #2 with a single button and loop.


Side by side comparison of the pillow backs...


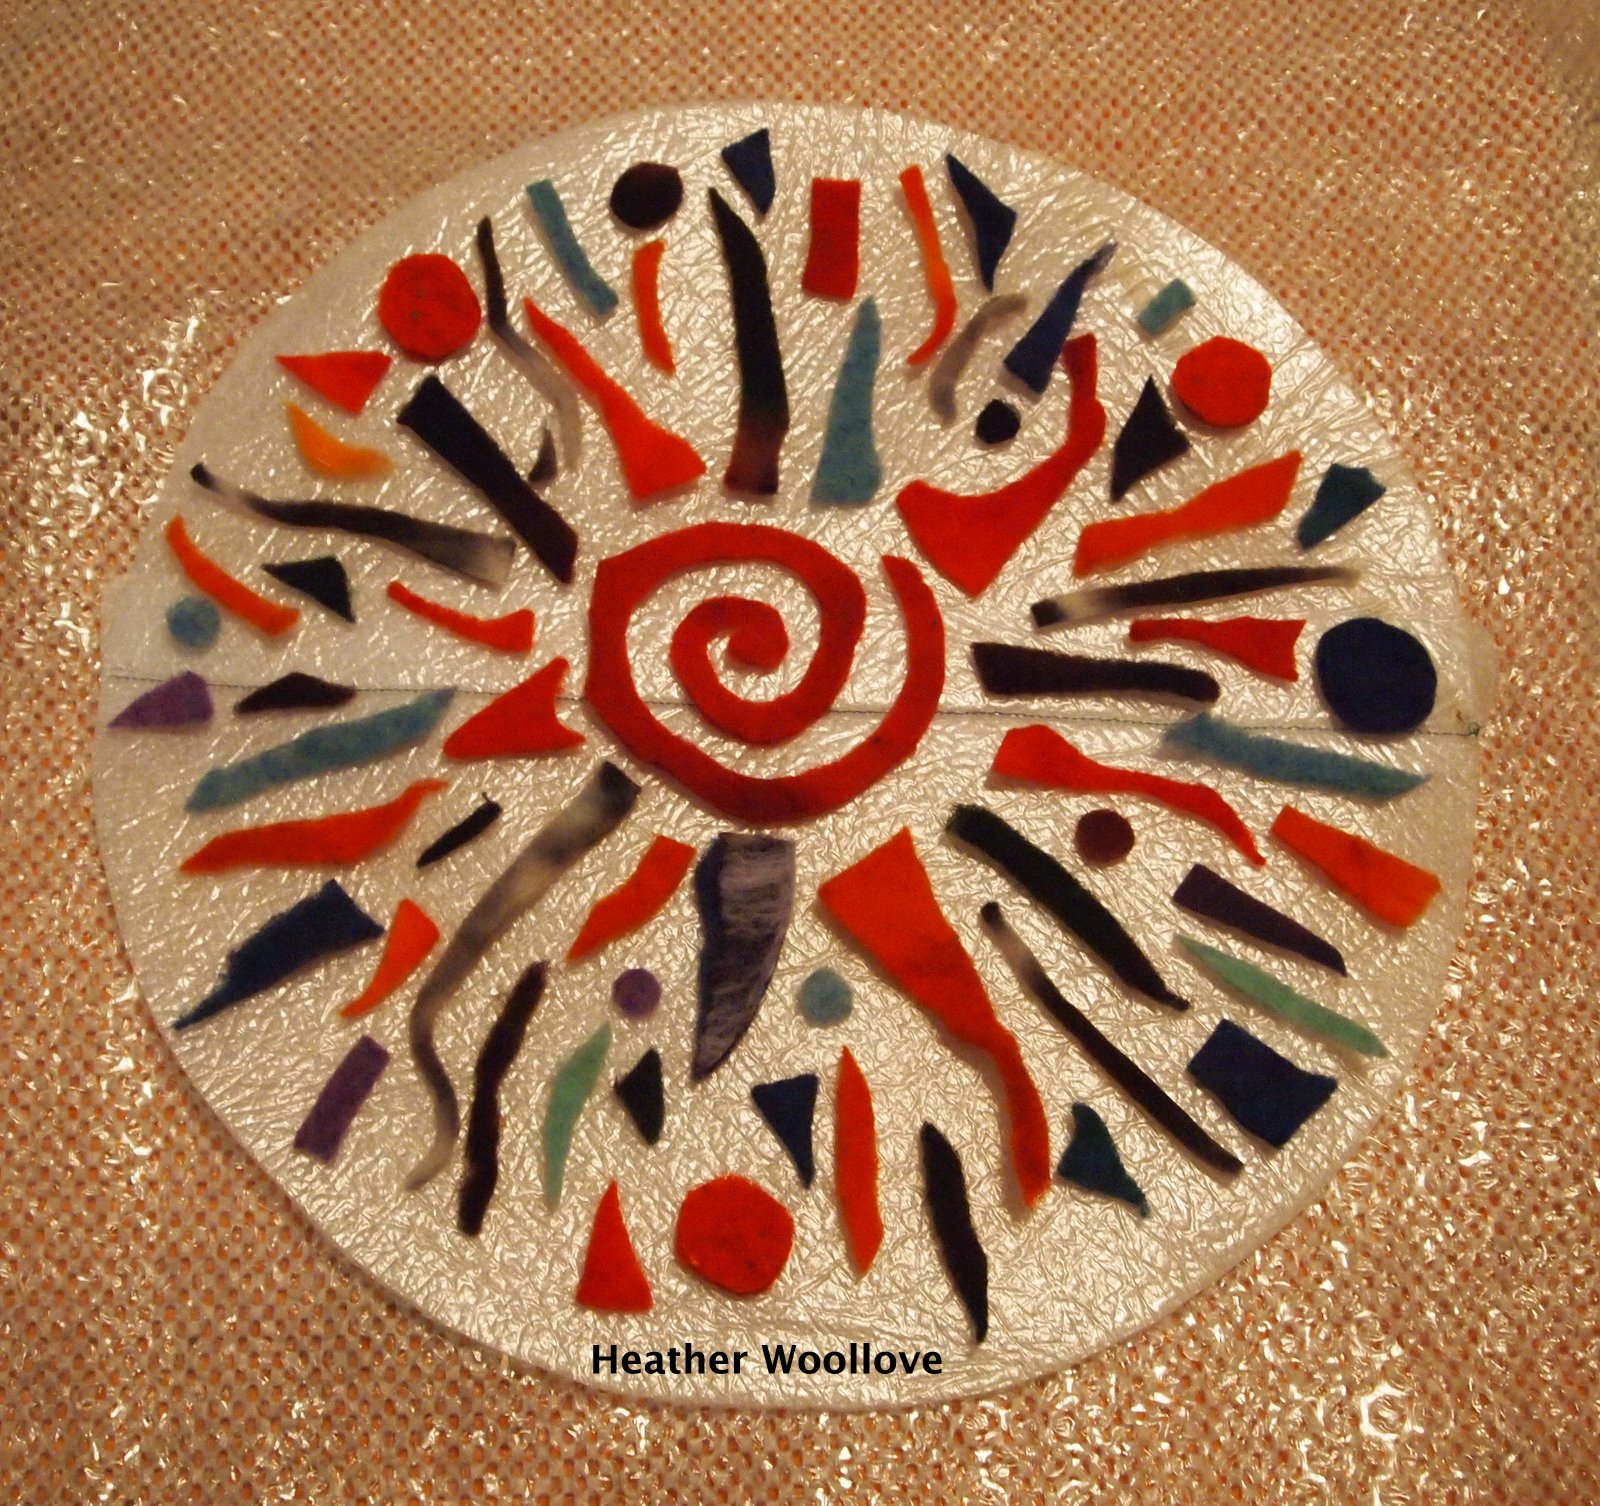
...and shown with the original rug.

Because these were not made to a 'standard' pillow insert size...

...I had to customize the filling for each pillow.

I made pillow #1 an over-stuffed one...

...and used decorative closures for an appealing backside. :)

I made the second one much thinner...

...and found that it needed only a single button closure.

My goal was to maintain the round shape of each pillow...

...and, unfortunately, I didn't find that the 'flange' idea worked all that well.

Neither design provided enough extra felt to make an actual flap...

...and I think it may need to be quite a bit wider to work in this manner.

I was hoping to test this hypothesis further, prior to posting this project for you...

...but my mind moved back to (where else?) purses, and I never did. (Sorry!)

I'm hoping that one of you pillow-makers out there will pick up where I left off...

...and see whether there is any utility in this idea, or not. :)

Posted by Picasa

Friday, March 9, 2012

Mandala Pillows- Part 2 of 3

The partially felted pillow, slit open along the 'flange' edge.


The fully felted pillow...stuffed with cloth placemats to dry.


The finished pillow.


Beginning the lay-out for pillow number two...

...(this time, I've put a thin layer of roving around the perimeter, over the pre-felt).


Adding the cotton gauze.


Making the resist 'flange' a bit wider and shorter, too.


Notice how the cotton gauze is much more integrated this time...

...with no 'hairy' cloth edges showing?


You can really see the difference when you compare pillow edges...

...(pillow number 2 is on top).

Working with cotton gauze for rug making is not a problem...

...since you merely tuck it around the back side as you work. :)

Pillows, however, are another matter entirely...

...since the gauze edge is visible for all to see. :(

My thought with pillow #1 was to cut the fabric larger than the resist...

...and merely wrap it to the back side where it wouldn't be too visible.

While that's true, I still didn't like the look of the edge when it was done...

...so I decided to put a thin layer of wool (only at the perimeter)...

...between the pre-felt and the gauze for pillow #2.

Next time: the finished pillows...

...and thoughts on 'flange utility'! :)

Posted by Picasa

Wednesday, March 7, 2012

Mandala Pillows- Part 1 of 3

Because several of you had questions in December about the size of this pre-felt rug...


...here are photos with a 36-inch (yardstick) for reference.


I really fell in love with the look and texture of this project while working on it...


...so I decided to make a couple of Mandala pillows to match!


I began by covering the resist with pre-felt snippets...


...then added a layer of cotton gauze and wool batts, and flipped it over.


The art batt-wrapped 'design' side...


...and the back (flap) side.


Because my daughter was so happy with her rug...

...I decided to make two coordinating pillows for her, as well!

I used the same felting method as before...

...covering the resist with bits of pre-felt, then cotton gauze, then wool batts.

 I wanted the shape to remain round after felting (and not narrow into an oval)...

...so I hypothesized that if I added a narrow resist 'flange' to the back side...

...I would have enough additional felted 'material' to act as a flap for stitching the pillow closed.

Next time: how this idea worked out for me...

...and some modifications for pillow number two. :)

Posted by Picasa

Monday, March 5, 2012

Wet-Felted Studio Curtains- Part 2 of 2


One completed curtain...


...with sunlight shining through it.


Another finished valance...


...and one window-sized curtain.


A close-up view of the inclusions, back-lit by the sun...


...including a bit of an unfinished crochet project that I found in a thrift store.


A slightly thicker curtain, made in a similar fashion, was made for the room next-door.


Three of the four finished studio curtains.


As I was working on the curtains for the studio...

...I decided to make an additional one for the room next door, as well.

I guess I figured, "In for a penny, in for a pound!!" :)

It's a slightly thicker twin to the one in my studio...

...and these two oddly placed windows were once niches for room air-conditioning units...

...in the days before 'central air'.

I think you'll agree that the curtains look best with sunlight shining through them...

...but regardless of the time of day, they certainly have made a nice change in the studio.

Posted by Picasa

Saturday, March 3, 2012

Wet-Felted Studio Curtains- Part 1 of 2


'Log cabin quilt' valances from my days as a 'sewist'.


Laying out one layer of domestic wool roving...


...and adding silk yarn, tussah silk, lace, and pieces of silk fabric. 


During fulling...note the shrinkage!


After ironing and drying.


Pinning and marking stitching lines for the rod pocket.


All ready to sew!


I have four studio windows...

...that were sorely in need of new curtains.

I had been musing about this project for some time, but without a clear direction...

...and then came the votive candle holders at Christmas-time!

It suddenly struck me that this sheer, white, luminous look was what I was after, all along...

...and I knew exactly what I needed to do!

Since I wanted 'unfussy' valances with irregular borders...

...(I had had enough geometry with my quilt-block ones)...

...I decided to use domestic wool roving that I had on hand.

It's a bit rough and not pure white in color...

...and I love the little 'hairy bits' that I found in it while felting. :)

Instead of placing the embellishments on the outside of the felt, like I did with the votive holders...

...I 'sandwiched' them between two thin layers of roving, instead.

I used small bits of any white or off-white fiber, fabric or yarn that I found in my stash...

...and placed them roughly parallel to each other during my layout.

After adding a second layer of fiber (perpendicular to the first)...

...I proceeded to felt the piece as usual.

To make the finished pieces wide enough for adequate coverage (including gathers for fullness)...

...I laid out roving two-and-a-half times the width of each window...

...and one-and-a-half times the height.

Next time: the finished valances in situ.

Posted by Picasa

Thursday, March 1, 2012

Striped 'Mariana' Purse- Part 2 of 2

Centering a leather loop for fastening...


...and stitching it on.


Fashioning two re-purposed shopping bag handles into a single purse strap...


...and stitching on four leather 'washer' reinforcements.


The finished purse front (sorry for the washed-out photo)...


...and back.


Flat leather shoulder section of the handle.


The finished bag.

While I was thinking about making a strap for this purse...

...I found a paper department store carrying bag with braided nylon handles in my stash.

It occurred to me that I could cannibalize the two straps...

...if I could think of a way to connect them in a subtle manner.

Because I was using leather for the flap fastener this time...

...it seemed logical to cut a flat rectangle of leather for the strap connection as well.

Not only would it coordinate with the other leather and tan-colored nylon strap...

...but it would make carrying the purse a bit more comfortable, as well!

I decided to reinforce the area of the bag where the straps entered and exited, too...

...and I did that by cutting out four small leather circles, and trimming a small central hole in each.

I think it's fun, sometimes, to try to look at things with fresh eyes...

...and utilize pedestrian objects to make something new. :)

Posted by Picasa