Showing posts with label curtains. Show all posts

Friday, June 2, 2017

Hand-Sewn Balloon Shades

With boldly printed cotton fabric purchased in Spain...

...cording and ring tape...


                              ...I set out to replace an aging pair of kitchen shades.


                                 After stitching the tape to the edges of the fabric...

                          ...I fold the fabric into thirds (for help with tape placement).


                                Additional lengths of tape are pinned on and stitched...


                                           ...(all to the 'wrong' side of the fabric).


               The top of the shade is affixed to a wooden bar using glue and staples...

                     ...and the cord is threaded through the eye-hooks and tape rings.


                                                        One finished curtain...


                                                             ...fully installed...


                                                       ...and the other one...


                                                ...in situ over the kitchen sink.


                                      Next time: a felted hat class with Judit Pócs!

Friday, July 31, 2015

Make Do and Mend (Redecorating!)

When I moved into my house some years ago...

...I sewed curtains for a bathroom window...

...from fabric that matched the shower curtain.


                                                Because I still love this fabric...

                                   ...I wanted to repair the portions of the curtain...

                                           ...that were damaged by the sun.


                                          Since I had 'rescued' it once before...

                                           ...(using iron-on, fusible interfacing)...

                                       ...I first needed to remove these sad bits.


                                        With extra fabric from the original project...

                                           ...I 'lined up' the print on the curtain...


                                    ...pinned and stitched the new fabric into place...

                                       ...and voila...you can hardly see the repair!


                                              ***********************************
                                                While I was in a 'sewing mood'...             


                                  ...I decided to make myself a new felting apron...                                     

                                        ...from a water-resistant, cloth tablecloth...
                         

                           ...and some thrift shop bias tape (in two different colors).


                                              The pattern is very easy to follow...


                                                   ...and, as a bonus, it's free!


                                                        (You can find it here!)


                                              ***********************************
                                               While I was in Paris this spring...

                                       ...I purchased some lovely linen yardage... 


                                            ...for making durable dish towels.

                               (A couple of quick seams and they're all ready to use!)


                                  ***********************************************
                                   When I re-painted an upstairs bedroom recently...

                              ...I fashioned coordinating throw pillows and curtains...


                                                 ...from an extra pair of sheets! 


                                             Next time: (Finally) I'm back to wool!

Monday, March 5, 2012

Wet-Felted Studio Curtains- Part 2 of 2


One completed curtain...


...with sunlight shining through it.


Another finished valance...


...and one window-sized curtain.


A close-up view of the inclusions, back-lit by the sun...


...including a bit of an unfinished crochet project that I found in a thrift store.


A slightly thicker curtain, made in a similar fashion, was made for the room next-door.


Three of the four finished studio curtains.


As I was working on the curtains for the studio...

...I decided to make an additional one for the room next door, as well.

I guess I figured, "In for a penny, in for a pound!!" :)

It's a slightly thicker twin to the one in my studio...

...and these two oddly placed windows were once niches for room air-conditioning units...

...in the days before 'central air'.

I think you'll agree that the curtains look best with sunlight shining through them...

...but regardless of the time of day, they certainly have made a nice change in the studio.

Posted by Picasa

Saturday, March 3, 2012

Wet-Felted Studio Curtains- Part 1 of 2


'Log cabin quilt' valances from my days as a 'sewist'.


Laying out one layer of domestic wool roving...


...and adding silk yarn, tussah silk, lace, and pieces of silk fabric. 


During fulling...note the shrinkage!


After ironing and drying.


Pinning and marking stitching lines for the rod pocket.


All ready to sew!


I have four studio windows...

...that were sorely in need of new curtains.

I had been musing about this project for some time, but without a clear direction...

...and then came the votive candle holders at Christmas-time!

It suddenly struck me that this sheer, white, luminous look was what I was after, all along...

...and I knew exactly what I needed to do!

Since I wanted 'unfussy' valances with irregular borders...

...(I had had enough geometry with my quilt-block ones)...

...I decided to use domestic wool roving that I had on hand.

It's a bit rough and not pure white in color...

...and I love the little 'hairy bits' that I found in it while felting. :)

Instead of placing the embellishments on the outside of the felt, like I did with the votive holders...

...I 'sandwiched' them between two thin layers of roving, instead.

I used small bits of any white or off-white fiber, fabric or yarn that I found in my stash...

...and placed them roughly parallel to each other during my layout.

After adding a second layer of fiber (perpendicular to the first)...

...I proceeded to felt the piece as usual.

To make the finished pieces wide enough for adequate coverage (including gathers for fullness)...

...I laid out roving two-and-a-half times the width of each window...

...and one-and-a-half times the height.

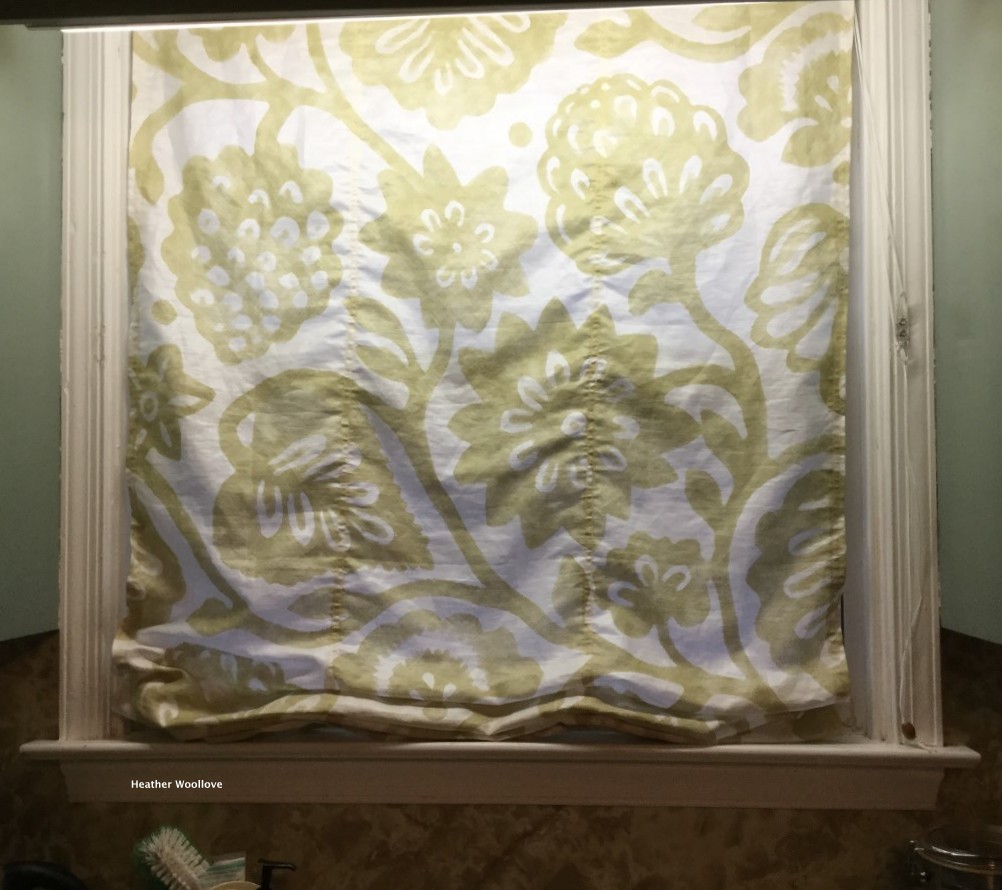
Next time: the finished valances in situ.

Posted by Picasa