Sunday, August 14, 2011

Hindu Deity Tote Bag- Part 2 of 3

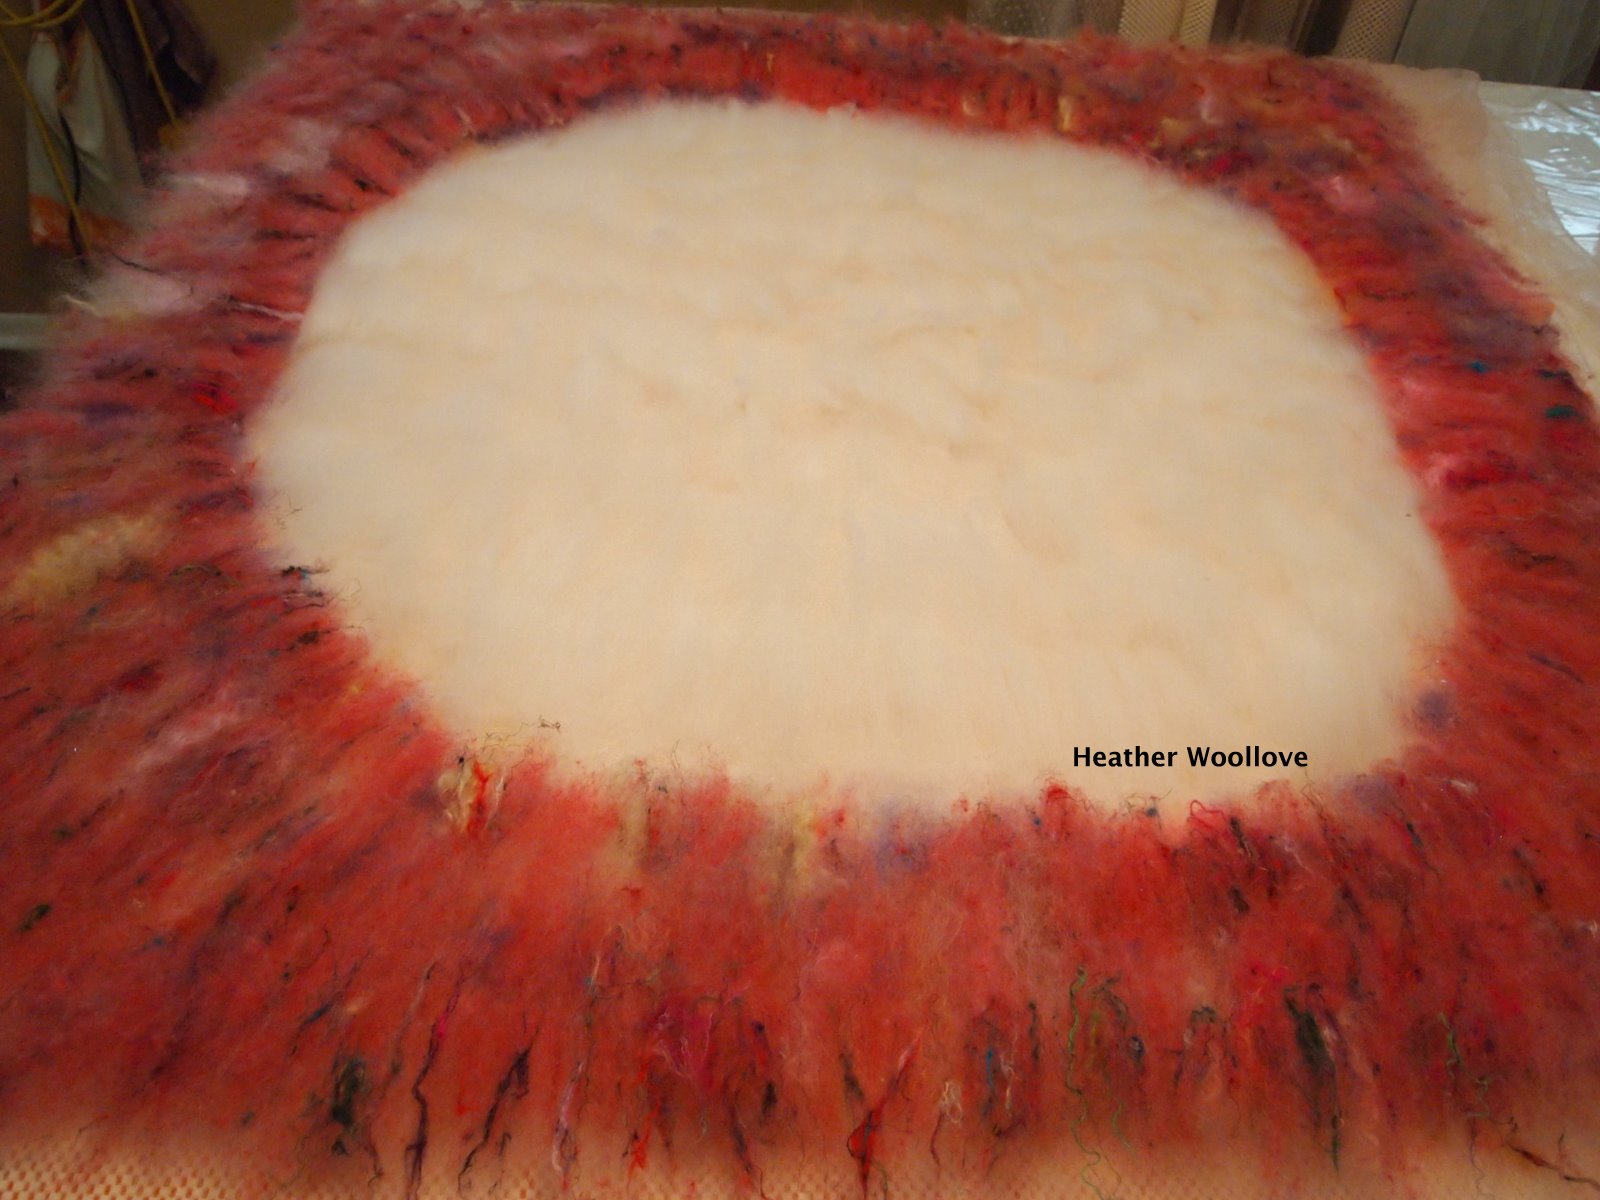
Adding white roving...


...and wetting it out.


Laying out the reverse side of the bag.


Adding more layers of roving.

(The red fiber tells me where to cut when it's time to remove the resist.)


After trimming out the handle.


Stuffed and drying.


See how the white roving behind the scarf allows the design to be seen?


If you read my negative/positive messenger bag posts...

...you'll remember that I used green roving behind the fabric...

...as a way to 'color' the leaves.

With this project, I did essentially the reverse...

...backing the fabric with white roving...

...in order to showcase its intricate design.

For the back side of the tote...

...I laid out roving in a circular pattern.

(A look I like with these totes.)

Next time: the finished bag.

Posted by Picasa

Friday, August 12, 2011

Hindu Deity Tote Bag- Part 1 of 3

Trimming the silk scarf into a circular shape using the resist as a pattern.


The scarf.


Adding roving underneath the edges of the scarf circle, and to the tote base.


More roving.


Laying out the handle section of the bag.


Wetting out the 'design side' of the project.


Since I'm working inside-out, this is actually the back side of the scarf.


My friend is a blue/green kind of girl...

...and since she's practically worn out the last felt tote that I made her...

...her August birthday seemed the perfect occasion to make her another as a gift!

From my 'scarf stash', I discovered a wonderful gauzy silk scarf...

...with the image of a beautiful Hindu deity on it.

I decided to use it as the design element on this bag...

...much as I did with the black and white messenger bags.

Using a circular resist, I trimmed the scarf...

...so that the image would be centered after cutting out the handle.

I ringed the resist with blue-green roving...

...to help the scarf felt well around the edges.

Next time: adding white roving and laying out the tote bag back.

Posted by Picasa

Wednesday, August 10, 2011

Cleveland Browns Table Runner- Part 2

The finished runner.


Close-up of wiggly circles.


My friend's 'shrine' to the Cleveland Browns! :)


The table runner enjoying pride of place...


...and with an autographed helmet!


I think it will now be clear to you...

...just how devoted to this team my friends really are!! :)

They've fashioned a space that's designed for large-scale entertaining...

...especially during football season!

Because every good party involves food and drink...

...I'm anticipating that the runner will be spilled upon quite a bit.

Luckily, felt is a very forgiving thing...

...and with a little TLC during cleaning...

...they should be able to enjoy this gift for years to come!

Posted by Picasa

Monday, August 8, 2011

Cleveland Browns Table Runner- Part 1

Layering brown wool roving and cotton gauze.


Folding in the edges and adding colored stripes.


Circles come next!


After wetting it out.


To thank my dear Ohio friend for her excellent hospitality last weekend...

...I took along a football themed table runner for her family room table.

Having recently lost her elderly father, who lived with them...

...she and her husband have since reclaimed and redecorated his quarters...

...in a manner befitting their Cleveland Browns football fanatic natures! :)

Since I am not a sports fan myself...

...I re-imagined the look of a football field for my design. :)

My color choices here were a 'given'...

...since the team colors are orange and brown.

To begin, I laid out a layer of brown wool roving...

...and then a layer of cotton gauze.

More layers of orange and varying colors of brown came next (as stripes)...

...and, after wetting out the piece, I folded in the edges to make a neat rectangle.

I split lengths of roving into thin sections to make circles...

...then placed them randomly on the surface of the runner.

Next time: the finished project...in its new home. :)

Posted by Picasa

Saturday, August 6, 2011

Wet Felted Baby Blanket- Part 2

More 'bleeding' of the blue roving (and pink sari silk) plus a new friend!


The finished blanket.


A close up of the wayward blue dye.


"Hello handsome!"


As you probably already know...

...I'm not a huge fan of 'cute' for babies.

Odd? Yes. A little aberrant, even? Bien sur!...

...but, please, nothing too saccharine for those impressionable little minds!

That's why I had to add a spider to an otherwise tame doggie blanket...

...and I think it makes the piece much more interesting! Giggle.

You may recall an earlier baby blanket of mine that I decorated with pre-felt germs...

...in comparison, this one's positively tame!!

I used dark grey pencil roving to make the spider...

...and yes, I know that it doesn't have the proper number of legs...

...but hey, I'm an artist here, and six looked better to me than eight! :)

You'll also notice that the errant blue dye moved around some during felting...

...and although I'm not exactly happy with it...

...I don't think that it ruined the piece, either.

If you don't look too closely or even squint a bit...

...you might think that I marbled it on purpose! Grin.

Posted by Picasa

Thursday, August 4, 2011

Wet Felted Baby Blanket- Part 1

Art batts made with my new 'Production' drum.


Detail of sari silk, wool, Angelina, mohair, handspun yarn and dyed curly locks.


Laying out white roving and colored fiber on a layer of cotton gauze.


Wetting out the piece.


Adding a pencil roving dog.


Rubbing through bubble wrap to 'set' the design.


(Notice the blue roving bleeding a little?

Alas, this problem persisted in the finished piece.)

***************************************************
I recently ordered a second drum for my Deb's Delicate Deluxe drum carder...

...a 'Production' drum that can handle snippets of yarn or fabric...

...Angelina, curly locks, sari silk and other strong fibers.

It's a lot less fiddly to use than the 'Fur' drum...

...and it's so much fun to just throw things in and see what I get! :)

I have a good friend who just had his 7th child...

...and I wanted to make something special for this cherished baby girl.

I laid out a square piece of cotton gauze...

...and covered it with a thin layer of white roving.

I then pulled pieces from my pink art batts...

...and made a frame-like section around the edges.

I filled the center with more white roving...

...and added a second layer of fiber to all of the pink areas.

After wetting down the project with soapy water...

...I added a pencil roving outline of a dog.

In order to help the design felt into the blanket...

...I rubbed it awhile through bubble wrap before rolling.

Next time: the puppy needs a friend!

Posted by Picasa

Tuesday, August 2, 2011

Cleveland Rocks!! Part 2

More fantastic art.


Across the room...


Closer...


Closest...with nose detail (remarkable!).


Our lunchtime haunt.


...with art of a different kind (hello Ghoulardi!!).


One of our absolutely delectable sandwiches!


I couldn't resist showing you a few more wonderful pieces of art from the Cleveland Art Museum...

...but the true focus of today's post is our lunch! :)

On our way home from the museum, we stopped in Cleveland Heights at the
Melt Bar and Grilled...

...and oh, my...was the food delicious!

Their extensive beer list runs to 3 pages...

...but they're best known for their gourmet grilled cheese sandwiches...

...and these are sandwiches like I'd never before seen!

They stuff them with things like meatballs, fried walleye, lasagne and pierogi...

...and the coleslaw, fries and the fresh bread that they're made from are absolutely yummy, too!

It's a fun and funky dining experience...

...with menus printed on the backs of old record albums, a 'famous people' mural wall...

...all-season holiday decorations, and even the original tin ceiling!

It was perfect for us peckish museum goers...

...and I highly recommend it if you're ever in the neighborhood!!

Posted by Picasa