Monday, November 10, 2014

"Envelope Experiments" (Raw Fleece Pillows)- Part 1 of 3

Raw fleece pillow sample one...

   
                                                  ...prior to stuffing and sewing.


                                                For this part of my experiment...

                                        ...I added an extra 'flap' during the layout...                                             


                                            ...just in the center of one side...

                                          ...(where I wanted the opening to be).                 


                                        Once stuffed, the flap is easily tucked in...

                                   ...and a bit of hand-stitching 'seals' the envelope.


                                              The felted locks in close-up.


                                             Pillow number one...completed.


                                                 Next time: a raw fleece pillow...

                                        ...with a different kind of envelope flap.

Saturday, November 8, 2014

Re-Visiting the "Reptile-Skin" Purse- Part 4 of 4

The fully dry 'wool only' side of the finished bag...


                                                         ...and the 'silk side'.


                                          Here's the silk side again (in close-up).


                                                 The bag interior with pocket.


                                             A heavy duty zipper is installed...


                                     ...and a hand-fashioned leather strap is added.


                          For those of you who may desire a side-by-side comparison...


                    ...here's my latest bag, along with another recent "Reptile Skin" project.


                                          The 'wool side' of the completed purse...


                                                         ...and the 'silk side'.


Thursday, November 6, 2014

Re-Visiting the "Reptile-Skin" Purse- Part 3 of 4

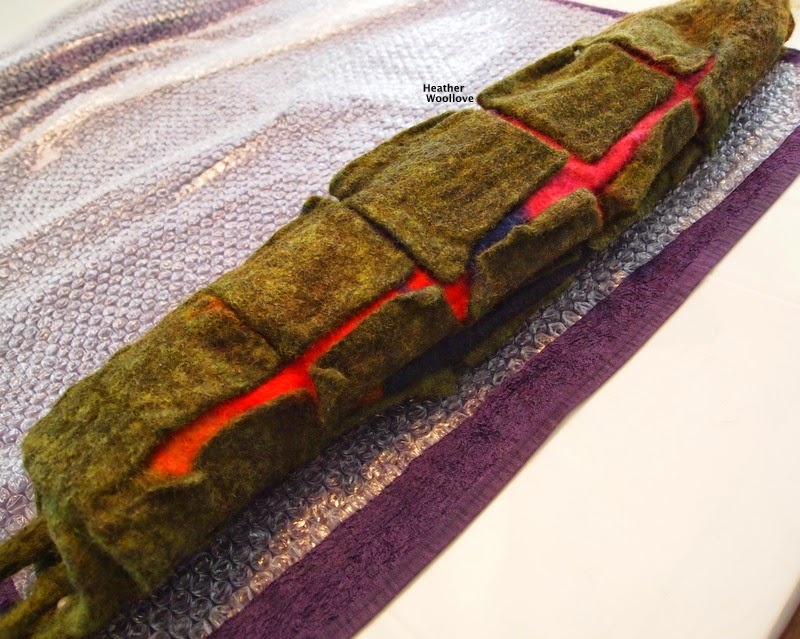
Rolling...


                                                    ...and felting the piece.


                                          The inside of the purse on side one...


                       ...and on side two (on view: the embellished interior pocket).


                                                    The fully felted bag interior...


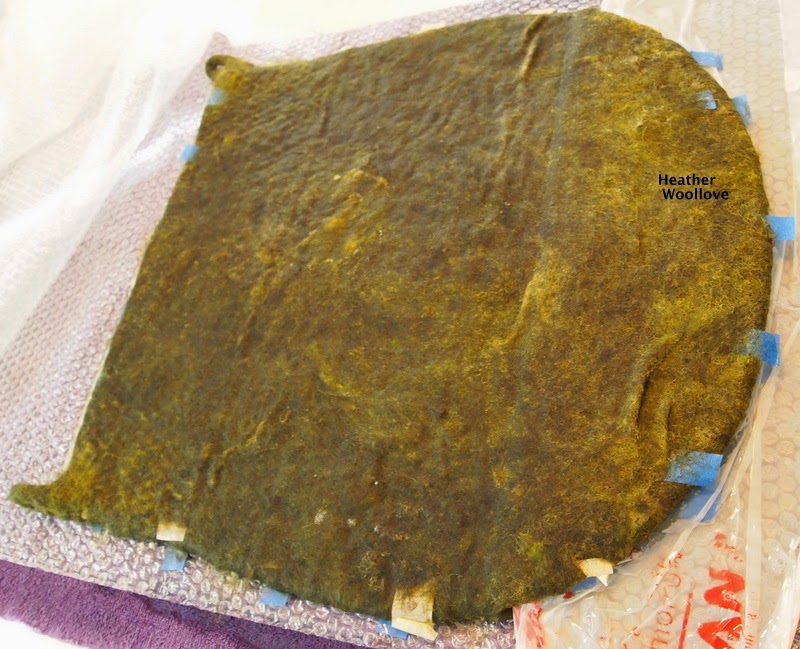
                                            ...and exterior: blocked and drying.


                                  The purse sports a bright pocket and bottom.


                                          The silk-embellished side of the bag...


                                                    ...and the 'wool only' side.


                                        Next time: functional additions are made...

                                       ...(a zipper and a handmade leather strap).

Tuesday, November 4, 2014

Re-Visiting the "Reptile-Skin" Purse- Part 2 of 4

 Edging the project with a layer of Finn wool...


                                                ...adding a painters tape grid...


                                 ...and covering all of side one with more Finn wool.


                       The process is then repeated on the 'non silk' side of the bag.


                                            Flipping open the flanged bottom...


                                     ...and adding tape and wool to it, as well.


                                          Covering the grid on side two with wool.


                                                     Mid-way through felting.


                                        Next time: the bag begins to take shape!

Sunday, November 2, 2014

Re-Visiting the "Reptile-Skin" Purse- Part 1 of ?

Laying out a section of wool from a batt...


                                               ...adding a layer of silk gauze...

                           ...and covering them with a pocket-shaped foam resist...

                                              ...and a layer of white roving.


                                     Finn wool layers (from batts) are added next...


                                               ...and the project is wetted out.


                                            Wool is added to the flange bottom...


                                           ...the resist is flipped to side two...

                             ...and a layer of white roving is applied to its surface.


                                         Another layer of Finn wool is added...


                                       ...the purse is flipped back to side one...

                                    ...and cords are formed at the top of the bag...

                                                 ...for handle attachments.


                              The wool layers are topped by hand-dyed silk pieces...


                        ...and small 'blobs' of wool are added at the fabric junctions...

                                                           ...for security. :)


                                        Next time: a painters tape grid is laid out.

Friday, October 31, 2014

Fiona's Highly "Illuminating" Workshop- Part 3 of 3

This nighttime illumination photo...

...with its 'jack o' lantern'-like appearance...

...seems like an apt one for a Halloween post, doesn't it?!? :)


 Here are its spooky 'innards'...

...a metal ring with three braces leading to a center hole...

...plus an cord set like this one.


Conceptually, I imagined an oblong, exterior shape...


...with circular piercings...


...filled with a second, spherical shape...

...fashioned with circular inclusions that would show up as dark spots...

...when the lamp was illuminated.


                               I wanted to be able to look through the cut-out circles...


                              ...to see circular 'dots' on the inner (circular) felt sphere...


                                   ...and also all the way through the lampshade...


                                       ...via circular holes on the opposite side.

                      (This detail shows the inner sphere with its darkened circle...

                           ...and beyond it, several holes in the opposite side.)


                                                     The finished lamp at night.