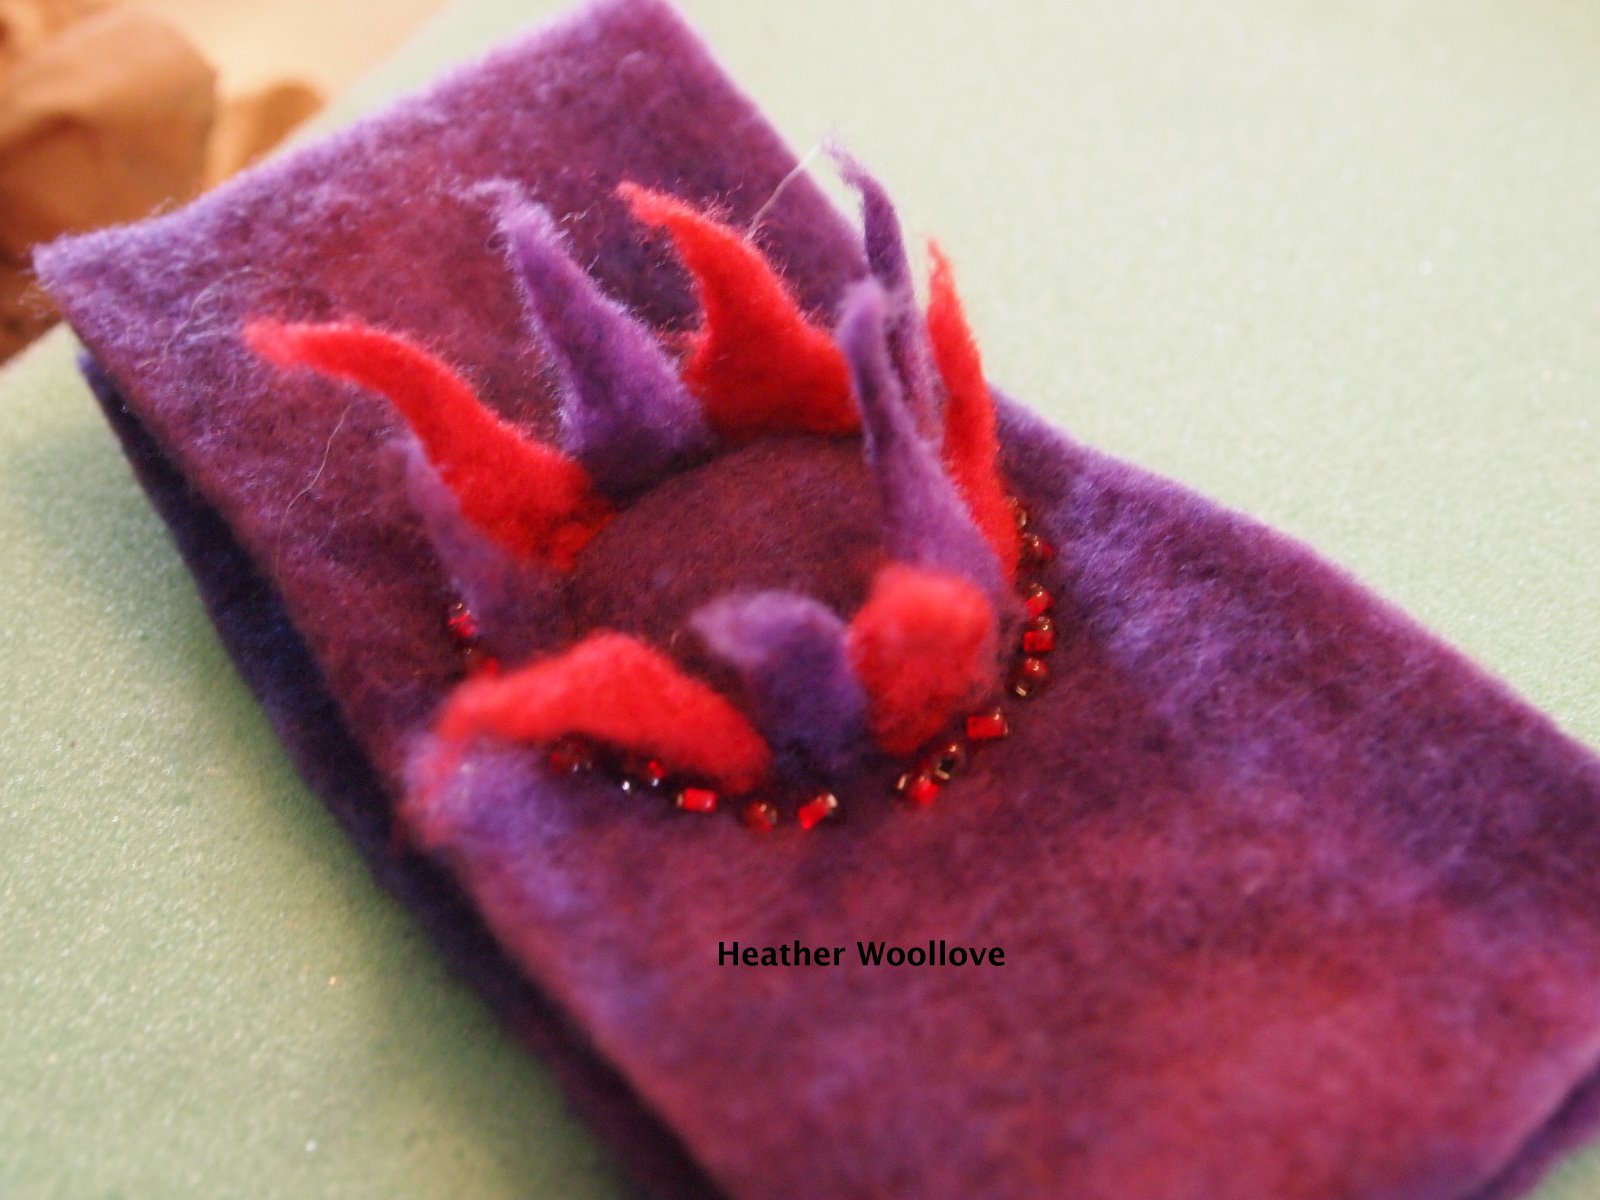
After attaching the strap...back side.
The purse front.
With the addition of a button closure.
A close up of the tagua nut (corozo) button...
...notice how the brown Icelandic fleece has migrated through the layers of white wool roving to the inside of the bag?
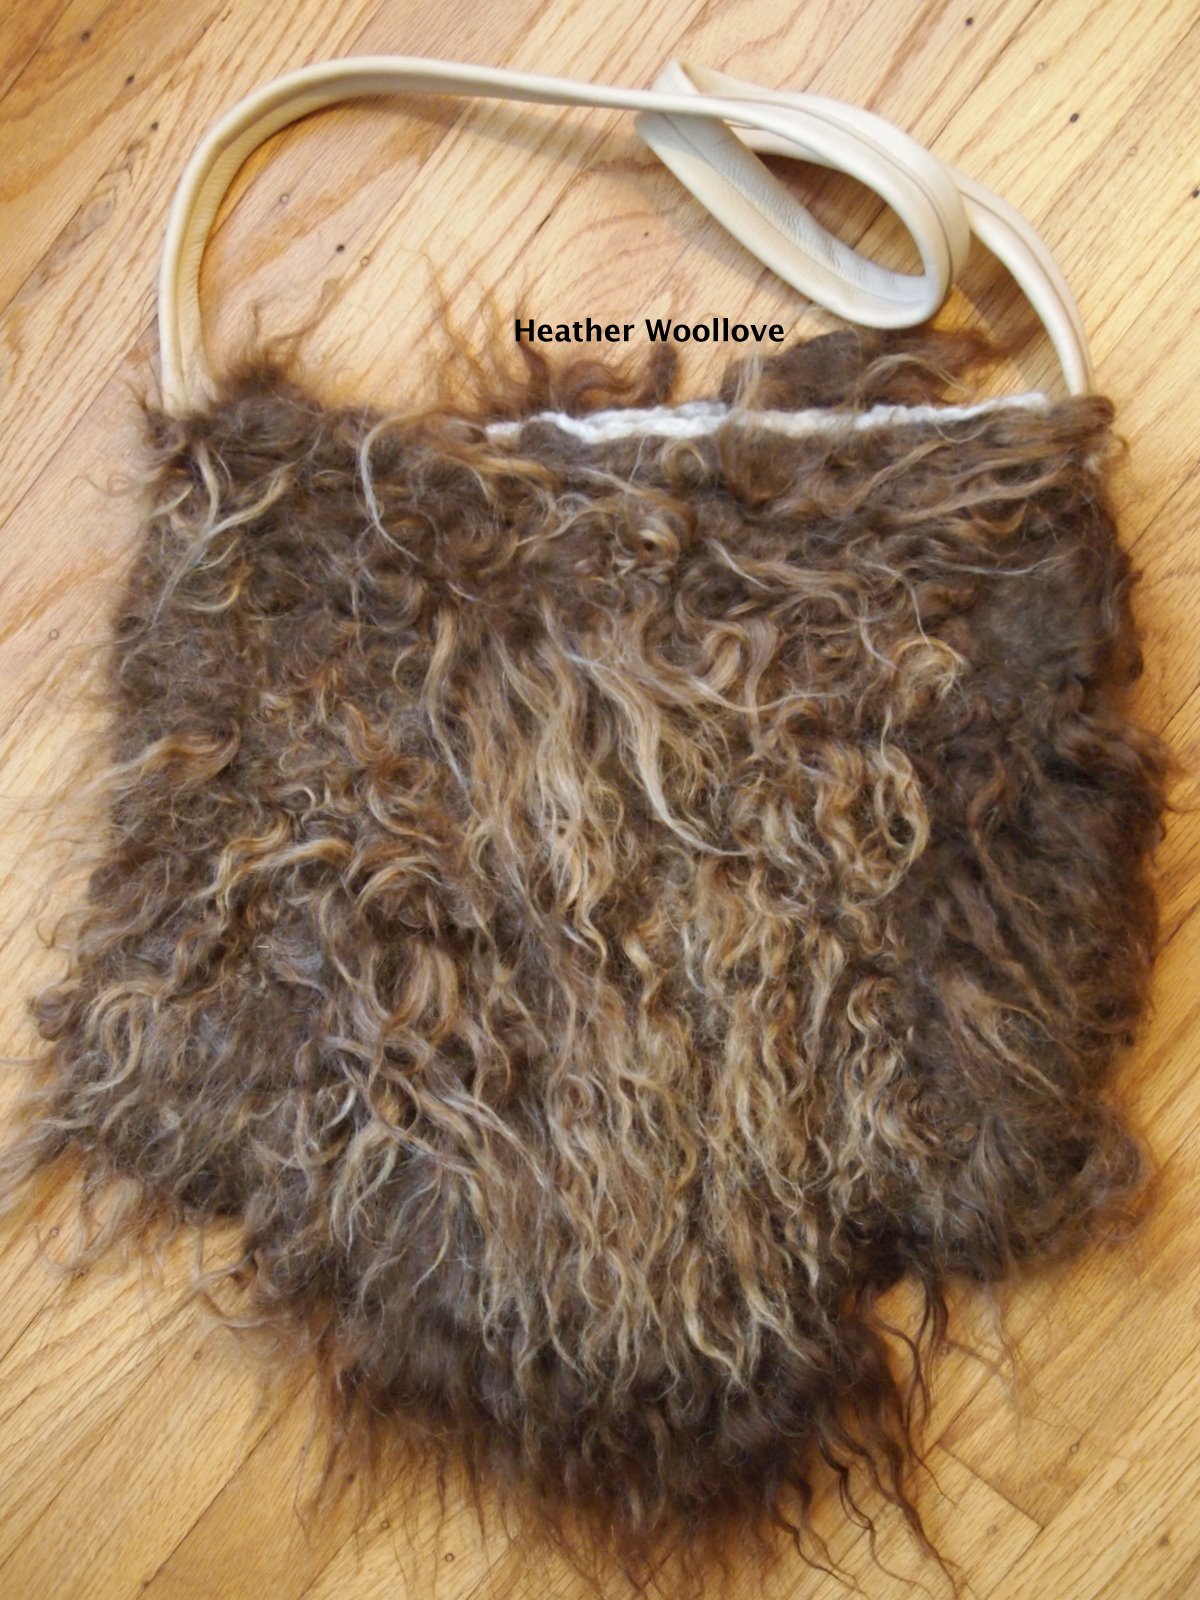
This bag is delightfully wild...
...and I especially love the different shades of color in the locks...
...(could it be that this sheep visited her hairdresser regularly for highlights?!?!?!) Giggle.
I debated the color of the leather strap on this bag for some time...
...since I had pieces of both brown leather and natural deer-hide.
In the end, though, I decided that the brown was not exactly the right shade...
...and that the lighter strap echoed the paler color of the sunburnt fleece tips.
After machine stitching the strap to the purse...
...I used a pair of sharp scissors to cut a hole for the button closure.
Using waxed beading thread...
...I stitched all around the buttonhole opening for strength.
Then, keeping in mind the placement of the buttonhole...
...I hand-stitched a tagua nut button to the inside of the purse.
The function of the artist is to express reality as felt. Robert Motherwell
Thursday, October 13, 2011
Tuesday, October 11, 2011
CFG Raw Fleece Bag #2- Part 1 of 2
Laying out raw Icelandic locks onto a wool roving-covered resist.
Wetting them down and beginning to felt.
During felting...
...and here.
Making a leather strap from deer hide.
This is the second (of three) raw fleece purses...
...that I made at the Creative Felt Gathering this year.
I cut a template for the resist...
...and covered it with three thin layers of white wool roving.
Next, I added sections of raw Icelandic fleece...
...placing the cut ends 'down' onto the surface of the roving.
After wetting down and rubbing the piece on both sides for a loooooong time...
...I rolled it for a bit and finished felting it...
...taking care to keep the tips of the locks as loose and free as possible.
After returning home, I trimmed deer hide into a strip, stitched it lengthwise...
...and attached it to the bag for a shoulder strap.
Next time: the finished purse...
...with a tagua nut button closure.
Sunday, October 9, 2011
Resist Dyeing With Chad Alice Hagen
'Tools of the trade'.
A piece still showing fold lines from the dye bath.
Flattened out and drying.
The finished pieces...
...and here...
...and my favorite one. (Wonder why?) :)
At the Creative Felt Gathering in September...
...I was lucky enough to have two classes with the inimitable Chad Alice Hagen!
For our first one...
...we did resist dyeing using all manner of clamps, clips, pieces of rusty metal, heat-resistant plastic, and wood.
Chad is a remarkably orderly and efficient teacher...
...and you come away from each class with her...
...just filled with techniques and wonderful new possibilities for your own art!
Utilizing three different-colored dye baths...
...and re-folding and clipping (or not...as you choose) between colors...
...each of us made gloriously patterned felt pieces to use as we wish!
In a week or so...
...I will be showing you how I used one of these pieces in a very special way!
Friday, October 7, 2011
Arboretum Visit
Brown and white-capped mushrooms.
Datura arborea (I think).
Sunlight filtering through the leaves.
A giant planter filled with pumpkins and gourds.
Milkweed pods.
A sundial sculpture...designed by artist Mark Mennin.
Ornamental peppers...
...and pinecones.
I took a quick trip to visit one of my daughters this week...
...and we spent a lovely afternoon walking around the arboretum at Penn State University.
It was the perfect day, with sun and cool breezes...
...and many things still in bloom.
Wednesday, October 5, 2011
Icelandic-Cross Raw Fleece Purse
Laying out an inner pocket.
Adding raw locks...note the color of these locks and compare it to the finished bag...this fleece was absolutely filthy!
A peek at the olive and aqua merino lining.
(Please ignore the white stitches holding the straps on...
...I hand-sewed them while at the Creative Felt Gathering...
...and haven't yet covered them with a bit of olive felt.)
The finished bag in all of its hairy glory! :)
The perfect vintage button for this bag...
...given to me by my sweet friend, Melissa!
The back side of the bag.
Black nylon webbing makes a fitting strap.
See the olive roving peeking through the raw locks?
This is one of three raw fleece bags...
...that I made at the Creative Felt Gathering last month.
Elis Vermeulen was the instructor for this class...
...and she was (as always) truly inspiring!!!
She has a conceptual and highly physical way of teaching...
...and she delights in experimentation and artistic challenges!
I adore her...
...both as a teacher, and as a friend.
I purchased these locks at the Endless Mountains Fiber Festival recently...
...and I really wasn't certain how well they would felt.
I used olive green and aqua merino roving for my first layers...
...then added the locks with their cut ends down.
(This is a departure from my usual manner of placing cut ends up and covering them with roving and gauze!)
As a 'wild girl' at heart...
...I just love these hairy raw wool bags...
...and when I realized that I had recently been given the perfect button for the bag closure...
...I was in heaven!!
If you use nylon webbing for a strap, just remember...
...fuse the cut ends with a lit match prior to stitching...
...so they don't unravel!
Monday, October 3, 2011
'Peace Felt' Swap Gifts
Here are the wonderful gifts that I received from my Peace Felt partner this week.
A lovely silk nuno scarf made with dyed locks and Angelina.
A long, beaded necklace featuring felt discs.
A stunning (and certainly labor-intensive!) scarf made with geometric flowers.
I'm sorry that the last few days here have been so overcast...
...because these photographs don't do the gifts justice!!
My swap partner really outdid herself, making all of these pretty and feminine things...
...and though she claims to be a 'beginning felter', I just can't believe it!!
I'm so happy that we 'met' through the Peace Felt Project...
...because now I have a fun new friend!! :)
Thanks, again, Nancy!!
Saturday, October 1, 2011
"We Felt United" 2011
Needle-felting layers of prefelt together...
...in order to sequester a piece of fused glass!
Making a loop and toggle closure.
The finished cuff...
...with glass 'cabochon' partially exposed...
...held in place by a hardened ring of felt.
Garnet beads (stitched on in the pre-felt stage)...finish the cuff.
I'd like to wish each of you a very happy 3rd International Day of Felt!
For this project, I combined Pam MacGregor's wonderful felt cuff class at the Creative Felt Gathering...
...with this year's Felt United colors: red, purple and blue!
I stitched garnet beads to the pre-felt surface prior to wet felting...
...and trimmed it into its finished shape after it was partially felted.
If you get the opportunity...
...I highly recommend taking a class with Pam!
She provides many examples of unique and beautiful cuffs...
...and teaches all of the necessary techniques in a fun and informative way!
Subscribe to:
Posts (Atom)