Lincoln locks spun into yarn on a
spinning wheel.
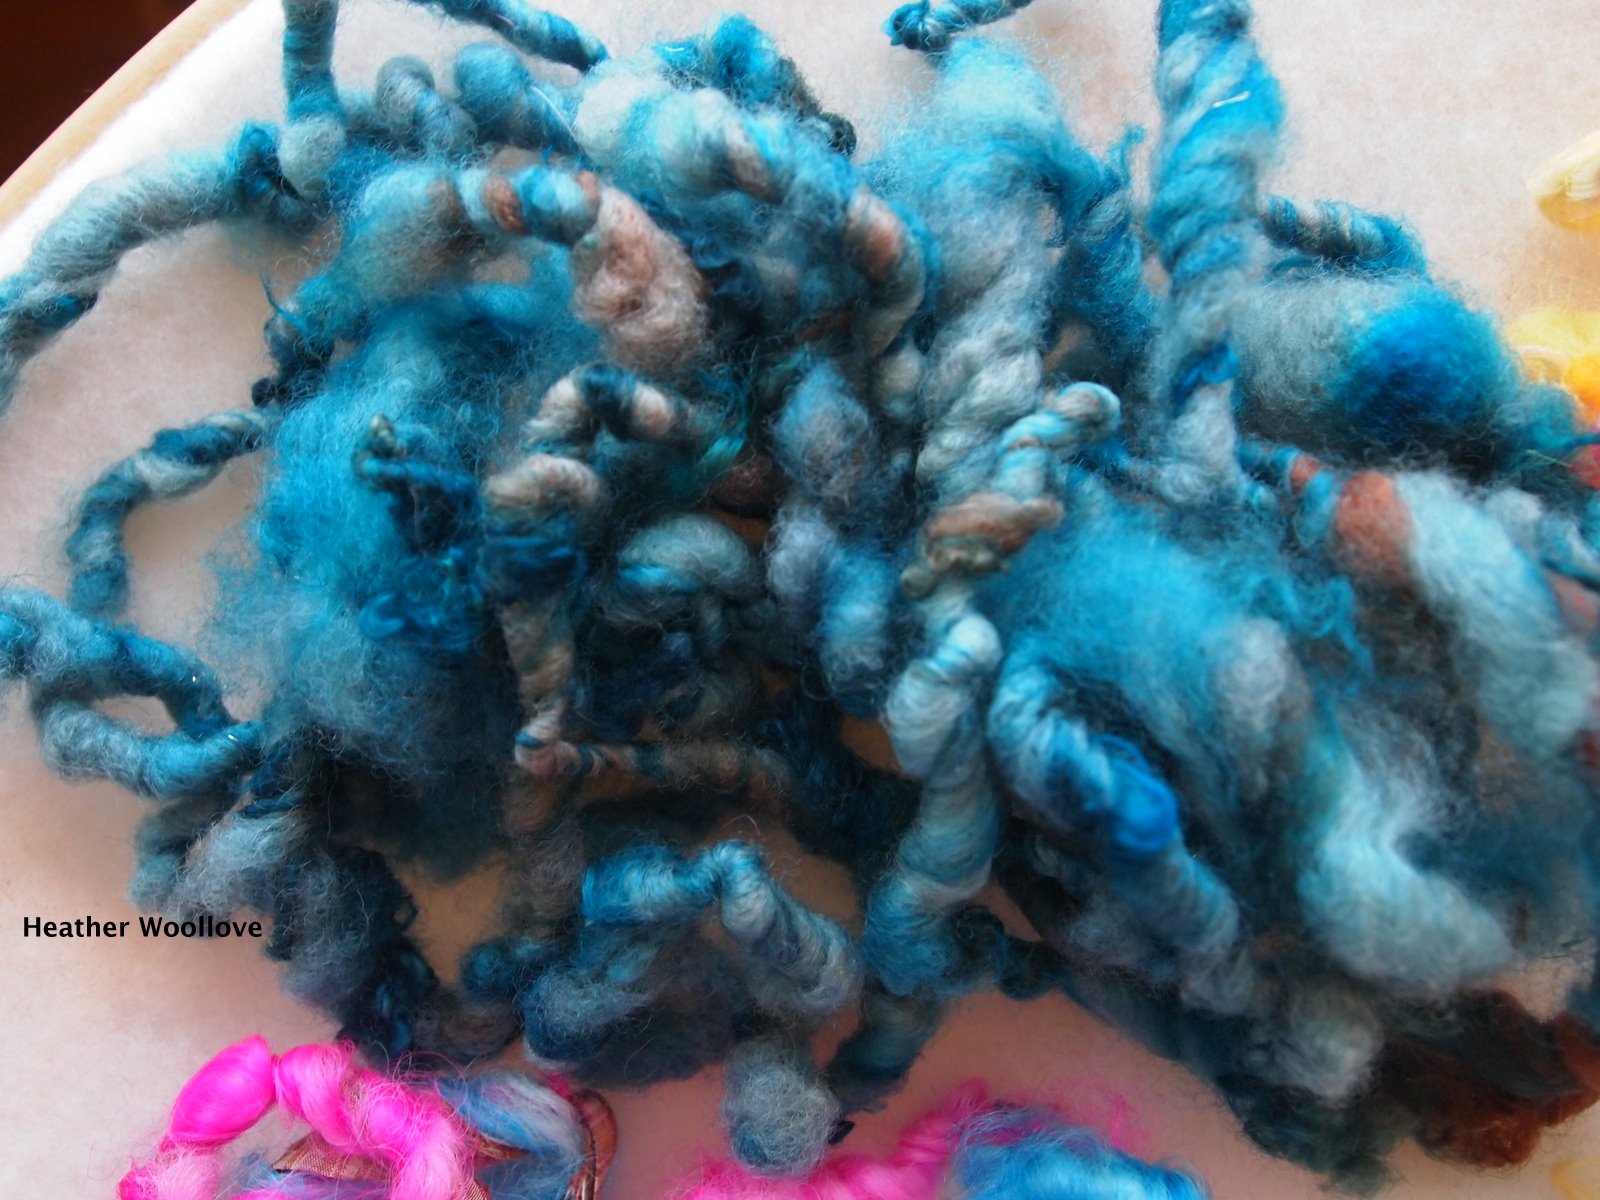
Yarn made on my
drop spindle with locks and other 'add-ons'.
(Double click on the photo if you want to see what each is made of!!)
Yarn made with dyed Finn locks...close-up.
Locks spun with sari silk ribbon.
The top photo is of yarn that my friend, Linda, and I made together on her spinning wheel...
...using dyed Lincoln locks and (for part of the skein, anyway) a 'core' of wool- blend string.
I found it quite interesting, trying a wheel...
...because other than driving a
stick-shift car...
...I don't normally do things that require
both my hands and feet at the same time!!
I must confess that I don't think I'll be buying a spinning wheel any time soon...
...not just because of my ineptitude ;), but also because I really don't need to produce
yards and yards of yarn at a time.
I did learn some new ways to make my 'spindle-spun' yarn
better though...
...and it was a wonderful experience, overall!
If you'd like a chance to win an assortment of my hand-spun yarn...
...for felting or other purposes (remember, they are small quantities!)...
...please leave me a comment on this post.
If you let me know your color preferences...
...I'll try to give you some in that color range (if I have it!!)
I'll close the giveaway on Sunday, June 26th at Midnight (EST)...
...and please make sure that I have a way to contact you if you're the winner!