Showing posts with label cotton scrim. Show all posts

Saturday, April 4, 2015

"Bricks and Mortar" Pillow- Part 3 of 3

The felt side of the project (turned right-side out)...


                                                     ...and the leather side.


                           Inserting a pillow form into the felt and leather envelope...

                                  ...punching stitching holes into the leather side...


                          ...and sewing the opening closed with nylon beading thread.


                                          The finished pillow, ready for gift-giving.


                                              The 'bricks and mortar' theme...


                                      ...harkens back to another project of mine.


                                        Both pieces were made as wedding gifts...

                                      ...because I like the implied symbolism.


                                               I believe that a strong marriage...


                                         ...requires both fixed and fluid elements...


                     ...and allows for the beautiful inevitability of change and growth.


                             Best wishes on your joyous new adventure, Chris and Jay!

Thursday, April 2, 2015

"Bricks and Mortar" Pillow- Part 2 of 3

Mid-way through felting.


                                                         Fulling the piece.


                                                    The front side (drying)...


                                                           ...and the back.


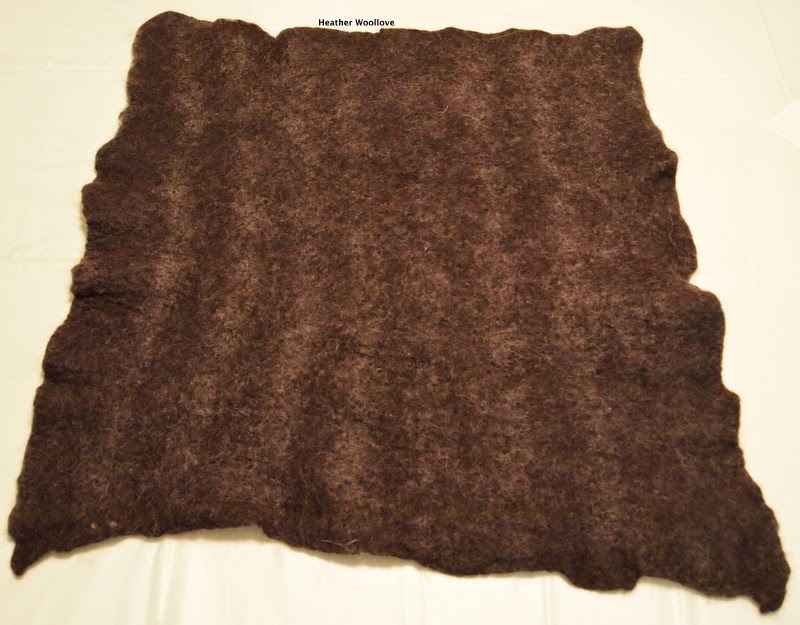
                                              The finished piece of flat felt (front)...


                                                                ...and back.


                                        A close-up of the felt's design and texture.


                                               Trimming the project to size.


                                Coordinating a piece of leather for the pillow back.


                               Clipping the leather and felt together, prior to sewing.


                                           The felt side, after machine stitching...


                                                      ...and the leather side.


                                                 Next time: the finished pillow.

Tuesday, March 31, 2015

"Bricks and Mortar" Pillow- Part 1 of 3

Tearing cotton scrim fabric...


                                                 ...into long, narrow strips.


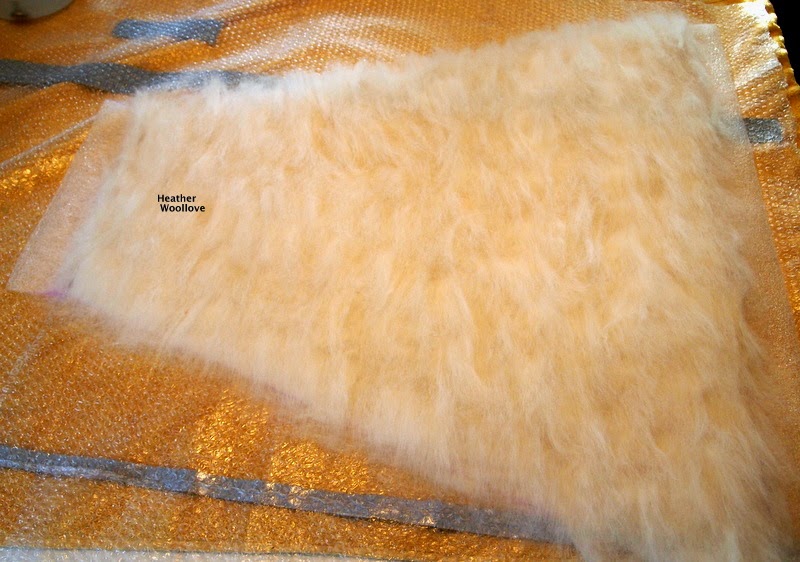
                                          Laying out a thin layer of wool roving...


                                       ...and topping it with the torn fabric strips...

                                                   ...in a geometric pattern.


                                                  Covering the entire project...


                                         ...with layers of black wool from a batt...

                                                     ...and then wetting it out.


                                             Flipping the project to side two...


                                                   ...after rubbing for a time.


                                                 The dark side of the piece.


                                                Next time: the felting continues.

Sunday, March 29, 2015

Lampshade 'Facelift' - Part 2 of 2

The project, mid-way through felting.


         The cotton scrim additions are visible as lighter spots along the shade bottom.


                                Stretching and clamping the felt to the metal rings...

                                                              ...for drying.


                                          The shade is hand-stitched into place...

                                                 ...using strong, nylon thread.


                                                The finished shade in situ.
                                                     

                                                 With the light lit at night...


                                   ...the texture of the wool fibers is made visible...


                                          ...and when it's used during the day...

                                           ...it yields a warm, golden glow.


Friday, March 27, 2015

Lampshade 'Facelift' - Part 1 of 2

A floor lamp with an aging lampshade...

 ...seemed ripe for a makeover, recently.


                                    Carefully removing the dangling, amber beads...

                     ...because 'who knows?''...they might come in handy one day! :)


                                         Employing both scissors and a hemostat...

          ...to cut and pull the paper and tape from the shade's metal components...


                                     ...(a much trickier job than you might imagine!)


                                                    Drafting a resist pattern...

                                     ...and cutting it from foam floor underlayment.


                                      Adding pieces of open-weave, cotton scrim...

                                                   ...to the resist surface...


                      ...and covering them with a layer of wool roving in one direction...


                                ...and then a second layer, perpendicular to the first.


                                                   Wetting the project out...

                                       ...and folding in the top and bottom edges.


                                             Next time: the felting begins.

Sunday, November 30, 2014

Silk-Embellished Travel Purse- Part 2 of 4

Laying out an internal pocket on side two.


                              Covering the entire resist with a layer of wool roving...


                                               ...plus a layer of cotton scrim.


                                   Adding bright roving stripes to the bag surface...


                                             ...and also to its 'flanged' bottom.

          (Thin plastic is used to keep the bottom from 'felting into' the bag sides.)


                          Reinforcing the top of the purse with a layer of yellow wool...


                                         ...folding it down to make a neat edge...

                            ...and adding loops on each side for a strap attachment.


                                                  Covering the bright wool... 


                                               ...with a layer of black roving...


                                          ...and, after flipping the bag over...


                                   ...covering the first side with black roving, as well.


                                                 In the making of this purse...

                        ...I incorporated 'odds and ends' which I had in the studio.

                  Scraps of pre-felt were used to make colorful internal pockets...

               ...leftover bits of cotton scrim were pieced together to make layers...

           ...and neon roving was incorporated into the bag in a 'supporting role'...
                
                 ...(blending with black to create a slightly heathery shade).

                             Next time: sections of patterned silk are added...

                                             ...and the felting is begun!