Showing posts with label Clasheen. Show all posts

Sunday, July 22, 2012

Portugal- Pinky-Orange "Dreads" Purse- Part 2 of 2

Dampened pieces of silk and merino roving are used to form spirals.

 
Here they are, all in place, and after a bit of rubbing.

 
The finished purse front...


...and back.
 
At home and in a different light...

...you can better see the alternating pink and orange 'dreads'...

 
...and how a bit of blocking made for a nicer overall shape.


Now, I just have to figure out what kind of strap to make for it... 
 
...any ideas?!?!

 
I really enjoyed making this purse...

...and the (new to me) 'dreads' technique is one that I'm sure I'll use again in the future.

Unfortunately, it has joined a small pile of WIPs...

...and I'm anxious to figure out what to do about the strap so I can finish (and use) it!

I have some pink leather left over from an earlier project...

...but I think the color might be a bit too washed out.

A darker leather, perhaps...

...or something braided?

What about a felt cord...

...or a narrow denim (or other fabric) strap?

If you have an opinion, idea, or suggestion that you'd like to share...

...please leave a comment on this post.

I feel certain that a little inspiration from you...

...might be all I need to get 'unstuck'!! :)

Posted by Picasa

Friday, July 20, 2012

Portugal- Pinky-Orange "Dreads" Purse- Part 1 of 2

Laying out tufts of Bordeleria wool roving...

 
...and adding a stripe of blended silk and merino roving to each one for a pop of color.


Making dread-like attachments with dry, fluffy ends... 
 
...and preparing the surface of a plain white, wool-wrapped resist for use as the purse base.

 
Adding the first row of "dreads"...

 
...and (after several layers in between)...

...adding the last row.

 
Pieces of thin plastic between the rows...

...prevent the attachments from felting to each other...

 
...until it's safe to remove them!

 
Partway through our week of class...

...Nicola asked for a list of 'most requested projects' from each of us...

...so that we could head home with a much-desired new skill.

Terriea was keen to learn how to make a 'Horst-like', dread-covered purse...

...and I had time to try one as well!

Starting with a roving-wrapped resist...

...I added layers of "dreads" made from Bordeleria and blended silk and merino rovings.

Strips of thin painter's plastic placed between each layer...

...kept the attachments apart during preliminary felting...

...until they were no longer in danger of felting together.

Next time: adding spiral accents to side two...

...and the (mostly) finished purse.

Posted by Picasa

Saturday, July 14, 2012

Portugal- Raw Fleece Felting- Part 2 of 2

Wetting out and soaping the roving side of the fleece.


After quite a bit of rubbing, it's starting to felt together...
 
...and I'm able to safely turn it to the front side for more work.

 
Now, on to the rolling!

 
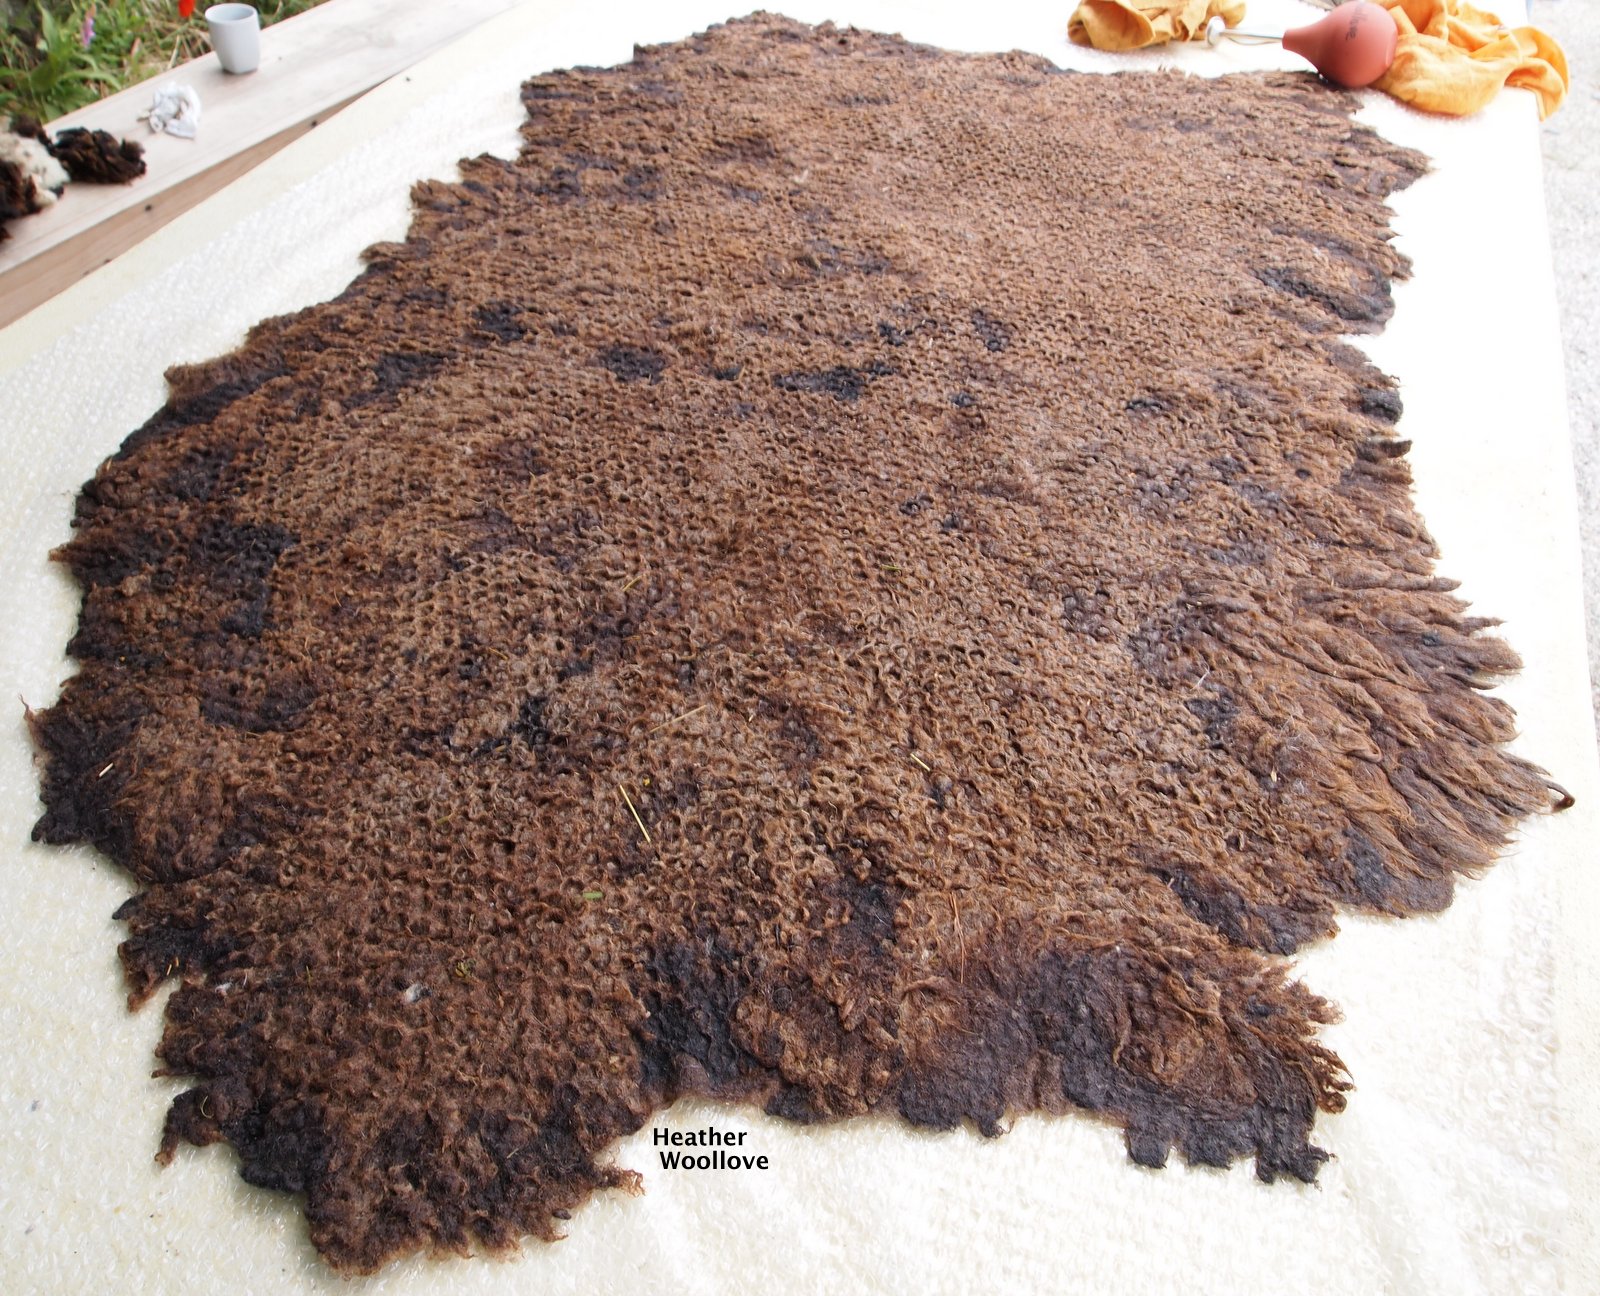
The finished rug, drying in the hot, Portuguese sun.

 
The Kodiak bear-colored locks in close-up...

 
...and here, as well.

 
The finished rug at home...

...with a bottle of (delicious!) Portuguese wine for scale. Grin.

 
Each time that I felt with a different kind of raw fleece...

...I learn something new.

Every breed of sheep has its own character, relative ease of felting...

...staple length, crimp, shrinkage and 'feel' when fully felted.

The brown fleece of this breed is especially lovely...

...and, unlike the white Bordeleria fleece...

...it doesn't look 'speckled' (from vegetable matter) when felted.

Next time: a pre-felt project...

...made with prepared Bordeleria roving in white and brown.

Posted by Picasa

Thursday, July 12, 2012

Portugal- Raw Fleece Felting- Part 1 of 2

Opening bundled raw fleeces...

 
...to find the ones most suitable for felting.

 
Here, Nicola and Estela debate the merits of a lovely, light-colored fleece.

 
Since there are both light and dark Bordeleria sheep...

...and because working with raw fleece can be a heavy business...

...we were instructed to consider both the color and the size of a fleece when making our choice.

 
Having found a beautiful, whole fleece to work with...

...I am all smiles! :)


Working outdoors on long, poured concrete tables (ideal!).
 
Picking out v.m. (vegetable matter) from the front (tips) side of my raw fleece.

 
Covering the back (cut) side with layers of processed Bordeleria roving.

 
Working with raw fleece is always exciting to me...

...and I was anxious to see how the wool from this unique Portuguese breed would felt!

Since I've always made light-colored raw pieces in the past...

...I was thrilled to find a chocolate brown one to felt with this time!

Finding a spot on one of the long, concrete, outdoor tables...

...I went to work, pulling out the most egregious bits of poo and vegetation.

Next, I carefully flipped the fleece, putting the cut edges 'up'...

...making sure that the wool formed a cohesive, dense mat with no open areas.

I covered the fleece with two perpendicular layers of brown Bordeleria roving...

...and despite the considerable breeze that day, I found that it still 'stuck'...

...anchored to the fleece by natural oils.

Next time: the finished rug.
Posted by Picasa

Tuesday, July 10, 2012

Portugal- Felt Flower Rings

Laying out the ring front...

 
...and back.

 
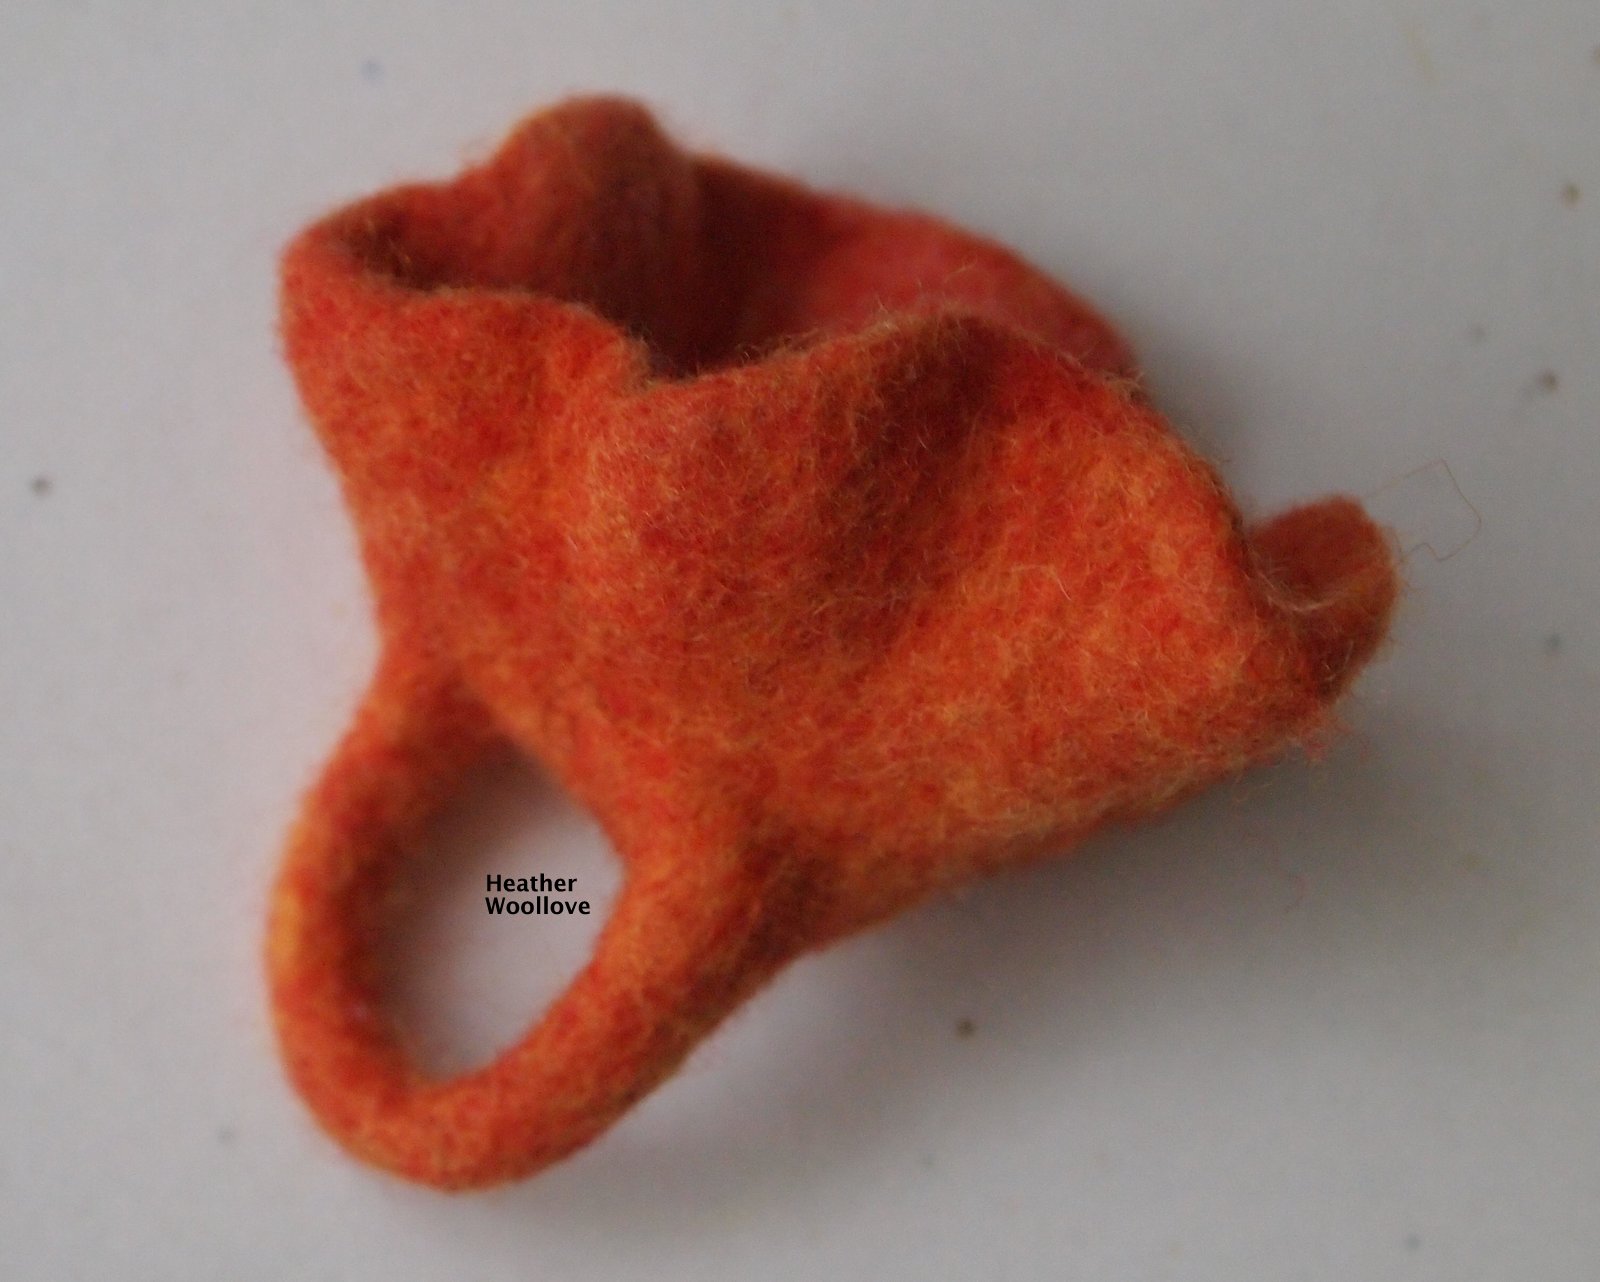
One finished ring...

 
...with a raw Bordeleria lock center, silk embellishments and beads.

 
A second ring, accented with mohair off-cut strands and Angelina...

 
...and cut into individual petals (on left).

 
A multicolored ring...

 
...with extra colored beads for 'bling'. :)

 
On our last morning of class...

...Nicola did a demonstration of felt flowers, beads and rings.

While I'm not generally much of a jewelry maker...

...I was rather taken with the jaunty style of her felted rings!

I made the first one with orange, short fiber merino...

...embellishing it with a small raw lock from the farm...

...(for remembering).

I also tried several more in different forms...

...cutting some into petals...

...and stitching on glass and colored beads for fun.

I may try making a few more of these at some point...

...since Nicola did a 'spiky' version that was really appealing! :)

Posted by Picasa

Wednesday, July 4, 2012

Portugal- Our Initial Flat Felt Project

Our instructor, the lovely and delightful Nicola Brown.

 
Layers of wool roving (from local, Bordeleria sheep) are formed into a square.

 
Choosing mohair off-cuts for use as an embellishment.

 
Teasing apart the woven fabric...

 
...then adding bits of tussah silk in white, aqua...

 
...pale green, and yellow.


The finished felt, drying on a granite step...
 
...and in close-up.

 
Because we had several novice felters in our group...

...Nicola started us out rather slowly on our first day of class.

We each laid out a square of flat felt with embellishments...

...allowing her to assess individual skill levels and to assist any student who needed extra help.

I took this opportunity to play around with something new to me...

...mohair off-cuts from Cushendale Woolen Mills!

I enjoyed pulling sections of the woven fabric apart....

...and seeing the interesting effect that it produced once it was fully felted into the piece.

Next time: a white felt purse that went from 'problem child'...

...to 'star pupil'!! Grin.

Posted by Picasa