Friday, December 31, 2010

'Peanut-Shaped Resist' Purse- Part 2

Trimmed interior pocket with fabric lining.


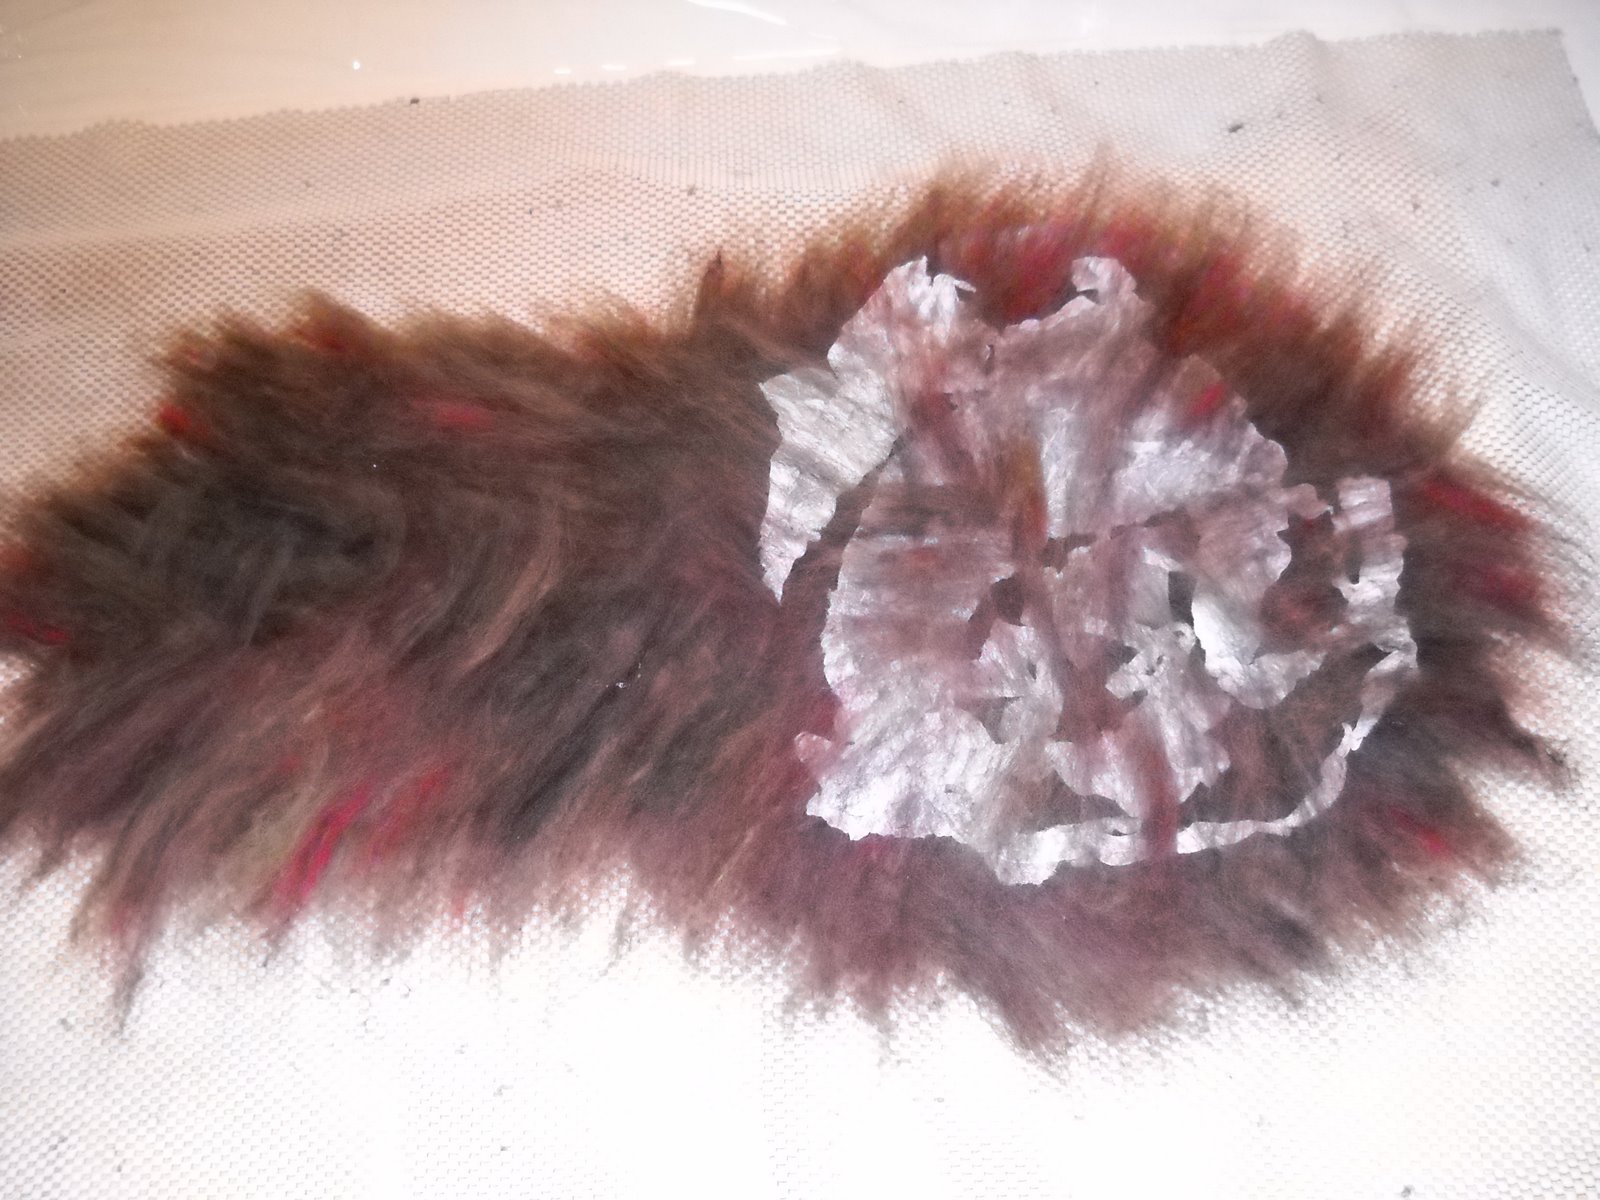
Close up showing silk gauze shimmer.


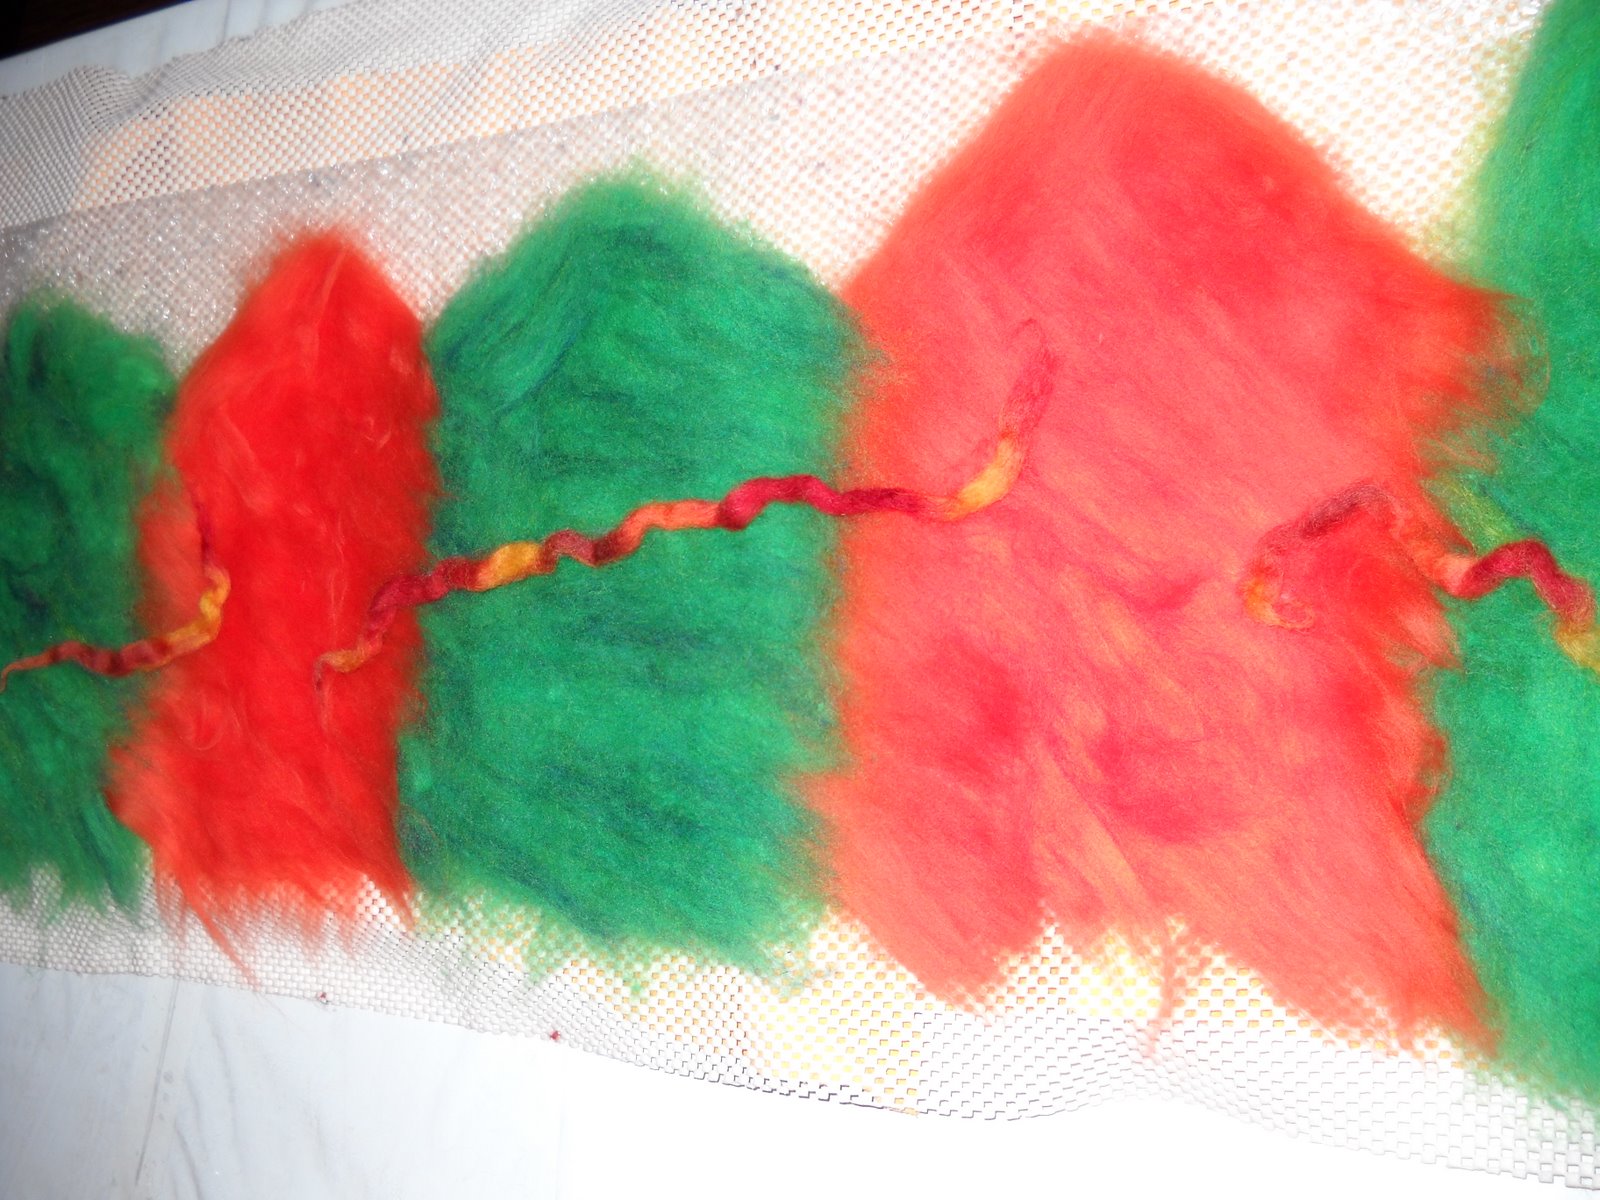
The purse back with chevron wool layout.


The finished purse.


One of the fun things about making bags with integrated handles...

...is that cutting out the handle creates two flaps.

For this bag, I used one as an exterior flap...

...and created an internal pocket from the other.

Making sure that I knew which flap I wanted for each 'job'...

...I trimmed the front one into an even, rounded shape.

I found a button that I liked for the closure...

...and stitched a button hole, just the right size.

I cut the second flap into a cell-phone-sized pocket...

...cut a wide slit near the top of the flap, and lined it with fabric.

What's nice about this method of finishing off a pocket...

...is that it doesn't need to be hand-stitched to the bag's interior at all...

...yet it will still hold your items securely.

Because I stretched the handle as I felted this piece...

...it is longer and thinner than it was when I cut it (a proper shoulder strap).

To finish the bag, I folded the handle in half and sewed it together...

...then top-stitched around the front flap as well.

Posted by Picasa

Wednesday, December 29, 2010

'Peanut-Shaped Resist' Purse- Part 1

Laying out wool roving and silk gauze bits.


Adding a new color in layer two.


Cutting out the handles.


Stuffed and hanging to dry.


After my recent triangular purse, I had in mind a curvier design...

...this time, making a resist in the shape of a peanut.

With each of these bags, I wanted to branch out from an egg-shaped, integrated handle pattern...

...and create a resist that had a clearer demarcation between body and strap.

I cut a resist from foam floor underlayment...

...and covered it in layers of wool roving.

To the bottom half, I added leftover snippets of silk gauze...

...and decided to make the handle and flaps a coordinating color.

When the resist was starting to curl up inside my piece...

...I carefully cut out the handle and bag flaps with sharp scissors.

During felting, I turned the bag inside out periodically and used a felting stone...

...in order to help keep a crease from forming in the bag bottom.

When the bag was completely felted and rinsed...

...I stuffed it with cloth dishtowels and steamed it with an iron.

Drying it with the towels inside for a few hours...

...helped it to maintain its shapeliness.

Next time, the finished bag.


Posted by Picasa

Monday, December 27, 2010

Spiral Table Runner

Laying out spirals using soapy, wet sections of roving.


The runner hanging to dry.


The finished runner with centered larger spiral.


A close-up view of all of its wiggly glory. Giggle.


I had made a pillow for a friend's birthday in November...

...so I needed a different kind of gift for her this Christmas.

I recently purchased a few pre-made, undyed batts of home-grown wool...

...from a small, mom-and-pop knitting store/farm in Ephrata, Pennsylvania.

I decided that now was the time to try them out...

...with the holiday clock ticking down!

First, I laid out the design onto my netting...

...then covered over it with layers of batts.

Since this was my first time using batts that I hadn't made myself (and they were pretty fluffy)...

...there was a bit of a learning curve, in peeling off the layers.

I sandwiched-in a layer of cheesecloth for structural support...

...and finished off the edges as evenly as I could.

Using this 'drawing with wet wool' method lately...

...I find that I really love the wiggly quality of each 'wool brush stroke' after felting.

I also like that when you create with wool...

...white is not such an off-limits color, for stain reasons.

I'm hoping that the multi-colored nature of this runner...

...will offer my friend many placement options in her home.

Posted by Picasa

Sunday, December 26, 2010

Christmas Pillow Cover

Laying out wool, bamboo viscose thrums and fabric.
(Sorry for the poor photo...my camera shudders at the color red!)


The textured areas are pieces of red, synthetic fabric.


The reindeer fabric is a re-purposed thrift store find!


The finished pillow.


At Rhinebeck this Fall, I bought some wonderful, bright red roving...

...that I thought would be perfect for holiday projects.

For this pillow, I layered roving, strips of red dotted-swiss fabric (last used here)...

...and blobs of shiny bamboo viscose thrums.

Unfortunately, my camera balked at this color, so the photos aren't great...

...but since Santa brought me a new camera, things may be looking up!! :)

Posted by Picasa

Friday, December 24, 2010

Snowflake Pillow and Merry Christmas!

Laying out the batts.


Adding pencil roving snowflakes and bamboo viscose thrums.


The pillow back.


The finished pillow.


Now that my friend (a devoted reader of this blog) has opened her Christmas gift...

...I can finally share these photos with you.

I blended batts in blue and grey...

...and laid them out in a sort-of quilt block grid.

I made stylized snowflakes from grey pencil roving...

...and added bamboo viscose thrums for sparkle.

The fabric backing is another beloved piece from my stash...

...a European Christmas tree fabric that I really love.
***********************************************

I'd like to wish each of you a wonderful Christmas day...

...filled with scents of cinnamon and buttery pastry, and sounds of laughter, carols and happy voices.

I hope that you will both give and receive a cherished something...

...and that you will take time to pause for a moment and give thanks.

Merry Christmas, everyone!!!


Posted by Picasa

Thursday, December 23, 2010

'Ribbon Candy' Garland + Cookie Recipe

My daughter, L, working hard.


The garland progresses.


It's nearly there.


The finished garland, wrapped on cardboard to keep it from tangling.


My daughter, L, had a terrific idea the other day...

...for using up some of the trimmed-off bits from my pillow covers.

She threaded the thin felt strips using a heavy-duty needle and upholstery thread...

...then tied knots before and after each color, leaving areas of bare thread in between.

I think it's a rather magical Christmas tree garland...

...and I'm really glad she thought of it!
*****************************************

In case you're in need of an easy, last-minute cookie recipe...

...here's one of my favorites from a long-ago Gourmet magazine.

Orange Almond Biscotti

2 cups flour
1 cup sugar
1 teaspoon baking soda
1/4 teaspoon salt
2 large eggs
1 large egg yolk
1 teaspoon vanilla
1 tablespoon orange zest; freshly grated
1 and 1/2 cup whole almonds; toasted lightly & chopped coarsely

----EGG WASH----
1 large egg; beaten with 1 teaspoon water

In the bowl of an electric mixer, fitted with a paddle attachment, blend the flour, the sugar, the baking soda and the salt until the mixture is combined well.

In a small bowl whisk together the whole eggs, the yolk, the vanilla and the zest, and add this mixture to the flour mixture, beating until a dough is formed.
Stir in the almonds.

Turn the dough out onto a lightly floured surface, knead it several times and halve it.
Working on a large buttered and floured baking sheet, with floured hands form each piece of dough into a flattish log 12 inches long and 2 inches wide.
Arrange the logs at least 3 inches apart on the sheet and brush them with the egg wash.
Bake the logs in the middle of a preheated 300 F oven for 50 minutes and then cool them on a baking rack for 10 minutes.

On a cutting board, cut the logs crosswise on the diagonal into 1/2 inch thick slices.

Arrange the biscotti, cut sides down, on the baking sheet and bake them in the 300 F oven for 15 minutes more on each side.

Transfer the biscotti to racks to cool and store them in airtight containers.

For a festive touch, drizzle them with melted dark chocolate.

Posted by Picasa

Wednesday, December 22, 2010

"Just Right"...The Anya Scarf

The scarf laid out, pre-felting.


Not pencil roving, but my new favorite thing.


The finished scarf.


All stretched out...but a little too undulating for my taste.


As I mentioned in my last post...

...I made a scarf for my daughter's friend last week.

Since I didn't know which colors were her favorites...

...I went with several shades of pink plus a multi-colored black, bright pink and brown roving.

I made batts from the various colors of wool...

...then laid out them out in color-block sections.

Instead of using pencil roving for the name and spirals, however...

...I employed Nicola's technique of using thin, soapy-wet sections of roving for the designs.

In the past, I've had designs and words sometimes blend in and become unclear...

...when the pencil-roving color was too close to the background color.

For this project, I made sure to use a contrasting color for the spirals...

...and changed it as each color-section changed.

As much as this is the favorite of my three most recent scarves...

...I'm still not entirely happy.

I struggle with keeping the edges of long pieces even...

...and I don't think that using wools of different types, and batts of different thicknesses helps my cause, either!

I suppose if I had rolled the scarf a bit more at the color junctions...

...it might have been a bit more even in appearance.

But if any of you have helpful tips for keeping edges straight on a long piece...

...I would be very grateful if you would share them!!


Posted by Picasa

Monday, December 20, 2010

Goldilocks and The Two Scarves

Lay-out for scarf #1..."Um, Mom, it's sure bright!"


Finished scarf #1.


Layout for scarf #2..."Stripes, really?"


My daughter, L, modeling scarf #2.


With my college girls all heading home for the holidays last week...

...and with a dorm friend and a new boyfriend in tow for a long weekend...

...I had my work cut out for me!!

I decided to make the 'boy gift' first, since, as the mother of four daughters...

...boys' gifts don't come that easily to me!!

I asked my daughter to list his favorite colors (orange and green), and proceeded to make scarf number 1...

...this one, unfortunately, turned out to be a bit too bright for her.

So with scarf #1 'not quite right'...

...I set out to make one which would please both of them a bit more.

Unlike the first short, squat scarf, I made the second one quite long and thin...

...so that it could be wrapped multiple times around the neck.

Unfortunately, this one wasn't "Just Right", either (too stripey!)...

...but at this point, I told her that I was through.

Now, please don't misunderstand me...

...my daughter would never actually say that she didn't like something I made.

It's just that this particular child...

...never would be able to make any money playing poker! Grin.

We decided that R (the boyfriend) would get both scarves...

...and he could use them or not, as he saw fit.

In the tradition of the three bears, however, I did make a third scarf for a dorm friend of one of my other daughters...

...and it was a lot more well-received. Yay!

(But isn't this how the story of Goldilocks and the Three Bears goes?) Grin.

Next post: The Anya scarf.

Posted by Picasa

Friday, December 17, 2010

Grandpuppy Stocking With Ears

Laying out wool...and a pencil-roving "Mason".


Making ears.


Front of finished stocking.


Back of stocking with sewn on fabric loop for hanging.


My eldest daughter isn't a huge fan of felted items...

...so when she asked me to make a stocking for her dog, I jumped at the chance!

I used the stocking resist from last year's (many) stockings...

...and laid out bright red and white roving.

With internet photos of silver labs at hand (for help with the shape)...

...I made two ears from brown roving.

Getting them tucked under the white top (and fully covered!)...

...was a bit of a challenge.

They're also really flat...

...and I think it would have been nicer to have them stand out more.

If I made another one, I think I'd top each brown ear with white as I made it...

...so I'd have less trouble with coverage later.

I also would felt the ears a little more prior to attaching them...

...for a bit more shape and definition.

Posted by Picasa

Thursday, December 16, 2010

Purple and Blue Beaded Bag

Purse back, prior to embellishment and sewing.


Close-up of beading.


Internal pockets...made from the top flaps.


Front with flower and button closure.


I have a friend who has highly unique sense of style...

...who most always has on something interesting in clothing, jewelry, or footwear.

So, I have to say that it was really fun...

...designing and making a purse for her this Christmas!

I drew a resist pattern with a wide, triangular bottom...

...and chose purple for the bag body, and blue for the handle.

This purse has integrated handles...

...like a purse that I made in the Spring.

I made flower designs on the felt using sari silk and wool tops...

...and later, beaded the flower centers and embroidered around the closure.

I was delighted to be able to incorporate gifts from my friend, Sally Anne in this bag...

...a bright pink wool dread (which I anchored into the purse during felting), and a punch-cut wool flower.

The wool dread loops over the button...

...and secures the bag's contents.

Posted by Picasa