Wednesday, January 18, 2017

'Zipper Flange' Bag- Part 4

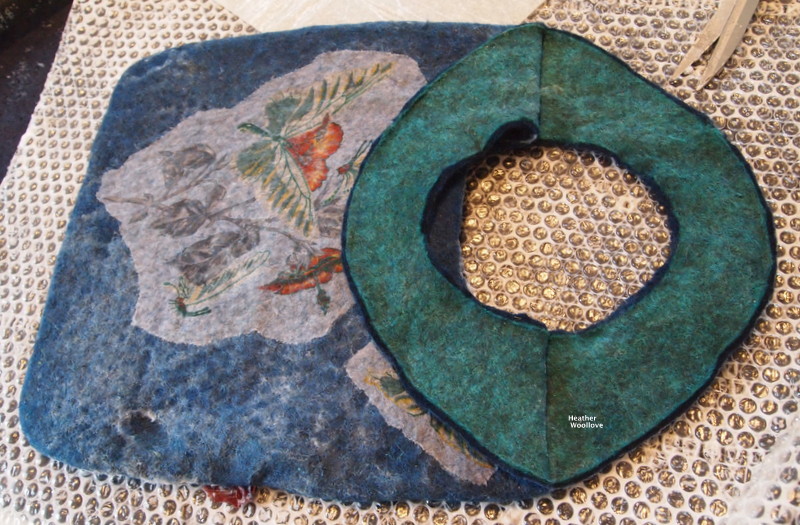
The interior flanges...

...are folded in half and stitched...


                                               ...and one side of the zipper...

                                                ...is pinned to each of them.


                     (It's easy to shorten a 'too-long' zipper using strong nylon thread...

                                     ...just stitch across the teeth several times...

                                                        ...at the desired spot.)
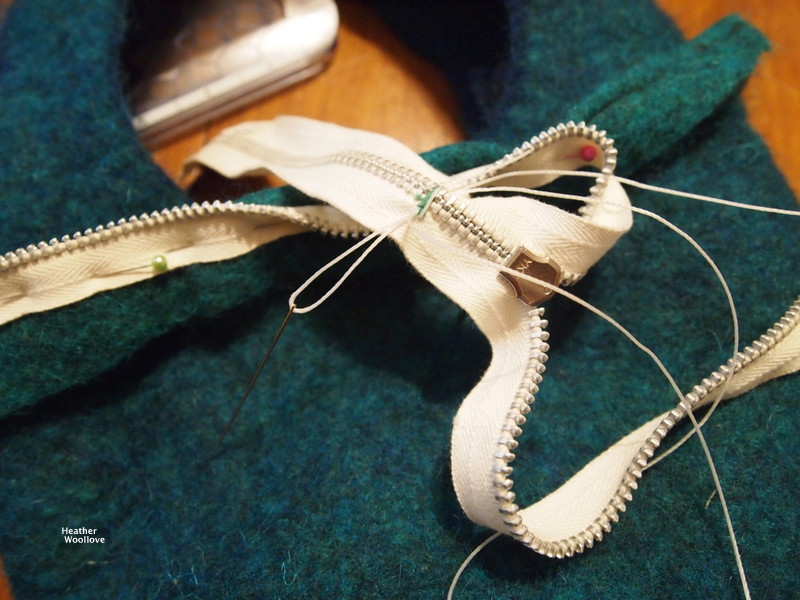


                                          Machine stitching the zipper into place.


                                             The addition of an interior flange...

                                                 ...allows for a wider opening...


                                                   ...at the mouth of the bag...


                                            ...and avoids 'visible stitching lines'...


                                                        ...on the bag surface.


Monday, January 16, 2017

'Zipper Flange' Bag- Part 3

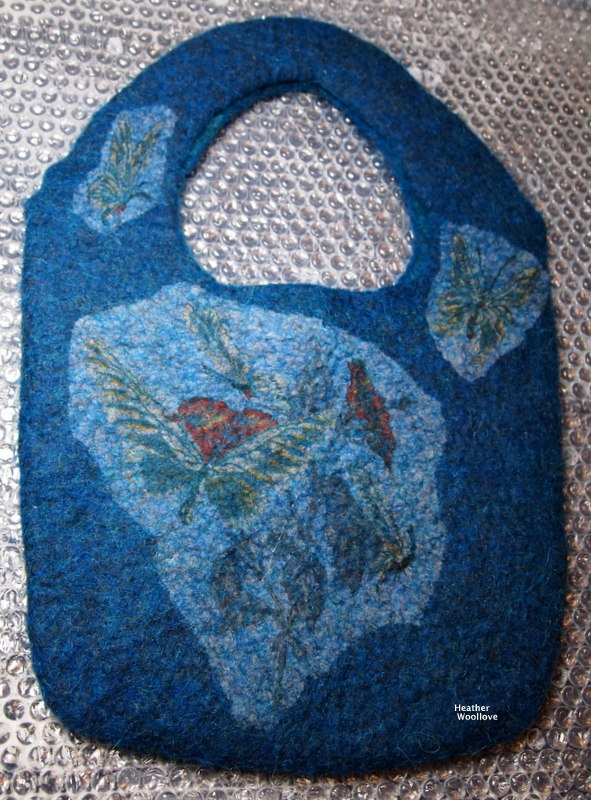
The interior of the bag (with flange)...


                                                   ...mid-way through felting.


                             The project is rubbed and rolled in various orientations...


                                                        ...for even shrinkage.


                                                        The 'hairy' wool fibers...                            


                              ...migrate quite aggressively through the silk fabric...


                                                  ...and easily hold it in place.


                                          The fully felted bag, blocked for drying.


                                                 Next time: zipper installation...

                                                   ...and the completed purse! 

Saturday, January 14, 2017

'Zipper Flange' Bag- Part 2

Swatches of patterned silk...

...(cut from a vintage scarf)...


                                ...are applied to the surface of the fiber on side one...


                           ...and pieces of shibori-dyed silk are added to side two.


                                                    The rubbing commences...


                                                  ...and over a period of time...


                                  ...the fabric is slowly incorporated into the wool.


                                                     Mid-way through felting...


                                      ...the soft felt is cut to reveal two handles! :)


                                               Next time: the felting continues.

Thursday, January 12, 2017

'Zipper Flange' Bag- Part 1

A resist is fashioned from foam underlayment...

...and a flange is created from two layers of wool...

...covered by a painter's plastic resist.


                                     Layers of 'hairy wool' from a batt are added...


                                              ...and the project is wetted out.


                                            After flipping the bag to side two...

                      ...another flange is created and covered with painter's plastic...

                                ...(this keeps it from felting into the body of the purse).


                                    Layers of wool are added to this side, as well...


                                    ...and side two is wetted out with soapy water.


                                           Layers of blue wool are added next...


                                                   ...to both sides of the bag...


                                                          ...and wetted out...


                                ...and the fiber is closely wrapped around the resist.


                                              Next time: silk embellishments!

Tuesday, January 10, 2017

Oklahoma Hats- Part 4

From lengths of silk selvedge...

...leftover bits of silk...


                                                 ...and bright merino roving...

                                                ...a rectangle of felt is created.


                                    A circular resist is used to fashion the hat top...

                                                  ...so the shape stays 'true'...

                             ...and so it can be cut apart and used to make two hats!


                                                          Once the felt is dry...

                                                 ...the hat is quickly assembled...


                               ...by machine stitching the felt rectangle to the circle...


                                   ...and sewing the ends of the rectangle together.


                             Voila! A bright and cheery hat for a grey and gloomy day.


Sunday, January 8, 2017

Oklahoma Hats- Part 3

My finished hat...


                                                  ...with its bold colourway...


                                                 ...really kept the chill away...


                                         ...while I was in NYC over Thanksgiving!


                                                       Once home, however...

                                  ...I decided to 're-style' it into more of a cloche.


                                                   I soaked the hat overnight...


                                           ...trimmed 5 inches from the bottom...


                                                ...and fashioned it into a new...

                                                 ...and radically different hat! :)


                                     Next time: a hat made from (mostly) scraps!