Monday, March 11, 2013

Wet-Felted Nylon Strapping Tape Bracelets- Part 2 of 2

Bracelet number one...

 
...with wiggly 'petals'.

 
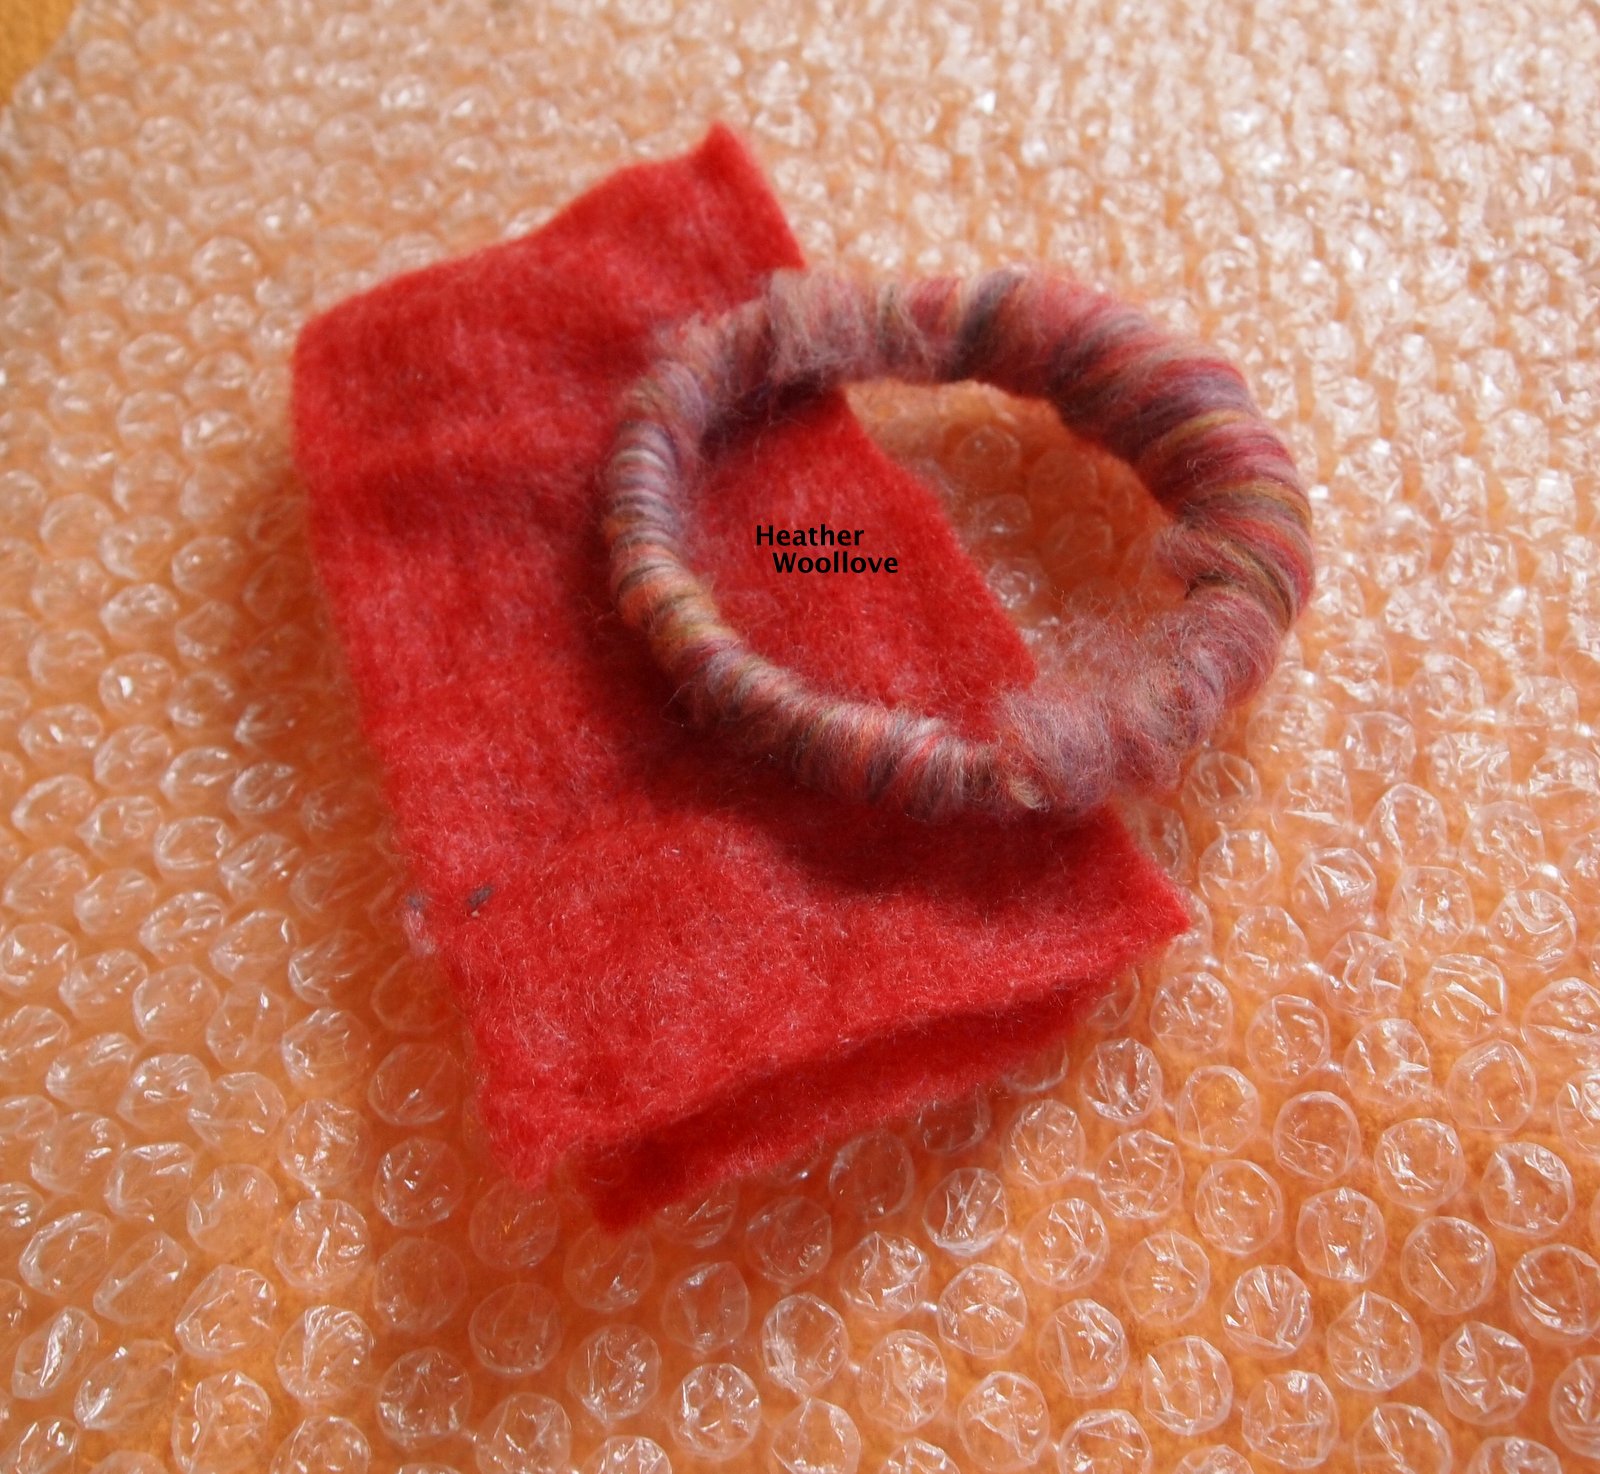
 Bracelet number two...
 
...with a surprise golden center nestled among the folds.


The three giveaway bracelets...

 
...can each be worn singly...


...or all at once... 


...for an 'explosion' on your wrist!! :) 
 
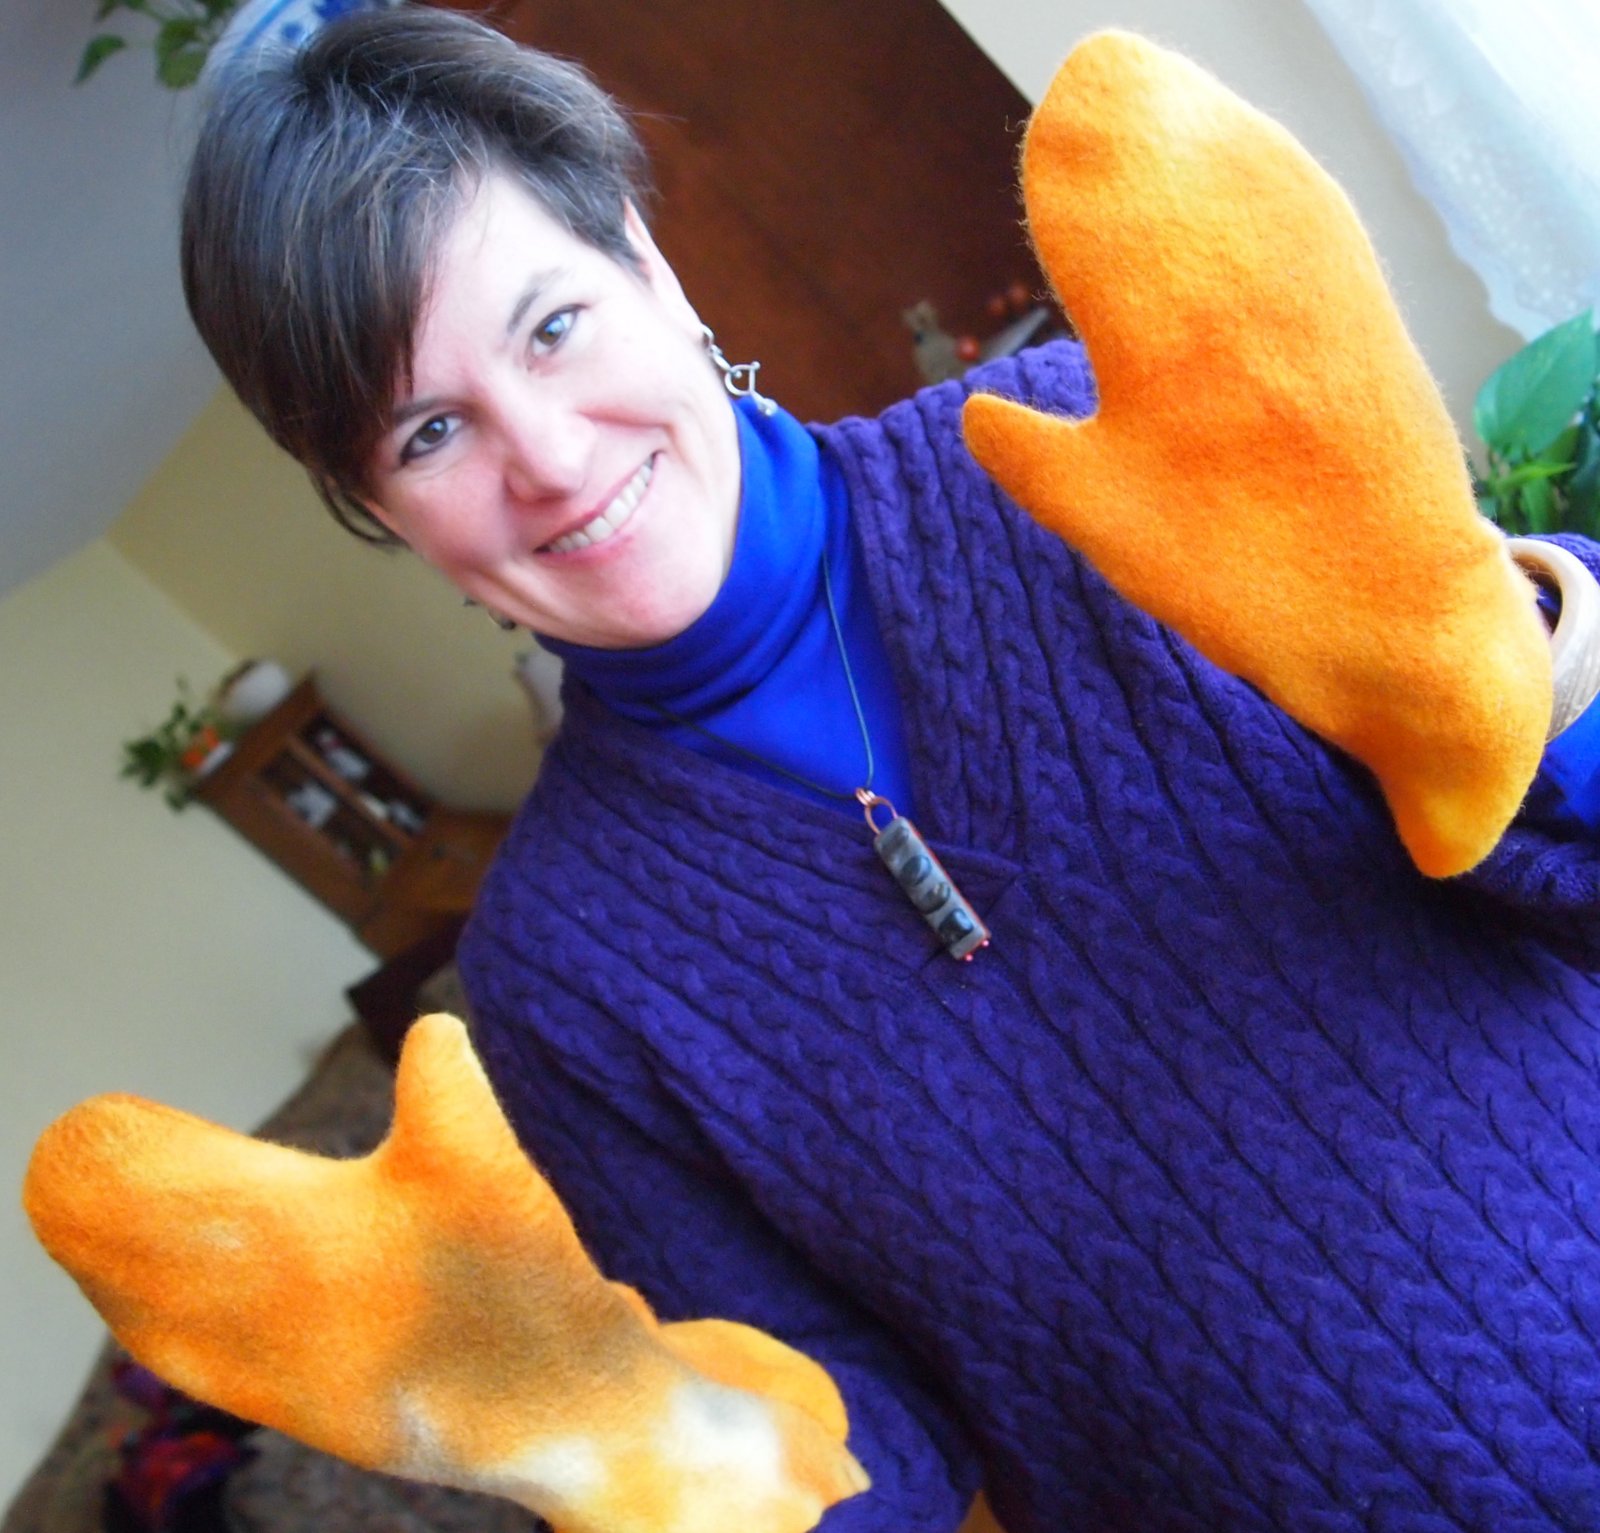
As you can probably tell...

...these bracelets were a lot of fun to make.

Even though I'm no 'dab hand' at felted jewelry...

...it was really exciting to explore shape and color in this new way!

If you would like to be entered in the drawing for this set of three bracelets...

...please comment on this post (or on Part 1 of this post, if you haven't already)...

...before 12 Midnight EST on March 12th.

Good luck!

Posted by Picasa

Saturday, March 9, 2013

Wet-Felted Nylon Strapping Tape Bracelets- Part 1 of 2

Stapling strips of nylon strapping tape...

...into 8 or 9-inch circles...


...and wrapping them with variegated wool roving. 
 
Adding petals of commercial pre-felt...

...left over from this project...

 
...by sewing them on with nylon thread.

 
The idea (not very well executed here, in my first attempt)...

...is to wrap the roving evenly around the plastic strip. (!)

 
My daughter, L, did a much better job on this one. :)

 
The first two bracelets...

 
...fully felted and drying.

 
This is one of those 'whisper-down-the-lane' projects...

...where this person showed or told that person how to make them...

...and on and on until, at last, my friend described the process to me.

(My apologies to you if it's your 'invention'...

...please write to let me know and I'll give credit where credit is due!)

From nylon strapping tape (usually discarded after shipping boxes are opened)...

...make a 'bracelet sized' circle by simply stapling the tape to itself.

(When measuring: remember that it will be thicker with a layer of roving on it...

...and that it must easily fit over the widest part of your hand.)

After wrapping the tape with an even layer of roving or wool batt...

...attach or wrap handmade or commercial pre-felt rectangles or organically-shaped pieces...

...by hand-stitching them on with nylon thread.

Felting is done in the usual manner, with a bit of care taken at the beginning...

...so that the roving doesn't pull away from its nylon core.

*****************************************************************************
Since, somehow, another birthday is nearly upon me...

...I will be giving three of these bracelets to one reader to help me celebrate!

(Never fear, photos of bracelet three will appear in Part 2.)

If you would like to be entered into the drawing to win all three bracelets...

...please comment on this post or on Part 2.

The cut-off date for entry will be March 12 at Midnight EST.

Next time: I'll introduce you to bracelet number three...

...and show you better photos of all three finished bracelets!

Posted by Picasa

Thursday, March 7, 2013

The Last Pre-Felt Scarf For Awhile (I Promise!)- Part 2

Stitching the pieces together with nylon thread.


Placing bubble wrap between the two layers...

...prior to felting. 
 
Wetting out the piece and beginning to roll.

 
Fulling the nearly completed scarf.

 
The finished scarf...

 
...with sections of colors in different shapes...

 
...depending on which part of the layout they came from.


This infinity scarf is quite long...

...and can be wrapped several times around the neck for warmth.

 
Because of the very thin layers of pre-felt that I used...

...this finished scarf is quite soft and light...

...despite the fact that it is very long (total length= approx. 80 inches).

After felting, fulling and rinsing...

...I removed the nylon stitches and gave it a good pressing with an iron...

...to neaten it and bring out its lovely felted texture.

Next time: for a change of pace...

...jewelry!

Posted by Picasa

Tuesday, March 5, 2013

The Last Pre-Felt Scarf For Awhile (I Promise!)

Laying out sections of color in my usual perpendicular manner...

 
...and, here, in a more herringbone-like configuration on side two.

 
Wetting out and beginning to roll (side one)...


...and side two. 
 
At the pre-felt stage, I squeeze out most of the water...

...and allow the piece to hang dry.

 
Side one after drying...

...(note the shrinkage)...


...and side two.

 
Cutting the pre-felt into two equal pieces. 
 
Because I am nothing if not a 'completist' (grin)...

...and also because many of my newer projects are not yet finished...

...I present my last pre-felt scarf of the gift-giving season! :)

After discussing various techniques with my friend, Linda...

...I decided to attempt a 'herringbone' layout for a portion of this piece.

It didn't feel comfortable or familiar...

...(but anything new feels awkward at first)...

...and because I ended up with some thinner sections...

...I wasn't completely won over.

I do see its utility, though, and will certainly use it again in the future...

...when I'd like a different appearance in my finished work.

Note: One of the advantages of working with pre-felt...

...(for those of us who don't regularly make sample pieces)...

...is that much of the shrinkage has already 'happened'...

...and you have a better idea of the finished size of your piece.

Posted by Picasa

Sunday, March 3, 2013

Pre-Felt Mittens, Hand-Dyed Silk And A Houseguest!

Cutting pre-felt pieces...

...slightly larger than the resists...

 
...and sewing them together with nylon thread...


...enclosing the resist on just three sides...

...so there's a 'hand opening' when they're finished.
 
After felting for a time...

..they start to take shape.


The mittens are turned inside-out...

...to hide the seams. 
 
My friend Lorin, showing them off.

(The one on the right still needs a bit more fulling and shaping.)

 
Lengths of silk in various weights...

...in Lorin's signature 'saturated colors'.

 
I recently spent four wonderful days with my adorable friend, Lorin Fields...

...(a classmate from my garment class at Arrowmont).

While she was here, we went out for breakfast and lunch...

...made homemade waffles, cornbread and Frangelico biscotti...

...drank a bottle of red wine, some port wine and Amaretto...

...and still managed to get a few things done in the studio! :)

By drawing around her hand and leaving a margin for shrinkage...

...I fashioned two mitten-shaped foam floor underlayment resists.

From commercial pre-felt ('needled felt') that was hand-dyed by another friend, Jone Rakoski...

...I cut out four mitten-shaped pieces, slightly larger than the foam resists.

After stitching around the edges with nylon thread...

...I wetted them out and gently felted them until it was safe to remove the resists.

After more felting and some shaping on a sushi mat...

...they were a perfect fit.

**************************************************************************************
The pile of luscious silk fabrics were a gift from Lorin...

...who hand-dyes in the most wonderfully intense colors, ever!

I'll have to put my thinking cap on...

...and find a special project for each and every piece.

Thank-you, Lorin!

Posted by Picasa

Friday, March 1, 2013

Tablet Cover- Part 2 of 2

Fulling the fully felted piece.

 
The finished piece (damp and unblocked)...

...on the 'many squares' side...


 ...and on the side with the opening.
 
The blocked and dried piece from the back...

...with the flap folded over...

 
...and fully opened up.


A view of the front side.

 
 After the addition of a leather loop...
 
...and vintage button.

 
For me, having sections of finished pre-felt...

...is like having money in the bank. :)

It's a real shortcut to be able to cut discrete shapes from it...

...and use them as design elements in my larger projects.

As you can see, the pre-felt melts into the piece during felting...

...yet the shapes remain true and clear.

I added a strip of leather for a closure...

...and a vintage button from my collection finished it off.

My friend tells me that her cat likes the feel of it so much...

...that she will search for it in her tote bag! :)

Posted by Picasa