Spraying sari silk waste and tussah silk with a water and starch mixture.

The finished sari silk paper after ironing and drying...
...and a sheet made from green silk fiber.
Laying out the design...
...and covering it with wool roving.
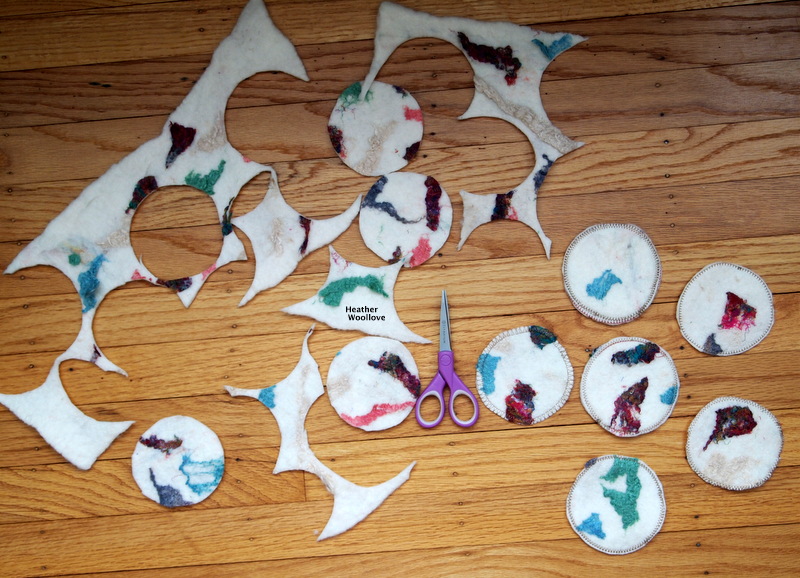
After drying and trimming...
...and 'in use' from the front...
...and the side.

When my friend,
Linda visited me recently...
...she showed me a beautiful scarf that she had made with silk paper and wool roving.
She explained to me that silk paper is surprisingly easy to make...
...you merely place layers of silk fiber onto a piece of parchment paper...
...spray them with a mixture of liquid starch and water...
...cover them with a second sheet of parchment paper...
...and iron them (on medium heat) until dry.
I tried it myself a few weeks ago for fun...
...and it worked like a charm!
Since I still needed to make a
carrier for a gift bottle of wine...
...it seemed like the perfect time to 'test drive' this new technique.
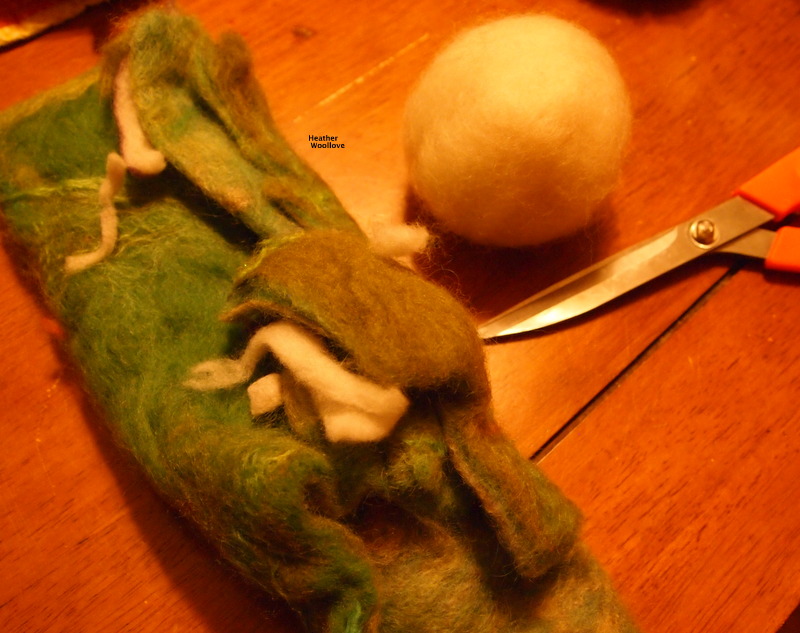
I placed pencil roving 'branches' on the resist...
...and added leaves cut from silk paper.
I covered the resist with a few layers of wool roving...
...then felted the project until it was done.
After removing the resist, turning the piece right-side out, and drying it...
...I rounded off the top of the bag and cut a slit for the handle.
The silk attaches beautifully to the wool during felting...
...and retains its lustrous shine and the
intact shape of the design...
...making this a wonderful technique for intricate shapes that would otherwise 'spread out'...
...if made, instead, from wool pre-felt.