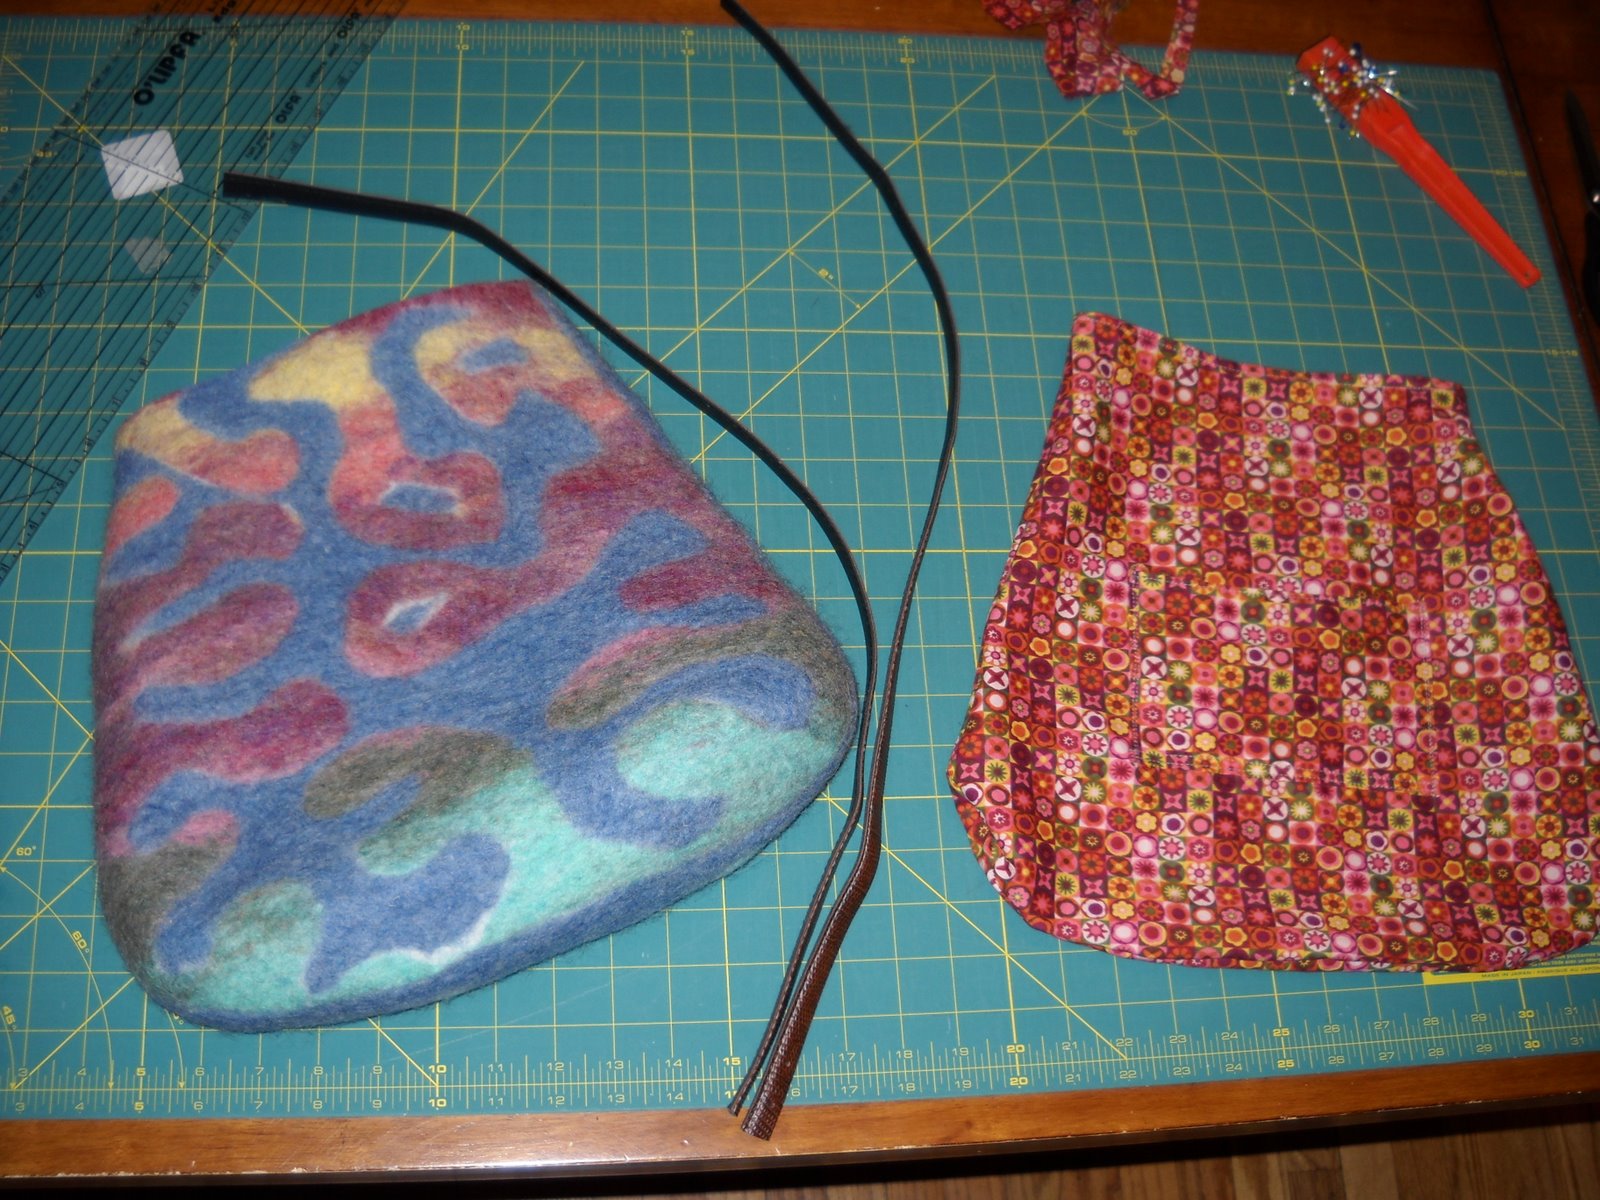
Showing posts with label shirdak. Show all posts

Wednesday, March 9, 2016

New (Orange!) Winter Hat- Part 3

The hat is turned right-side out...


                                                    ...and felting continues.


                                                                  As I work...


                          ...I regularly check the project against a hat form (for size).


                                                            The final fulling.


                                                  The finished hat (silk side)...


                                                              ...and wool side.


                                                 Despite my careful trimming...


                     ...small bits of silk are visible at the junction of the two halves. :(


                                            The fabric has felted in completely...


         ...and the pre-felt margins are crisp and clear on both sides of the project.


                                                             The hat interior...


                                                   ...and a view from the top.


Monday, March 7, 2016

New (Orange!) Winter Hat- Part 2

After placing the 'positive' pre-felt piece onto the surface of the resist...

...it's wetted out with soapy water (to help hold it in place).


                 The silk fabric is carefully trimmed away at the edges of the resist...


                                                 ...and the pre-felt is covered...
         

                                        ...with two layers of white merino roving.


                                                   The project is wetted out...


                                               ...and flipped back to side one.


                                                    Additional layers of roving...

                                             ...are added to each side of the hat.


                                                    Mid-way through felting...


                                     ...a bas-relief pattern is revealed on each side.


                                                           Felting continues...


                          ...until the resist begins to buckle inside the shrinking felt.


                                 The partially felted hat is cut open at the brim edge.


                                                 Next time: the finished hat!

Saturday, March 5, 2016

New (Orange!) Winter Hat- Part 1

Cutting two pieces of commercial pre-felt...

...to match the size and shape of my resist...


                               ...clamping them together around the perimeter...


                                      ...and cutting them into two irregular pieces...


                                           ...one 'negative' and one 'positive'.


                            The hat resist is placed under a sheet of bubblewrap...


                                                  ...and the outline is filled in...


                                              ...with two layers of white merino.


                                          A piece of patterned silk is added next...


                                        ...followed by the 'negative space' pre-felt.


                               The resist is pulled out from under the bubble wrap...

                                        ...and placed atop the wetted out project.


                                                     Next time: I assemble side two!

Thursday, April 29, 2010

Finished Pseudo Shirdak Pseudopodia Purse (Whew!)


Well, here it is...

...the finished purse.

I found some lining fabric that really complements the colors in the bag...

...but I'm not sure it photographs that way.

This time, I remembered to sew pockets into the lining before assembling it...

...creating one 'horizontal' and one 'vertical'(cell-phone-sized) one.

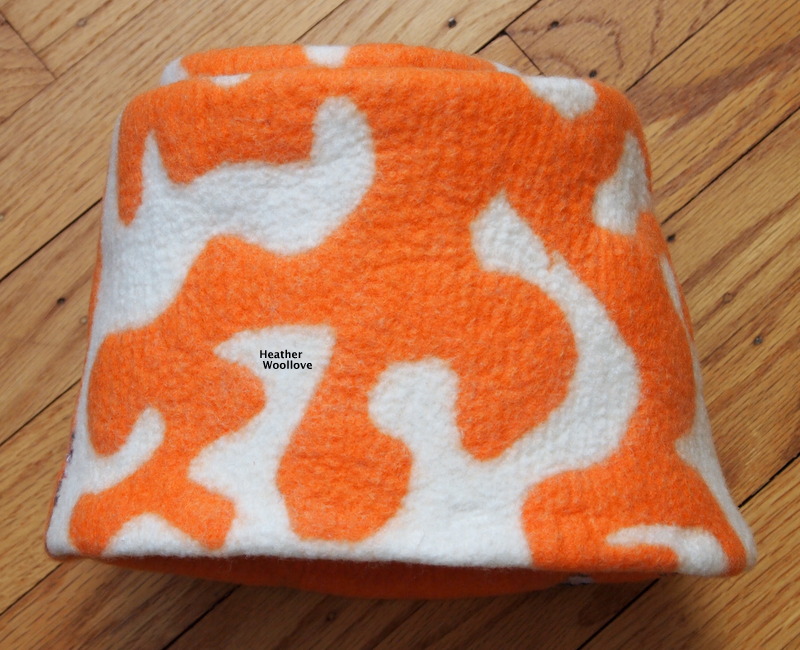
I placed two layers of 'denim blue' wool roving over the cut out pre-felt layers...

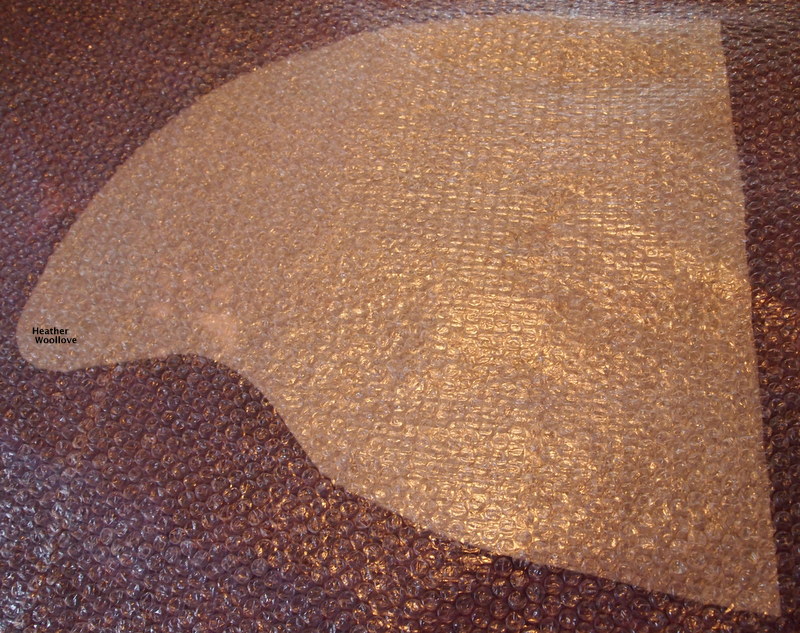
and felted it as usual (using floor underlayment as a resist).

When it was pretty well felted...

...I cut across the top of the resist and removed it.

I continued to felt the bag on the inside...

...then turned it 'right side out' and finished felting the design side.

You'll notice that one side is pretty much the negative of the other...

...because of how I cut the pre-felt piece.

It would be a bit more obvious if I had used a solid colored pre-felt...

...but I really like the gradation of colors.

I had a little more difficulty with the lining and strap sewing this time...

...mostly because I was hurrying to finish.

Next time, I'll cut the lining fabric a little wider at the top...

...and be a bit more careful with the straps (these are a bit wonky).

Overall, I really like it, though...

...and the technique is one I'll use again...

...it's pretty exciting!!


Posted by Picasa

Tuesday, April 27, 2010

Pseudo Shirdak Purse-Part One


I just love Kyrgyzstan shirdak carpets...

...but find their design elements to be a bit too formal for my taste.

Each shape is usually outlined with a braid...

...but, I decided to forego that step.

I flirted with the idea of making a small shirdak rug or table runner...

...but, as is so often the case, I ended up making (another) purse. Grin.

To prepare, I made several large pre-felt pieces...

...with odds and ends of wool roving in various colors.

I had made single color pre-felt pieces previously...

...but this time, I wanted to have the versatility of multiple colors in one.

You could say that these were really more pre- than felt...

...since I only felted them a wee bit, until they barely hung together.

This may not be the best idea for all pre-felt projects...

...since they are rather thick...

...but they do cut easily, and they felted into the finished piece like a dream.

I used my purse template to cut out the pre-felt...

...then cut shapes that resemble pseudopodia.

I ended up with both a positive and a negative...

...one for the front-, and one for the back-side.

Next time...

...the finished bag!


Posted by Picasa