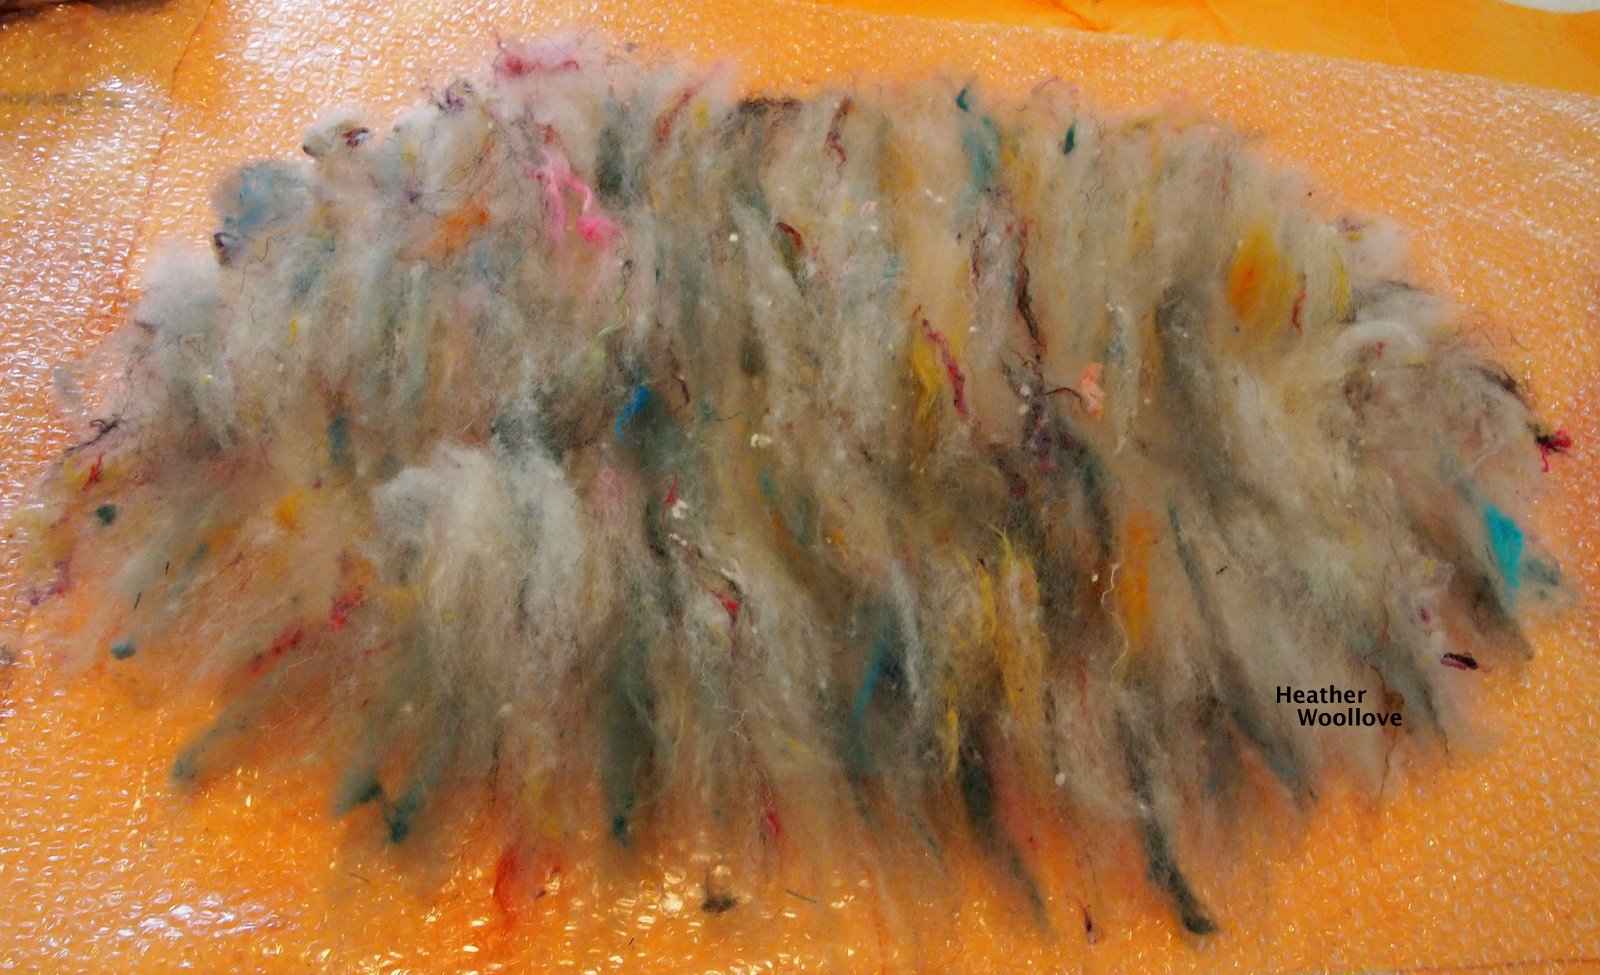
Laying out fiber.

After felting...the bottom (one pointy end) of the project...

...and the top (with a hole cut) after the resist has been removed.

Cutting in toward each corner with scissors...

...and voila, it's an open-topped cube!! :)

From another angle...

...and from the top.

Surprised?
It sure is a strange-looking resist that produces a cube (or box) like this!!
The trick is to lay out roving on each section of the two-part resist...
...placing bubble wrap between the layers as you work, so the sections don't felt together.
When the felt is starting to shrink and constrict the resist...
...you make a cut at one pointy end and remove it.
(If you want a box and not an open-topped cube...
...make a smaller cut somewhere along another edge for resist removal!)
Continue to felt the piece until it is finished...
...then dry it and make cuts into the four corners for the top flaps.
Next time: Storage cube embellishments!

23 comments:
Far too compicated for me. But love the resulting cube.
Yes, very surprised, although I can see how it works now it's been explained. What a great idea!
i'm still thinking what the trick is. it's not your explanation, but my poor brain, not catching it:)
Fiona and Riet--I think I will have Rachel explain how it works!! Giggle.
I think you might be a magician. ;-)
Wild. This process is just wild to me. :)
And it will be a while till I get my spinning mojo. I'm still gathering spinning info.
I have the same brain as Riet, it does not get the picture :D But the endresult is fab!!!! hugzz...peebee
Quite an amazing process but I must confess my favorite part is the fun colors!
Hi! That is wonderful box and great work! I love felting even haven't had time for that lately! Your felted bags are also beautiful!
x Teje
how clever!! no edges in the bottom to be felted away :) will give it a try. Thank you Heather!!
I love felting too, so I'm so impressed, realy great work, art!! I'm reading into your blog , and having fun. ☺ have a great weekend. Janine
Wow! Are you good at math? Love the cube it is very unique. What type of fiber did you use?
That's a fascinating process! I'll have to try it myself to see how it works.
Very interesting ... :-)
about the buttons you are right, but i get the shivers from non functional buttons, it's strange but true:)
ps i now got it, i found out what the trick is:)
Kathryn--I love that!! Thanks! XXO-
Denise--That's my favorite part of felting...the wildness!! :)
Peebee--Thanks!
Carlin--I'm glad you like them. It's fun to make mixed batts like this...you never know what the finished felt will look like! :)
Teje--Thanks so much!!
Kim--I can't wait to see what you do with this technique!!
Janine--Come and visit anytime!
Tamara--I do love math!! for the fiber, I used a bunch of different things blended together. Check out Part 1 of this post and you'll see the list and some photos.
Vivian--Yes...do try it!!
Beth--Thanks!!
Riet--I wonder whether there's a word for this 'fear of non-functional buttons'? We'll have to check out the list of phobias!! Whatever you do, don't check out this old post of mine: http://woollove-functional-fiberart.blogspot.com/search?q=native (buttons, buttons everywhere!!) Giggle.
How neat! I was wondering what you were up to when I first started reading this post! So, what are you using it for?
LOVE LOVE LOVE
What a great way to make a cube. I never would have guessed when I was looking at the resist.
Kelly--It's part of a Christmas present (for a non-blog-reading friend!).
Andrea--I know...it surprised me, too!!
I think I'd need to see the resist being removed to actually get it. You lost me between the 2nd and 3rd picture. I'll look at the resist picture in the previous post again. I make boxes and baskets around 3D molds. It's less complicated!
Elizabeth--You're absolutely right that I didn't photograph that step at all. Ok...so picture that the four flaps of the resist are each covered in roving and flipped over(with bubble wrap between) until they are all covered. You felt this until it passes the pinch test, then you cut one pointy end and pull it out. Photo 2 is of the pointy end that WASN'T cut and photo 3 is of the pointy end that WAS cut. (I don't show any photos of the felt as it would have been oriented during the felting process.)
I agree that there are easier ways to make this shape, but I saw the resist at the Felter's Fling and thought it would be great fun to try and a good technique to learn. I hope this explanation helps...let me know if you need more! XXO-
Oh my goodness that is SO clever! I never would of thought of a CUBE! Brilliant!
xx
Deborah--It would be fun to play around with resist shapes and see what kinds of 3-D felt would result, wouldn't it?!?!
Post a Comment