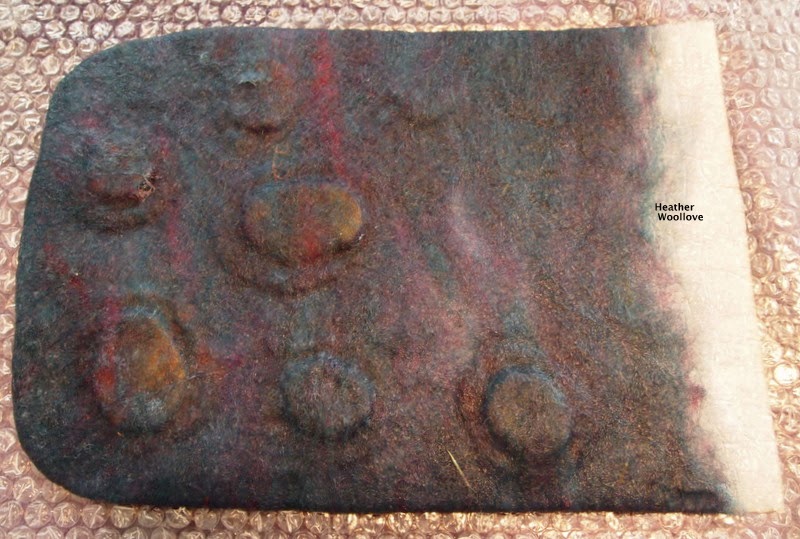
Stacking pre-felt and re-purposed, finished felt shapes...
...and covering them with variegated wool roving.
After turning the project to side two...
...a length of 'bobble yarn' is coiled into shape.
Tufts of roving are tucked under the cords (next to the resist)...
...rays of wool from side one are folded up and over..
...and side two is covered with roving as well.
Additional layers of roving...
are added to each side...
...and the top of the tote is folded down to make a tidy edge.
Mid-way through felting...
...the resist is removed and the project is turned right-side out.
Slits are then cut into each side...
...for the tote handles.
This fantastic, orange bobble-yarn was a gift from a friend...
...(thanks, again, Sandy!)...
...and I was anxious to see whether it could be felted...
...but still keep its caterpillar-like dimensionality!
Next time: the finished tote.


4 comments:
You are so adventurous Heather! :)
The yarn reminds me of Wotsits :).. (not sure you you have them over there, they are corn puff crisps that are often bright orange).
xx
Those bobble yarns are usually cotton or acrylic, aren't they? Now I'm really intrigued, because I would have expected them not to felt in at all!
It's more complicated than at first appears, isn't it...
Deborah-Hahaha...we call them Cheetos over here, but I like the name Wotsits sooo much better!
...and yes, they look exactly like them!!
Rachel-Yes...this yarn is as synthetic as they come...but the trick was to tuck the wool under (over in the final project) the strings that connect the bobbles...essentially 'trapping' them on the surface of the felt!
(Clever of me, no?!? Giggle.)
Thanks, Katarzyna!
Post a Comment