Edging the project with a layer of Finn wool...

...adding a painters tape grid...

...and covering all of side one with more Finn wool.

The process is then repeated on the 'non silk' side of the bag.

Flipping open the flanged bottom...

...and adding tape and wool to it, as well.

Covering the grid on side two with wool.
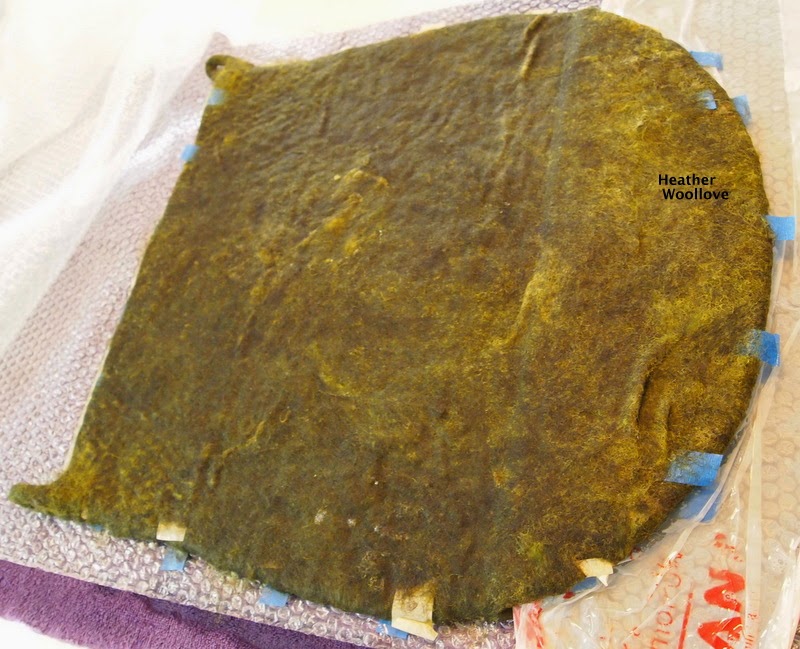
Mid-way through felting.

Next time: the bag begins to take shape!
6 comments:
This is a really intriguing technique, I must say - even though I've seen you use it before!
Yes, Rachel- It's nearly an identical project to my previous one...just a lot smaller. (There will be 'comparative size' photos in the last part so you can see for yourself!)
Do you have instructions on your blog for making the flange bottom for your bag - thank you - and am going to try the tape method previously used a plastic grid.
Fran-If you look at the 5th and 6th photos in this post, you'll see the bottom flange. It's merely one extra piece of resist material that is taped on, and then it's flipped back and forth (with thin plastic between it and the bag surface!) as it and the rest of the bag are covered with layers of roving.
I love the idea of the flanged bottom, thanks for explaining, Heather! My bags often seem too small, this sounds like a great way to add some volume.
Lindy--I'm glad you found it helpful! I really love having a bit more space at the bag bottom, myself!!
Post a Comment