Wednesday, December 18, 2013

Piscine Wine Tote- Part 1 of 3

I made this resist from thin foam underlayment (as I did with all of my other wine totes)...

...knowing that it will be ripped apart at the bottom to remove it during felting.

 
Covering the resist with brown wool roving...

 
...flipping it to side two...

 
...and wrapping the roving around the resist.


After adding another layer of brown roving to each side...

...I covered the whole project with a thin layer of white wool... 
 
...and wetted it out.

 
'Drawing' a herring shape with pencil roving...

 
...and adding an eye and a fin! :)

 
Continuing on with what seems to be my 'Tote du Jour'...

...I made a wine carrier for good friends who have 'fishy connections'! ;)

Representational art not being my strong suit...

...you'll see that this fish acquires rather 'Seussian' proportions along the way! :)

Next time: I add silk noil 'scales'!

Posted by Picasa

Sunday, December 15, 2013

My (First Ever) Knitted Infinity Scarf!

The finished (flat) scarf...

 
...knitted up in self-striping yarn...

 
...which seems kind of...well...magic to me!


One section is teal...


...one chartreuse...
 
...one grey-green...

 
...and each is dotted with random, slubby bits of white silk!

 
Once finished...

 
...I whipstitched the ends of the scarf together...

...to form a circle.

(This scarf is not going to fall off and get lost!)

 
As some of you know...

...I recently taught myself to knit by way of internet videos.

Although I'm still a complete novice...

...and despite the fact that this scarf is merely straight knitting (no fancy stuff!)...

...I'm rather proud of the finished article. :)

This yarn is absolutely lovely to knit with...

...so much so, that I bought another colourway for a second project!

(You may remember Mushishi yarn from this project...

...a felted notebook cover.)

Posted by Picasa

Friday, December 13, 2013

Ideas for Gift Tags or Christmas Note Cards...and a Cranberry Pie!

Somehow, every year at about this time...

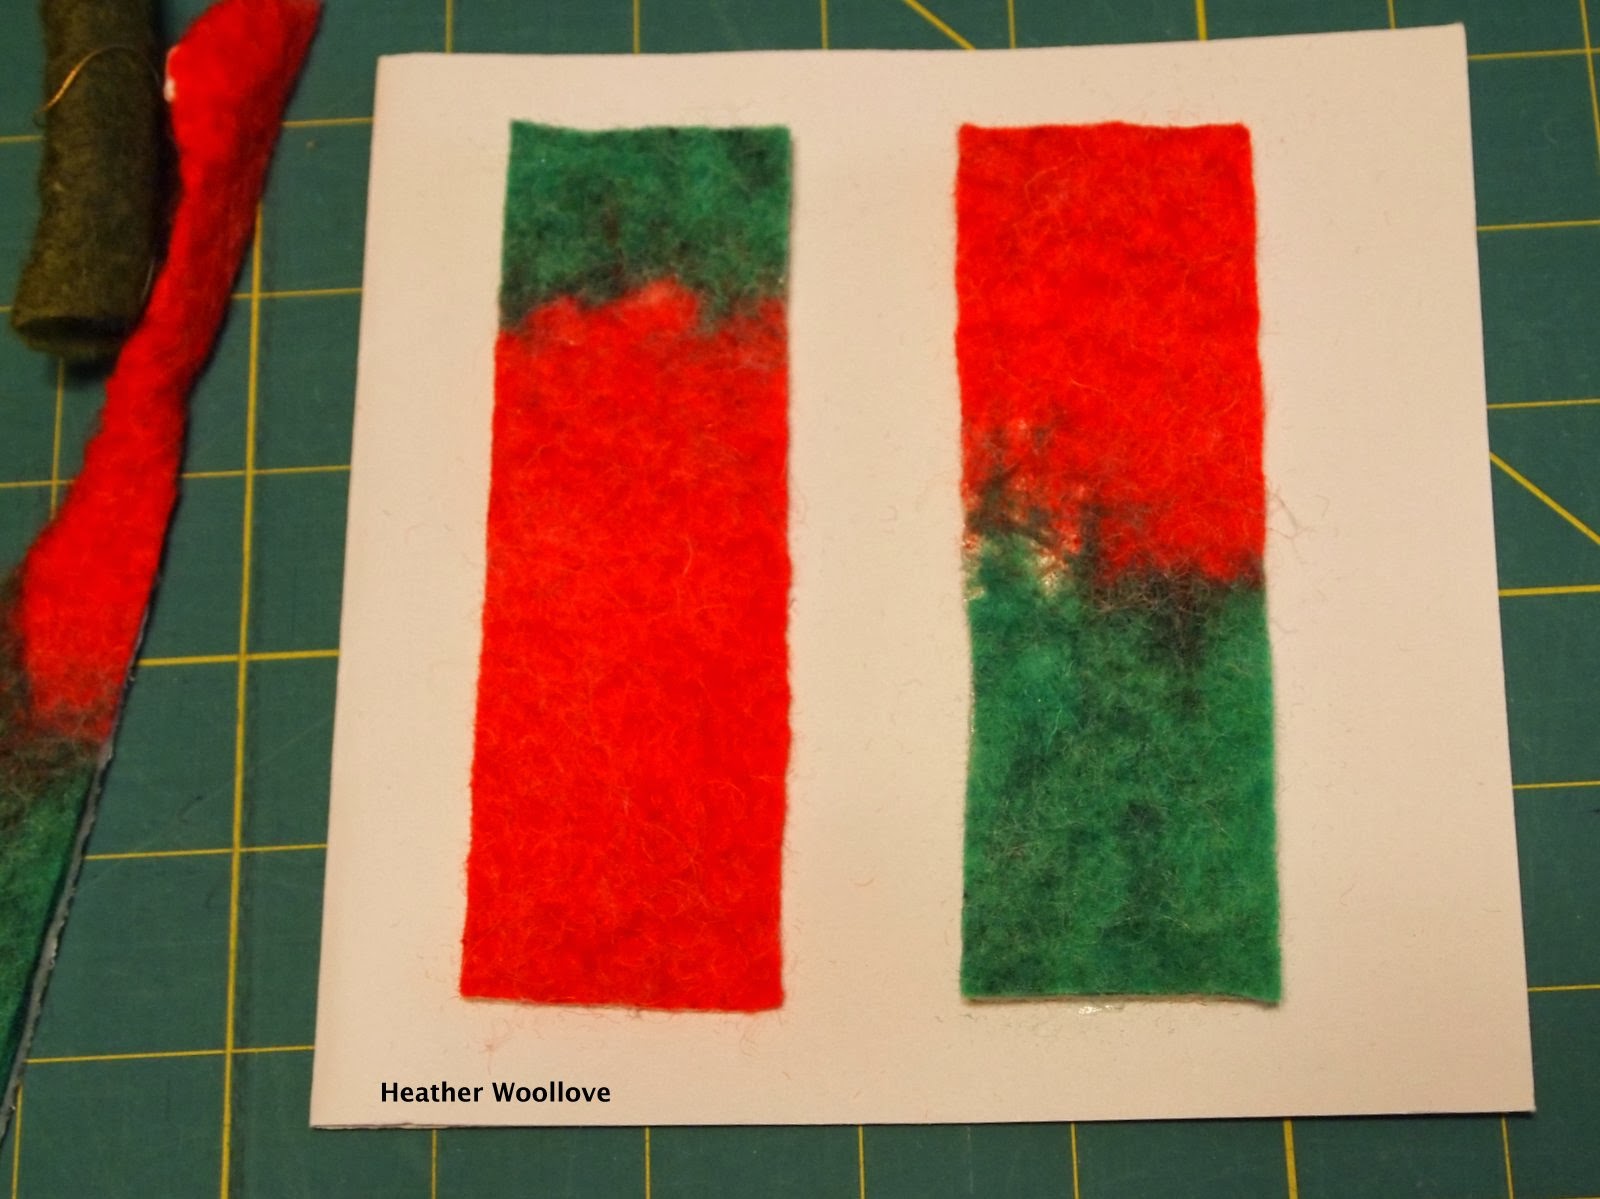
...I end up rooting around in my bag of felt scraps!

 
Using finished felt from other holiday projects...

...I used sharp scissors to cut out shapes...

 
...then glued them onto heavy card stock to make gift tags...

...or to an additional piece of heavy folded paper for Christmas note cards!

 
********************************************************************
I couldn't resist showing you this pie...

...that I made from Thanksgiving leftovers last week!

 
I used two sad-looking tart apples, 3 pears, half a bag of raw cranberries...

...unsweetened cranberry juice, and cornstarch to thicken it a little bit...

 
...and this very tart pie was born!

(Judging from my family's reaction, I probably should have added just a little sugar!) Giggle.

Posted by Picasa

Wednesday, December 11, 2013

Mawata Silk Hankie Wine Tote- Part 2 of 2

The front during fulling...

 
...and the tote back.


After drying and blocking. 
 
It's rather hard to see in these photos...

...but the silk hankies give a lovely shimmery effect!

 
The carrier in use.

 
When not full of wine, it's rather benign-looking, isn't it...

...its flat appearance belying its true function! :)


Hurry up, holidays!

We're all ready for you!!! :) 
 
Posted by Picasa

Monday, December 9, 2013

Mawata Silk Hankie Wine Tote- Part 1 of 2

Tote resist with center hole.

 
Covering it with soft brown...

...and natural white wool roving.

 
Wetting out the project.

 
Adding a dyed Mawata silk hankie...

...by stretching it open and placing it on the wool surface.


Side two with another hankie. 
 
Mid-way through felting.

(I love the 'spidery' lines made by the silk hankies!)


Cutting the handles. 
 
Although you've already seen a pink one...

...this is actually the prototype for my new wine totes.

 I chose a simple color scheme made up of natural white roving...

...and some soft and lovely brown roving given to me by my wonderful friend, Becky.

(Thanks, again, Becky!)

I stretched out dyed silk hankies to fit the general shape of the tote on each side...

...for a subtle and slightly shimmery embellishment.

Next time: the finished tote.

Posted by Picasa

Saturday, December 7, 2013

Modern Art Tote- Part 2 of 2

Cutting wide U's for the handles...

...midway through felting.

 
Turning the project right-side out...

...to reveal a felted-in design that is quite bold and crisp!

 
The back of the wet tote...


 ...turned inside-out again for fulling...
 
...and the tote front.

 
After blocking and drying.

 
A bird's eye view of the interior.

 
The finished tote in all of its glory.

(I really like the mottled grey color...

...that comes from blending black and white roving!)

 
 I love to 'write' and 'draw' on my felt...

...but using merino yarn for this purpose is relatively new to me.

Pencil roving has always been my fiber of choice for projects involving fine lines...

...but now I have a new weapon in my art arsenal! :)

It's a bit harder to use than pencil roving (which 'stays put' much more easily)...

...but the resulting design is much sharper and crisper...

...and well worth the extra effort!

Posted by Picasa