Wednesday, November 30, 2011

Felted Hand-Spun Yarn Scarf


Sparkly art batt and hand-spun yarn.


Stitching strands of yarn together through wax paper.


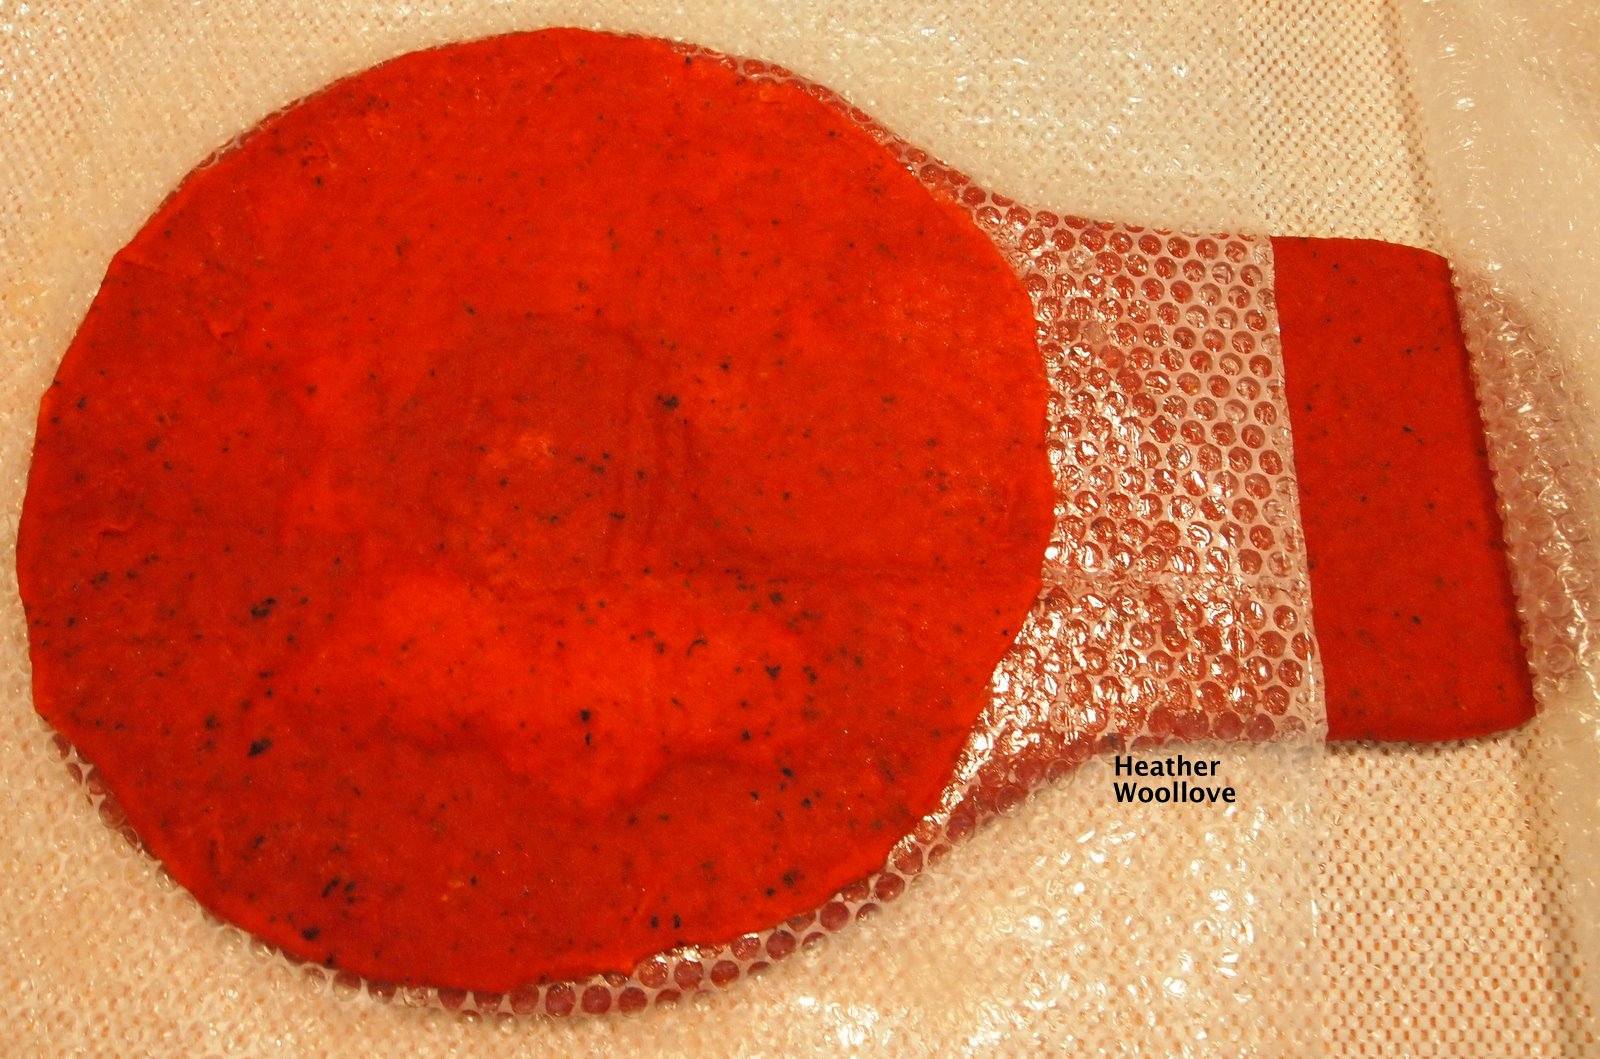
The finished scarf...


...and closer...


...and closer, still.


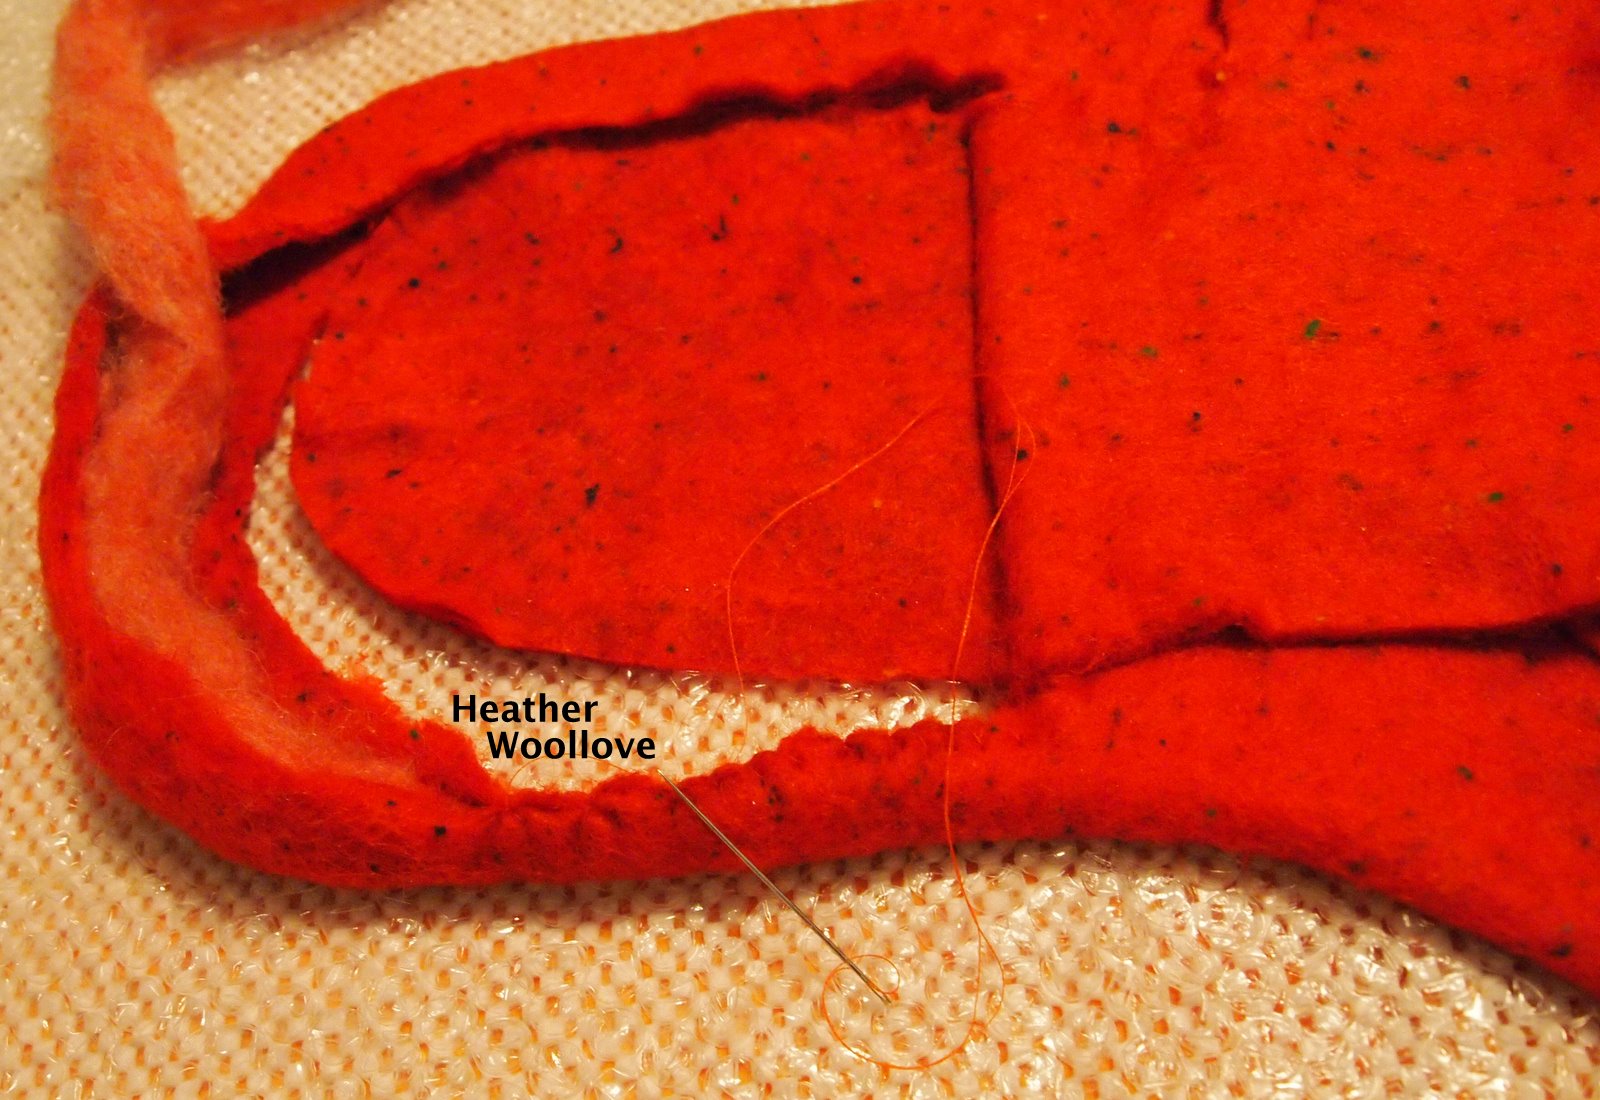
Felted sections keep the strands of yarn from pulling apart...


...and tiny, stitched on beads add extra bling.


I recently read a tutorial for a scarf made from hand-spun yarn...

...with sections of fabric sewn on to hold the strands of yarn together.

I thought that this could easily be done with felt as well...

...and I decided to give it a whirl!

I had some beautiful core-spun yarn that my friend Linda made for me during a summer visit...

...and a sparkly pink art batt that she gifted me with as well...

...so I decided to try for a really feminine scarf!! :)

To hold the separate strands of yarn together at specific intervals...

...I machine stitched them between a strip of wax paper.

There are probably better ways of doing this...

...but the wax paper was easily removed after sewing...

...and it kept the yarn from getting caught and tangled as I stitched.

I then wrapped bits of batt around the sewn areas...

...and wet felted them into 'beads'.

When it was completed and dried...

...I hand-stitched small glass beads to each felt section for fun.

Now it's all ready for Christmas wrapping paper...

...and there's one more thing I can cross off my 'to do' list!! :)

Posted by Picasa

Monday, November 28, 2011

Fused Glass...and A Winner!


One of the fused glass 'nuggets' that I made this summer at the Creative Felt Gathering...


...and another.


The finished shawl...


...outdoors on an unseasonably sunny day yesterday...


...and here I think you can finally see its true colors. :)


The fused glass nugget photos have been lying around for some time...

...and I thought it was finally a good time to share them.

I was able to take the shawl outdoors yesterday in the sun...

...and I think you'll have a better idea, now, of the color green it actually is. :)

From a random number generator site...

...I drew the number of the winner.

Grazyna, you have won this shawl...

...please send your full name and mailing address to...

...heather(dot)woollove(at)gmail(dot)com

Thanks to all who commented and entered the drawing.

Posted by Picasa

Saturday, November 26, 2011

Leafy Cobweb Shawl- Part 2 of 2


Adding dyed flax bits...


...here in close up.


The back side of the finished shawl...


...and the front.


Some close ups of the finished color additions...


...but they are not quite 'true', color wise...


...since the actual color of the shawl is closer to this.


In true cobweb fashion...

...this scarf sports some 'open areas'...

...read 'holes'. :)

I've taken photos over a couple of days, now...

...but some are too washed out, and some are too green!

Suffice it to say that the true color lies somewhere in-between...

...and I think it would look pretty with lots of different jackets.

If you would like a chance to win this shawl...

...please leave a comment on this post (if you haven't already on Part 1)...

...and I will add you to the list.

I will close the drawing at Midnight (EST) on 11/27/11...

...and will announce the winner on 11/28/11.

Good luck!

Posted by Picasa

Thursday, November 24, 2011

Leafy Cobweb Shawl- Part 1 of 2


Laying out roving...


...with my friend, Dawn, who was visiting from Michigan at the time. (Yay!)


Filling in the outline...


...and adding my own hand-spun orange yarn around the perimeter.


Wrapping wool around the yarn to make a firm edge...


...here, wetted out and seen in close-up.


While my friend, Dawn was here in August...

...we took the time to make a few projects together.

I'd been wanting to make another cobweb shawl (even had a particular shape in mind)...

...and Dawn was gracious enough to help!

It's always a treat for me, having someone to felt with, but Dawn is especially entertaining...

...the only 'down side' being that I often had to stop working to clutch my side for breath from laughing so hard!!

We laid out a single layer of variegated fresh green and yellow roving...

...then carefully placed a length of orange hand-spun yarn close to the perimeter.

We added a second layer of roving just to cover the yarn...

...and folded the roving over the yarn to encase it.

***************************************************************
Because this time of year can be especially stressful...

...(especially for those of us who make handmade gifts for holiday giving)...

...I am offering this shawl as a give away.

You are welcome to keep it...

...or 'gift' it...as you see fit. :)

Please leave a comment on this post, or Saturday's post (11/26)...

...and I will add your name to the drawing.

****************************************************************

Next time: the finished shawl...

...and a very Happy Thanksgiving to all of my American readers!! XXO-

Posted by Picasa

Tuesday, November 22, 2011

"Sampler" Needle-Case

Felted needle-case with beads...


...sari silk waste and sari silk ribbon.


With the ribbon closure tied...front side...


...and back side.


Green felt pages (left-overs from my 'couture jacket')...


...sewn in with bead accents.


While I was in Michigan for the Creative Felt Gathering...

...I took a little time on our 'free afternoon' just to play around with wool.

One of my fellow students had a lovely felted needle-case with her...

...and I thought that it would be a quick and fun project to try!

There were also several felting techniques that I'd been dying to attempt...

...so I decided to incorporate them all into one case, like an old-fashioned 'sampler'!! :)

My friend, Kim often felts ribbon or lace into her felt...

...and then uses it as a tie closure.

My friend, Nicola uses beads, threaded onto a narrow piece of roving...

...to felt beads into a project without sewing.

And my friend, Pam, who was, luckily, also present at the CFG...

...stitches beads to the 'fold lines' of her finished needle cases...

...to prettily hold the pages in place.

I cut a small foam resist and covered it with layers of wool roving...

...then added strips of sari silk, holding them in place with wisps of wool.

(If you wet the strips of silk first, it helps to flatten them out for proper placement.)

I found a needle that would fit, easily, through the holes in my beads...

...then threaded it with a thin strand of wool roving, and pulled beads onto the fiber.

I laid these out onto the project surface, along with some sari silk waste...

...and began felting.

I treated this project like a  mini-bookcover...

...but cut a slit, instead of an oval, in order to remove the resist.

I cut pages of finished felt to fit the case...

...and attached them with bead accents placed on the inside and outside of the case.

As it was a 'sampler', I wasn't too concerned with design or element placement this time...

...but it did give me a good idea about how to use these techniques in the future!

Posted by Picasa

Sunday, November 20, 2011

Orange Flower Purse- Part 2 of 2


The fully felted purse.


Clamping the petals to create 3-D texture.


A close-up of the petals, silk yarn and snippets of pencil roving.


The purse back with trimmed flap.


Pearlescent vintage buttons for the closure.


The finished purse.


This purse was a little tricky to do...

...but, boy, was it worth it!

I found that after I had felted the piece for some time...

...I still felt a little 'wobble' in the center where the petals attached.

Taking a few stitches with a large needle and silk yarn seemed to do the trick...

...and I could then finish felting the bag without fear. :)

I decided that rather than having inner pockets or flaps of any kind...

...I would trim the flaps and have the bag opening follow the circular pattern of the flower.

In order to keep the bag's contents secure...

...I stitched two buttons to the inside of the bag back...

...and made button-holes on the front flap of the bag (where they are hidden by a petal).

Posted by Picasa

Friday, November 18, 2011

Orange Flower Purse- Part 1 of 2


Layout...using a wool batt with multi-colored cotton dots.


Prepping for the first petal layer.


Laying out the first petal...


...and the second...


...and the third...

...then adding snippets of variegated pencil roving to the flower's center.


Felting the purse until it passes the 'pinch test'.


Cutting out the handle...


...and stuffing it with wool roving, prior to stitching, to give it a nice, rounded shape.


My across-the-sea friend, Deborah and I...

...have been using each other for inspiration quite a bit in the last few months!

I was especially taken with a flower cushion that she made recently...

...as was our friend, Kelly, who tried one, too...

...and in orange, no less!!! :)

But because I made so many pillows for Christmas gifts last year...

...I was feeling a little 'over them', and wanted to try something new...

...and, surprise, surprise(!), I thought of making...a purse!! Giggle.

 I designed a new, smaller resist with a narrower handle...

...and since I was making it for myself, I decided to make it in orange!! :)

I covered the resist with fiber from a wool batt that was blended with multi-colored cotton dots...

...then made 3 resists out of pieces of bubble wrap, cutting holes into each center.

As each petal was finished, I layered the project with another piece of bubble wrap...

...keeping the holes centered, so that all of the petals would connect in the middle.

 As a decorative element, and to ensure that my layers would felt together well...

...I made basting stitches in the flower's center with a length of silk yarn.

Next time: the finished purse...

...with pearlescent vintage buttons!

Posted by Picasa