Nienke and Annemarie help me to stretch out dyed Mawata silk hankies.

Next up: a layer of hand-dyed silk gauze (in two colourways)...

...followed by a layer of wool roving.
Edging the piece with a bright pink
splash of merino/silk blend roving.

Soaping and wetting out the project...
...then adding a second layer of hand-dyed silk gauze.

More stretched silk hankies...

...and
smoke rings of dyed tussah silk...
...make for a real 'fiber sandwich'!!! :)

Since I never know exactly
what I'll get up to in a felt-making workshop...
...I always try to pack a few
orphaned supplies from my stash cupboard...
...to see what might become of them in an unfamiliar setting! :)
For my class in Portugal, I took along pieces of silk gauze that I had hand-dyed some time ago...
...both with natural,
cake icing dyes and with synthetic, acid dyes.
You'll notice that the colors start out quite
wild-looking...
...but the icing dyed sections will fade quite a bit by the project's end.
Since this is another
dryer felt project...
...I began with a layer of thin plastic on the table surface.
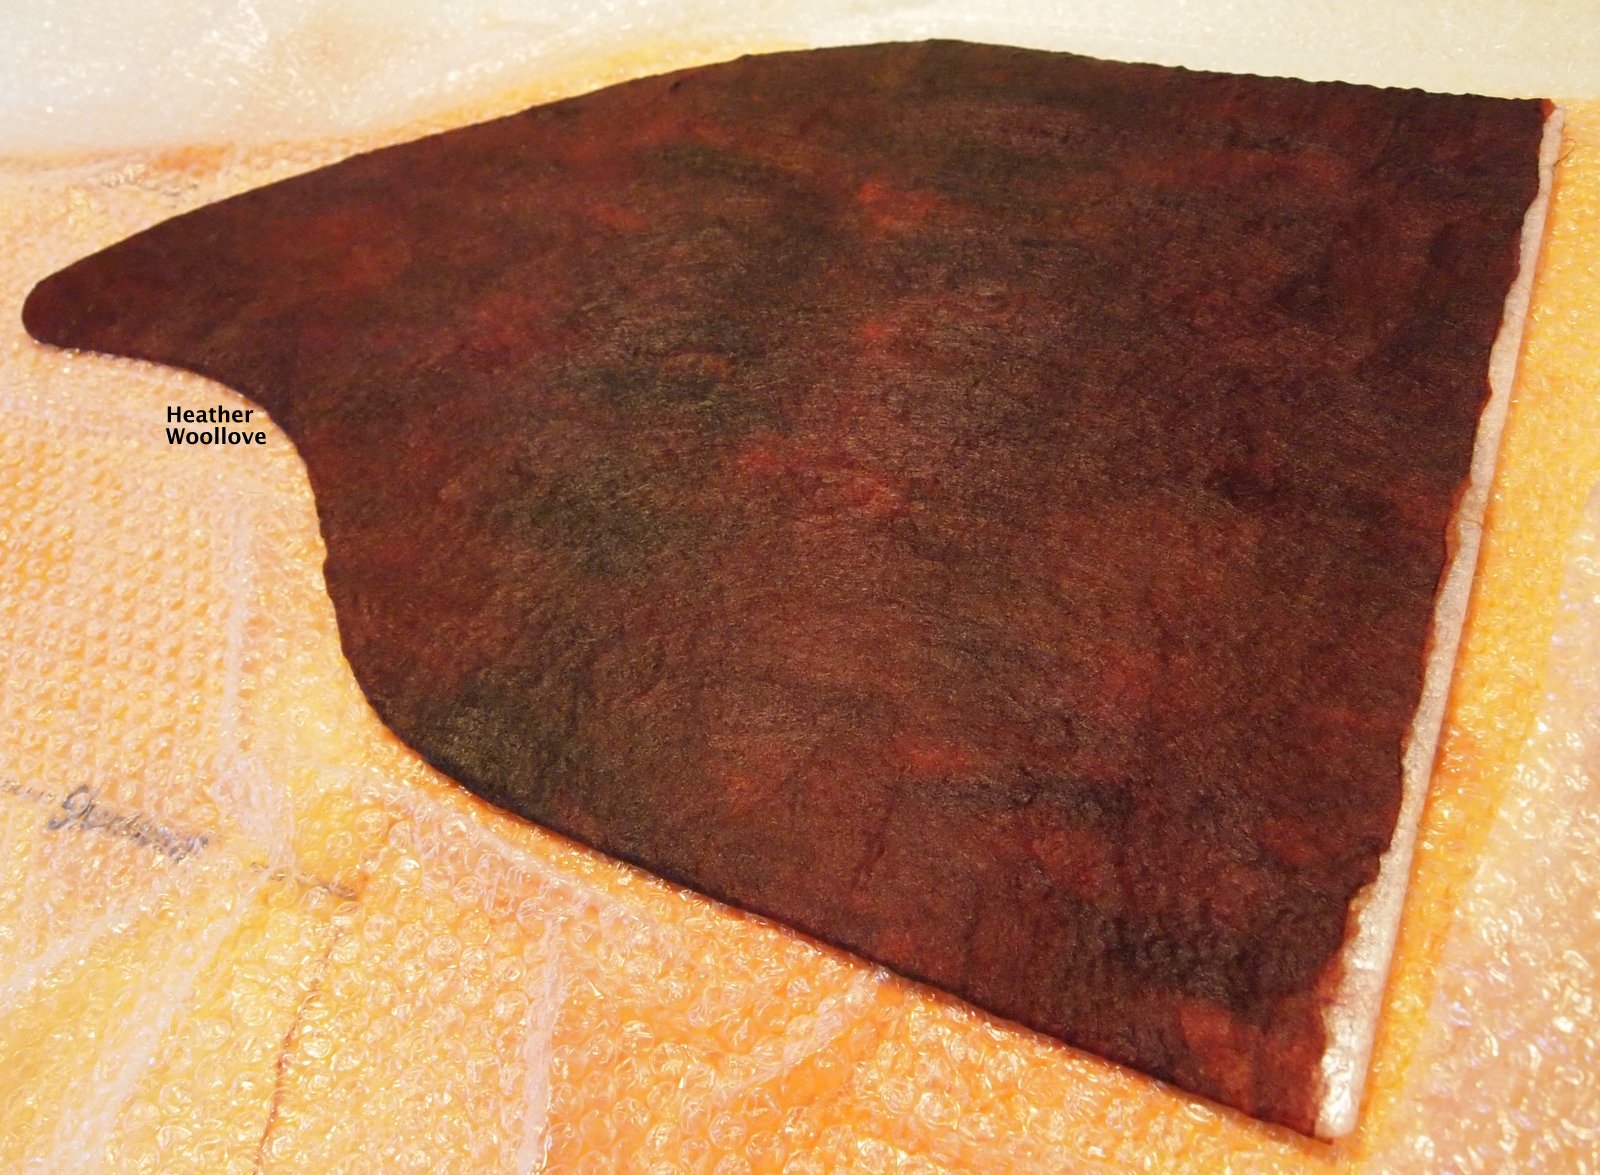
Nicola is a big fan of putting designs on
both sides of her nuno felt projects...
...and now, I am a
convert to this idea, as well!!
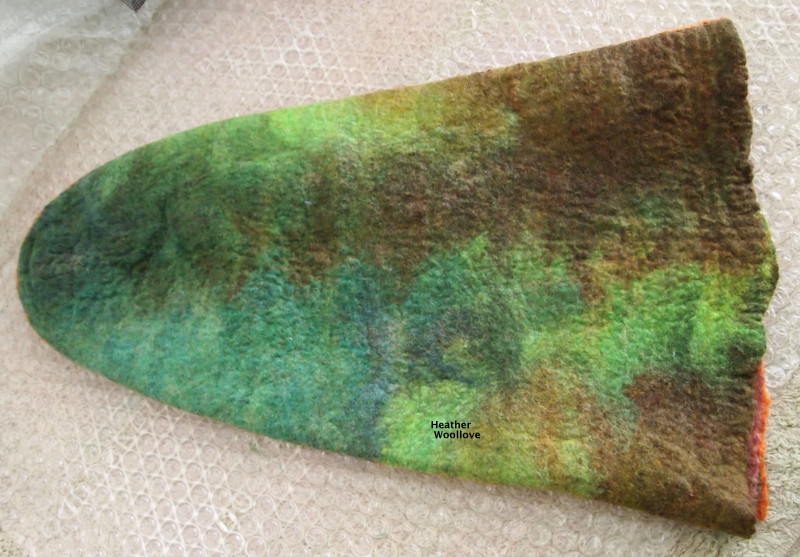
Starting with quite widely
stretched-out dyed silk hankies...
...I made designs on the surface of the plastic.
A layer of silk gauze, one of wool roving and another layer of silk came next...
...then more silk hankies and a smattering of tussah silk fiber circles.
Next time: the project is rolled up and felted in the tumble dryer...
...and a piece of felt is 'born'!! :)


