Showing posts with label chicken wire. Show all posts

Tuesday, February 18, 2014

My Enormous New Felt-Covered Compost Bin- Part 2 of 2


                                                   This bin is not one to hide in the shadows!


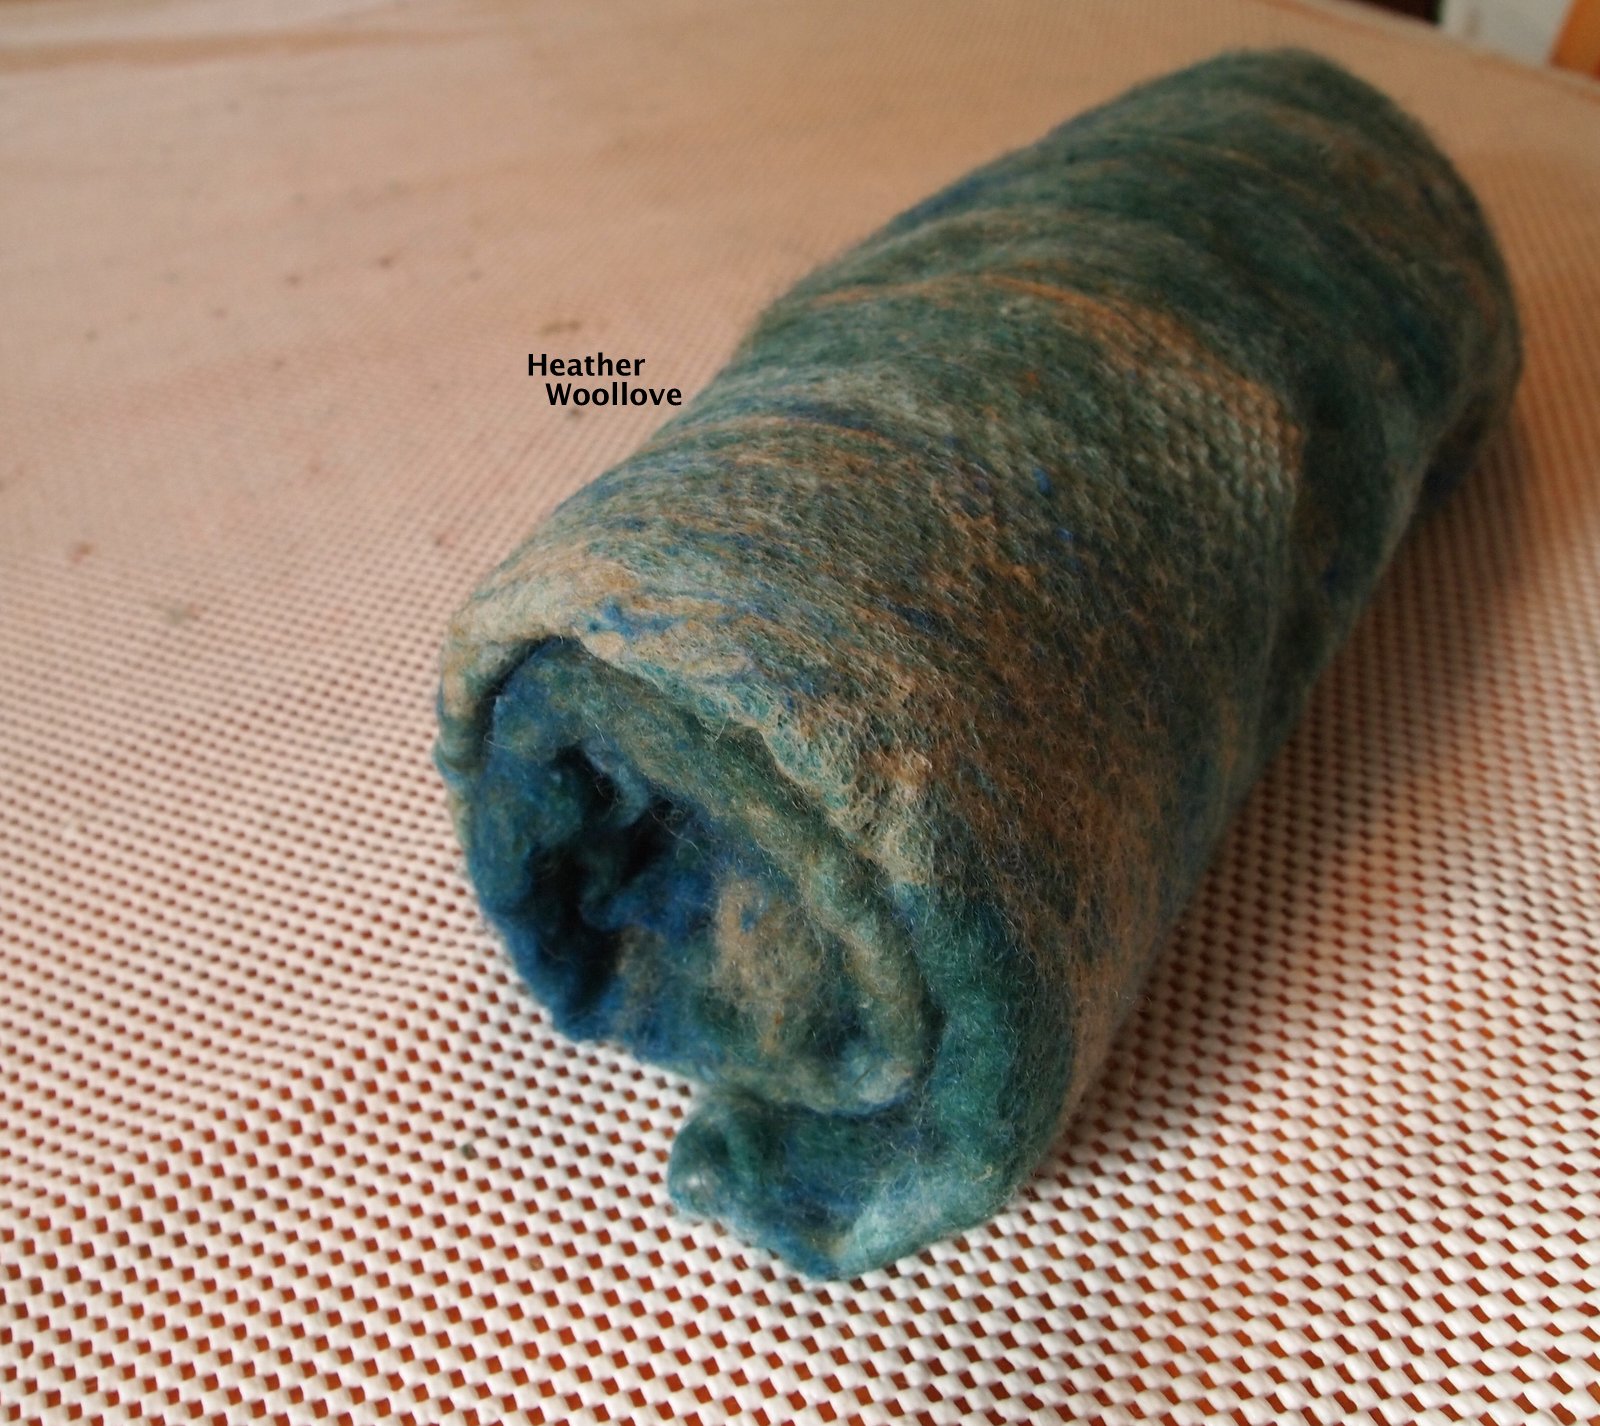
                                           Constructed of early felt projects, workshop sample pieces...


                                                     ...failed hats, scarves, purses, shawls...


...and one large piece of felt made expressly for this project...


                                                            ...it is truly epic in scale! :)


                                            I spent several hours hand-stitching the felt to the 'cage'...

                                              ...using strong nylon thread and lots of tiny stitches.


                               This time, the lid is reinforced with a wire form for structural support...

                                               ...and boasts an integral handle for easy opening.


                                                            My new compost bin in situ!

                                                 Compare the size of it with my last bin...

                         ...(on the bottom left in this photo...hiding behind the ornamental grasses)...

                                               ...and you'll see just how large it really is!!) :)                         


Sunday, February 16, 2014

My Enormous New Felt-Covered Compost Bin- Part 1 of 2


                                                       Making batts on my drum carder...


                                                          ...from fibery odds-and-ends...


                                                  ...then covering the first layer of batt...

                                                    ...with a piece of cotton gauze.


                                              Forming additional layers from other batts...                                           

   
                                                                ...and pre-felt remnants...
                                                             

                                               ...found in crumpled disarray among my supplies.


                                                    Hand-sewing the finished felt piece...


                                                   ...and other random bits of finished felt...

                                            ...to a plastic-coated chicken-wire cylinder and lid...

                                                          ...using strong nylon thread.


                                                Do you ever look around your messy studio...

                                  ...and realize that you're long overdue for a massive 'clear-out'?!?

                            This impulse of mine coincided with my need for a new (larger) compost bin...

                                                        ...so I happily went with it! :)

                                       Using pieces of pre-felt that had seen better days...

                                 ...small quantities of wool roving in various strange colors...

                                ...failed felt projects (hats, scarves and bags), sample pieces...

                                 ...and otherwise unused felt items that I had lying around...

                                  ...I assembled a cover for my monstrous new compost bin!

                                                       Next time: the finished bin...

                                                     ...in all of its 'assertive' glory! :)

Saturday, May 5, 2012

Wet-Felted Compost Bin- Part 3 of 3

Laying out wool for the bin lid.


The finished compost bin with hair elastic closure loop. 
 
Adding beads for the fastener...

 
...and in close-up.

 
Lily of the valley.

 
The compost bin in situ.

 
Don't you just love this color?!?


My new compost bin, 'planted' at the site of my old one.

Luckily, my neighbor (whose garage you see)...

...is also a fan of composting!

 
I really wasn't sure how to make a hinged top...

...that would stand up to the rigors of daily use.

In the end, I fashioned a lid that had a straight edge in the back...

...and using a curved needle, hand-stitched the top to the edge of the bin...

...making sure that I sewed through the chicken wire layer, as well.

For the closure, I stitched a 'hair elastic' into the front edge of the lid...

and sewed a line of large beads together for a 'clasp'...

...stitching them to the front of the bin through the felt.

To make a rigid lid, I first tried felting around a circle of chicken wire...

...but it was awkward and 'spiky', and I gave up.

In the end, I felted around a circular resist...

...and then filled this felt 'envelope' with a layer of heavy cardboard...

...sandwiched between two layers of foam underlayment.

Many of you are curious about the bin's potential longevity...

...and, to be honest, I am, too!


Will the felt (especially the lid and hinge) withstand use...

...or will I be doing periodic repairs?


Will things compost more slowly than they did in my open-air bin (lack of oxygen?)...

...or will the added heat (from being in an enclosure) actually speed things up?

Let the experiment begin!! Giggle.

Posted by Picasa

Thursday, May 3, 2012

Wet-Felted Compost Bin- Part 2 of 3

The promised Nick Cave impersonation! :)


Sizing the chicken wire prior to trimming it with wire cutters... 
 
....by letting the roll expand to fit the felt cylinder.


Cutting a bottom for the bin and wiring it on... 


...and here, from another angle.
 
An 'outdoor shot' after hand stitching the felt to the top and bottom of the bin...

 
...but prior to attaching the lid.


Because I want the finished compost, as it settles, to 'return to the earth'...

...the wire bottom was not covered in felt, but left bare.


To give you a sense of scale for this project...

...my boyfriend was kind (silly?) enough to do his best 'Nick Cave Soundsuit dance' for you. ;)

He did all of the wire cutting and assemblage on this project, as well...

...and I am quite grateful to him for that!

We expanded the roll of chicken wire inside the felt cylinder...

...adding several inches for an overlap, prior to cutting.

After wiring it together, he cut a chicken wire circle...

...and affixed it to the bottom of the project as a base.

To make this as neat and elegant a compost bin(!) as possible...

...I hand-stitched the felt to the wire at the top and bottom with strong thread.

Next time: the lid...

...and the solution to my hinge and fastener conundrum! :)
Posted by Picasa

Tuesday, May 1, 2012

Wet-Felted Compost Bin- Part 1 of 3

Piles of blue, green and beige batts with various colors of synthetic and silk yarn.

 
Laying out roving and adding stripes of silk yarn.

 
Adding bunchy circles of synthetic yarn for texture...like a tic-tac-toe!


Covering the piece with a layer of spongy Hog Island wool roving. 
 
During felting...


...and here, as well. (I made a second piece of felt just like this one.)
 
The finished felt 'tube' (not really as blue as the photograph shows)...


...made from two large pieces of felt, machine-stitched into a cylinder.
 
As Spring approached this year, I was bitten by the 'organizing bug'...

...and I looked around with dismay at my studio full of cast-off fibers. :)

Assembling a large pile of blue, green, and beige wool...

...I vowed to make a small dent, at least...

...and carded up a bunch of fluffy, blended batts on my drum carder.

At the same time, I was having to take down my 4-year old, open-air, chicken wire compost bin...

...because of a (insert expletive of choice here) bureaucratic edict. :(

Told that I could continue to compost in an enclosed bin...

...it didn't take me long to consider the enviable properties of felt dwellings (yurt, anyone?)...

...and resolve to make an enclosed compost bin out of felt!

To make the felt 'skin', I layered sections of batts with lengths of silk yarn...

...and added thick, messy circles of variegated yarn for textural interest.

I covered the entire layout with a thick layer of Hog Island wool roving...

...which has a lovely spongy texture and is wonderful for more 'heavy-duty' projects.

After felting and drying each of the two large felt squares...

...I machine-stitched them together to form a cylinder.

Next time: the creation of the chicken wire 'skeleton'...

...and my boyfriend pretends that he's Nick Cave! :)

Posted by Picasa