Saturday, May 5, 2012

Wet-Felted Compost Bin- Part 3 of 3

Laying out wool for the bin lid.


The finished compost bin with hair elastic closure loop. 
 
Adding beads for the fastener...

 
...and in close-up.

 
Lily of the valley.

 
The compost bin in situ.

 
Don't you just love this color?!?


My new compost bin, 'planted' at the site of my old one.

Luckily, my neighbor (whose garage you see)...

...is also a fan of composting!

 
I really wasn't sure how to make a hinged top...

...that would stand up to the rigors of daily use.

In the end, I fashioned a lid that had a straight edge in the back...

...and using a curved needle, hand-stitched the top to the edge of the bin...

...making sure that I sewed through the chicken wire layer, as well.

For the closure, I stitched a 'hair elastic' into the front edge of the lid...

and sewed a line of large beads together for a 'clasp'...

...stitching them to the front of the bin through the felt.

To make a rigid lid, I first tried felting around a circle of chicken wire...

...but it was awkward and 'spiky', and I gave up.

In the end, I felted around a circular resist...

...and then filled this felt 'envelope' with a layer of heavy cardboard...

...sandwiched between two layers of foam underlayment.

Many of you are curious about the bin's potential longevity...

...and, to be honest, I am, too!


Will the felt (especially the lid and hinge) withstand use...

...or will I be doing periodic repairs?


Will things compost more slowly than they did in my open-air bin (lack of oxygen?)...

...or will the added heat (from being in an enclosure) actually speed things up?

Let the experiment begin!! Giggle.

Posted by Picasa

Thursday, May 3, 2012

Wet-Felted Compost Bin- Part 2 of 3

The promised Nick Cave impersonation! :)


Sizing the chicken wire prior to trimming it with wire cutters... 
 
....by letting the roll expand to fit the felt cylinder.


Cutting a bottom for the bin and wiring it on... 


...and here, from another angle.
 
An 'outdoor shot' after hand stitching the felt to the top and bottom of the bin...

 
...but prior to attaching the lid.


Because I want the finished compost, as it settles, to 'return to the earth'...

...the wire bottom was not covered in felt, but left bare.


To give you a sense of scale for this project...

...my boyfriend was kind (silly?) enough to do his best 'Nick Cave Soundsuit dance' for you. ;)

He did all of the wire cutting and assemblage on this project, as well...

...and I am quite grateful to him for that!

We expanded the roll of chicken wire inside the felt cylinder...

...adding several inches for an overlap, prior to cutting.

After wiring it together, he cut a chicken wire circle...

...and affixed it to the bottom of the project as a base.

To make this as neat and elegant a compost bin(!) as possible...

...I hand-stitched the felt to the wire at the top and bottom with strong thread.

Next time: the lid...

...and the solution to my hinge and fastener conundrum! :)
Posted by Picasa

Tuesday, May 1, 2012

Wet-Felted Compost Bin- Part 1 of 3

Piles of blue, green and beige batts with various colors of synthetic and silk yarn.

 
Laying out roving and adding stripes of silk yarn.

 
Adding bunchy circles of synthetic yarn for texture...like a tic-tac-toe!


Covering the piece with a layer of spongy Hog Island wool roving. 
 
During felting...


...and here, as well. (I made a second piece of felt just like this one.)
 
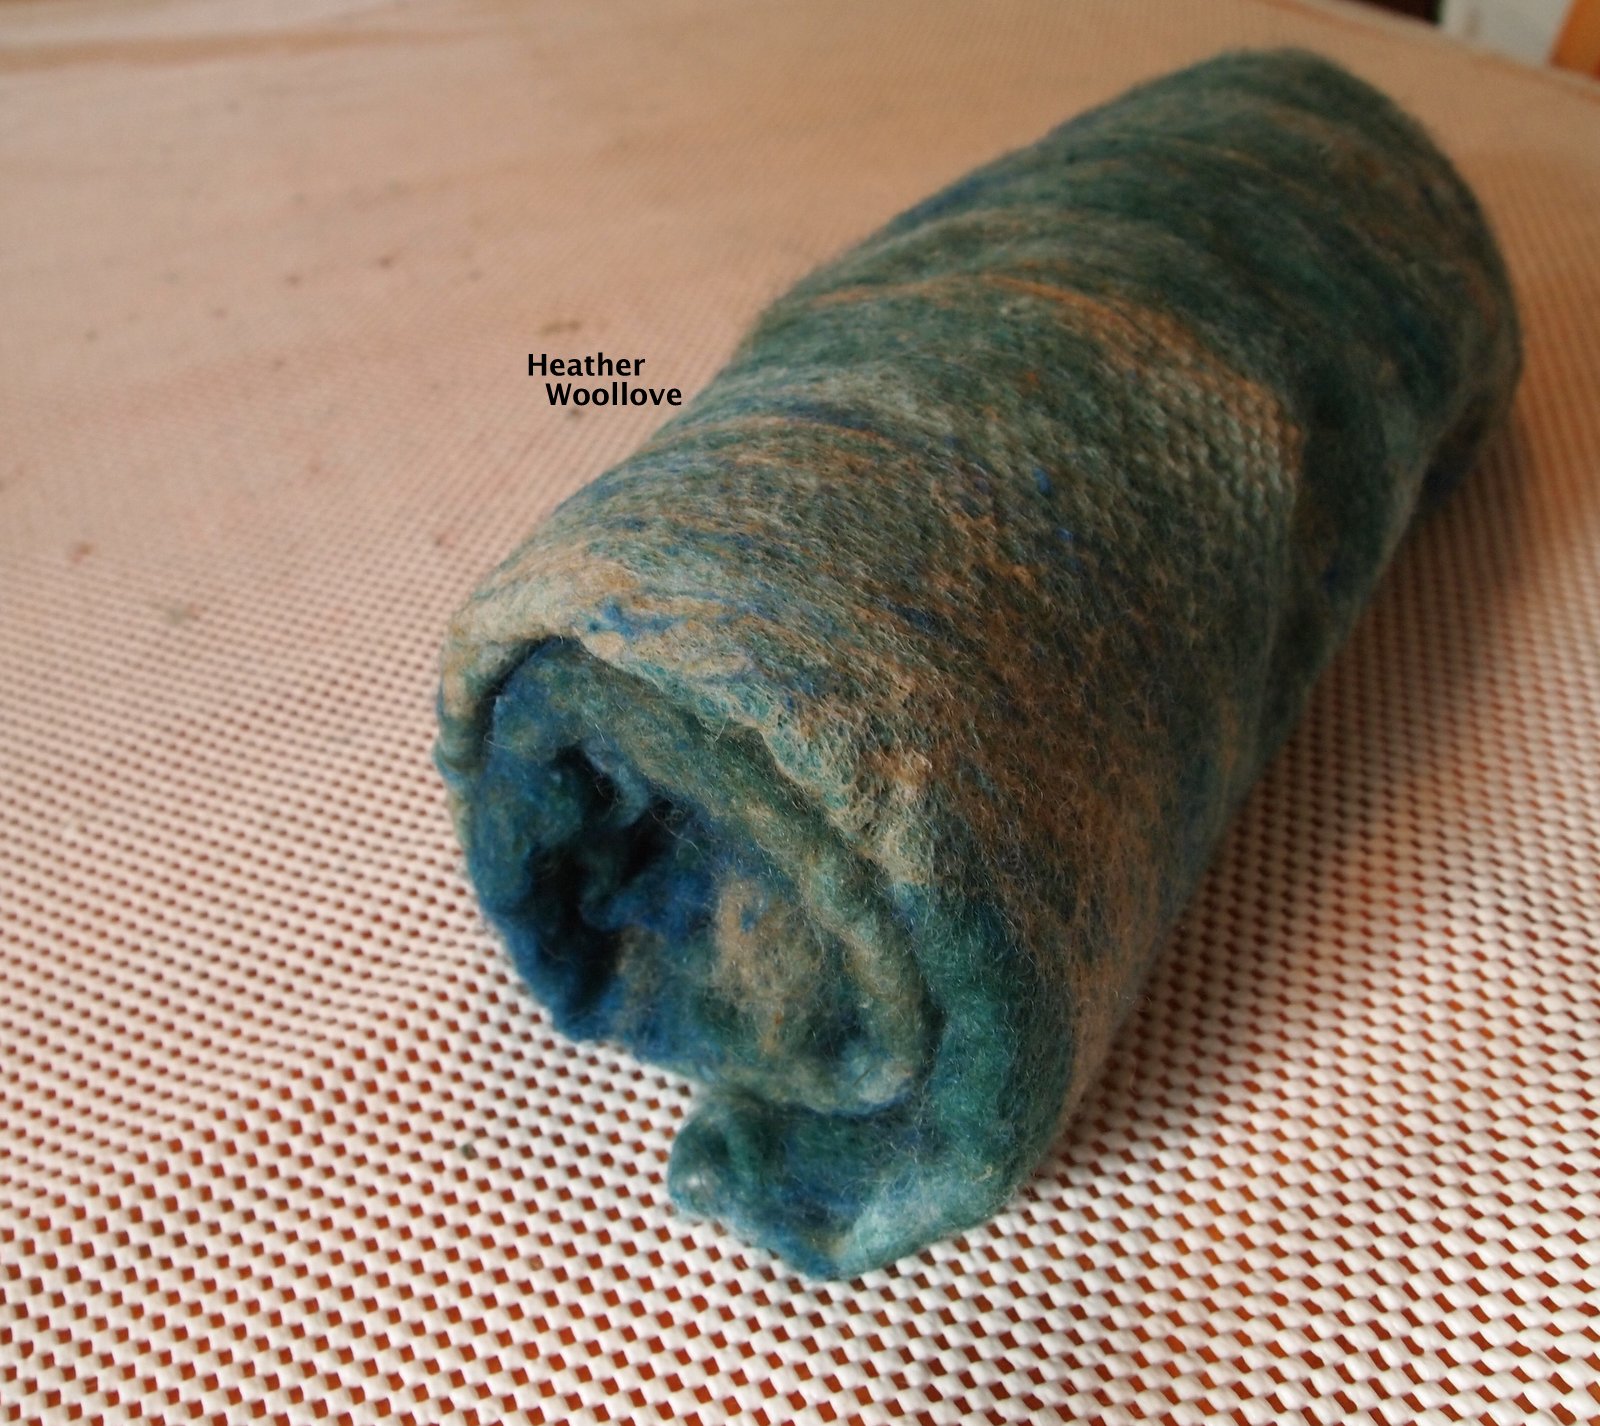
The finished felt 'tube' (not really as blue as the photograph shows)...


...made from two large pieces of felt, machine-stitched into a cylinder.
 
As Spring approached this year, I was bitten by the 'organizing bug'...

...and I looked around with dismay at my studio full of cast-off fibers. :)

Assembling a large pile of blue, green, and beige wool...

...I vowed to make a small dent, at least...

...and carded up a bunch of fluffy, blended batts on my drum carder.

At the same time, I was having to take down my 4-year old, open-air, chicken wire compost bin...

...because of a (insert expletive of choice here) bureaucratic edict. :(

Told that I could continue to compost in an enclosed bin...

...it didn't take me long to consider the enviable properties of felt dwellings (yurt, anyone?)...

...and resolve to make an enclosed compost bin out of felt!

To make the felt 'skin', I layered sections of batts with lengths of silk yarn...

...and added thick, messy circles of variegated yarn for textural interest.

I covered the entire layout with a thick layer of Hog Island wool roving...

...which has a lovely spongy texture and is wonderful for more 'heavy-duty' projects.

After felting and drying each of the two large felt squares...

...I machine-stitched them together to form a cylinder.

Next time: the creation of the chicken wire 'skeleton'...

...and my boyfriend pretends that he's Nick Cave! :)

Posted by Picasa

Sunday, April 29, 2012

Pink "Retirement" Purse- Part 2 of 2

Pinning the fabric lining and handle to the bag, prior to sewing.

 
The finished purse...

 
...and in close-up...

 
...and closer, still..

...(here, showing the top-stitching detail on the bag flap).

 
The reverse side...

 
...and in close-up.

 
Tiny (yet strong) earth magnets wrapped in fabric provide the closure.

 
The fabric-lined bag interior...

...with ladybugs and flowers!

 
I found a piece of pink seersucker fabric in my stash...

...and used it to make the purse lining.

I machine-stitched around the bag opening...

...and the edge of the front flap, as well.

After trimming some of the excess felt from the flap...

...I sewed earth magnets into little fabric 'pockets'...

...and stitched them onto the bag for a closure.

I fashioned the handle from a length of denim fabric...

...cut from a discarded pair of jeans.

Posted by Picasa

Friday, April 27, 2012

Pink "Retirement" Purse- Part 1 of 2

Carded batts and merino roving for accents.


Rolling 'poufs' of merino roving... 
 
...and placing them on the resist.

 
Working from the outside-in (as usual)...

 
...and covering the poufs with sections of pink batts.

 
The black roving stripe is my 'cutting line'...

...so I don't get confused and cut open the wrong side!

 
After felting and turning the bag right-side out...

...here's the front (with black cutting line visible)...

 
...and the back.

 
I have a friend and co-worker who retired last week...

...after a 'mere' 43 years on the job!! :)

She's an amazing, energetic woman...

...and I'm sure that the next phase of her life will bring her great joy.

Because her favorite color is pink...

...I assembled merino roving in several rosy hues...

...and carded bright pink batts for the background, as well.

I pulled off small sections of roving and narrowed the ends into points...

...then placed them on the resist.

After covering them with sections of the pink batts...

...I worked the piece until it was fully felted.

Next time: the finished purse...

...with a ladybug fabric lining! :)

Posted by Picasa

Wednesday, April 25, 2012

Felt Cell Phone Cases- An Enjoyable Group Project!

Here, choosing colors of roving and pencil roving...

 
...are my beautiful friends! XXO-

 
Wrapping our sponges with fiber.

 
Felting and laughing...

 
...and talking and listening.

 
A finished case, prior to removing the sponge...

..."Look, Ma! I made it myself!!" :)

 
Our finished cell phone cases...


...the 'Papa Bear' one is for an iPhone. 
 
I had a group of dear friends here for a 'Women's Weekend' in March...

...and, as always, we had a wonderful time.

While thinking about something that we could do for fun...

...in the hours between their arrival(s) and our dinner reservation...

...I remembered this quick and easy project!

My MN friend, Becky is the genius behind this project...

...and it seemed perfectly suited for sitting around a table, laughing and catching up.

Starting with a regular kitchen sponge...

...(we stitched two together to make the resist for the larger-sized phone)...

...we wrapped it in layers of wool roving...

...finishing with pencil roving, to help hold everything in place.

After a quick dip in a bowl of warm, soapy water...

...and insertion into a zip-top baggie (remove as much of the air as you can before sealing!)...

...it was time to felt!

We squeezed and rubbed and massaged the baggies while we talked and laughed...

...and it didn't feel as if any time had passed before our wool had turned to felt!

We cut the ends of our cases open to remove the sponges...

...and continued felting for a bit to finish off the 'insides'.

After a rinse and some time to dry...

...our soft new phone cases were finished...

...ready for a little beading or embroidery...

...or no embellishment at all! :)

Posted by Picasa