Showing posts with label variegated pencil roving. Show all posts

Thursday, February 21, 2013

Small Clutch Bag And A New 'Soap Glue'-Making Method

Whipping 'soap glue' in a mixing bowl.

 
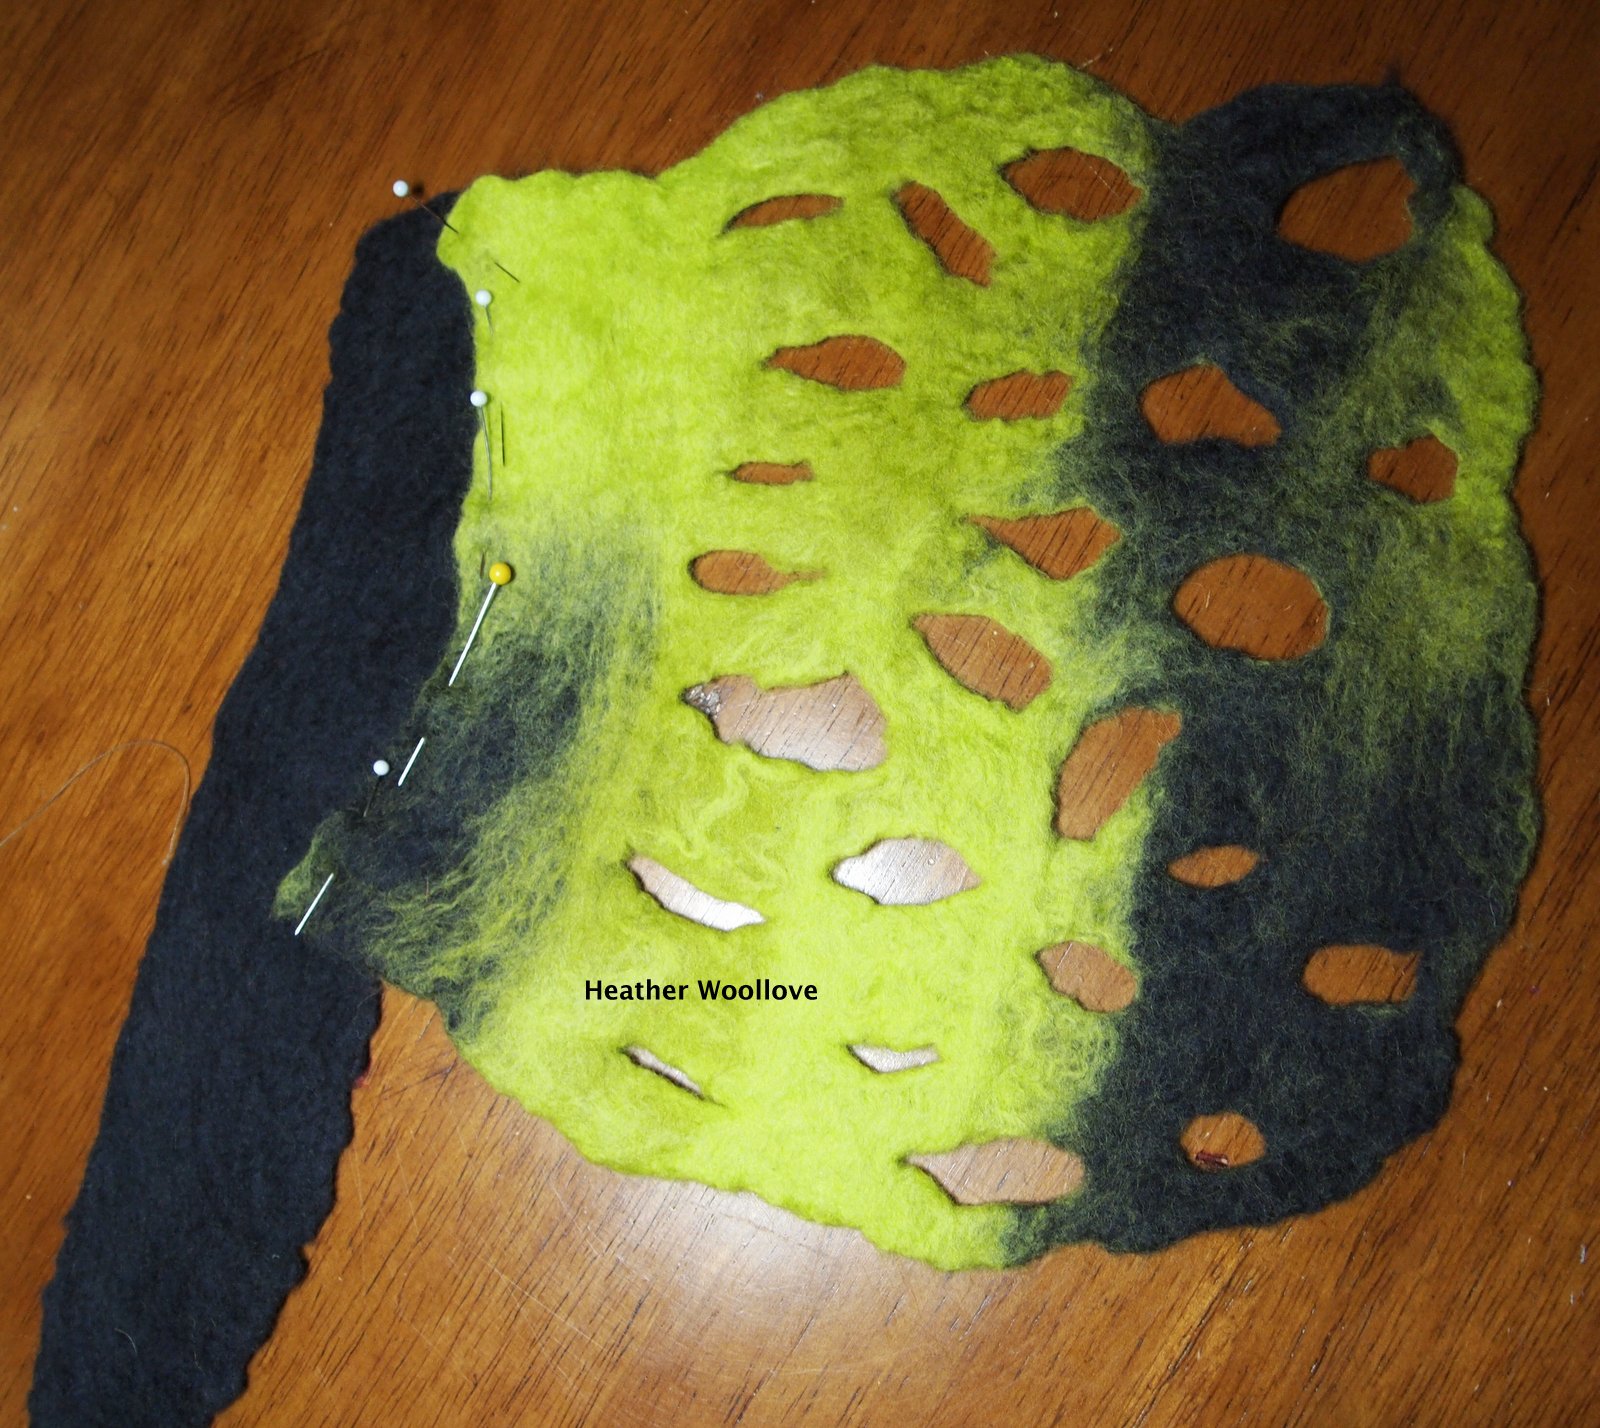
Laying out white roving on a small, rounded-off-square resist...


...and adding variegated pencil roving stripes. 
 
The finished felt (front)...

 
...and back.

 
Adding a button and strip of leather for the closure.

 
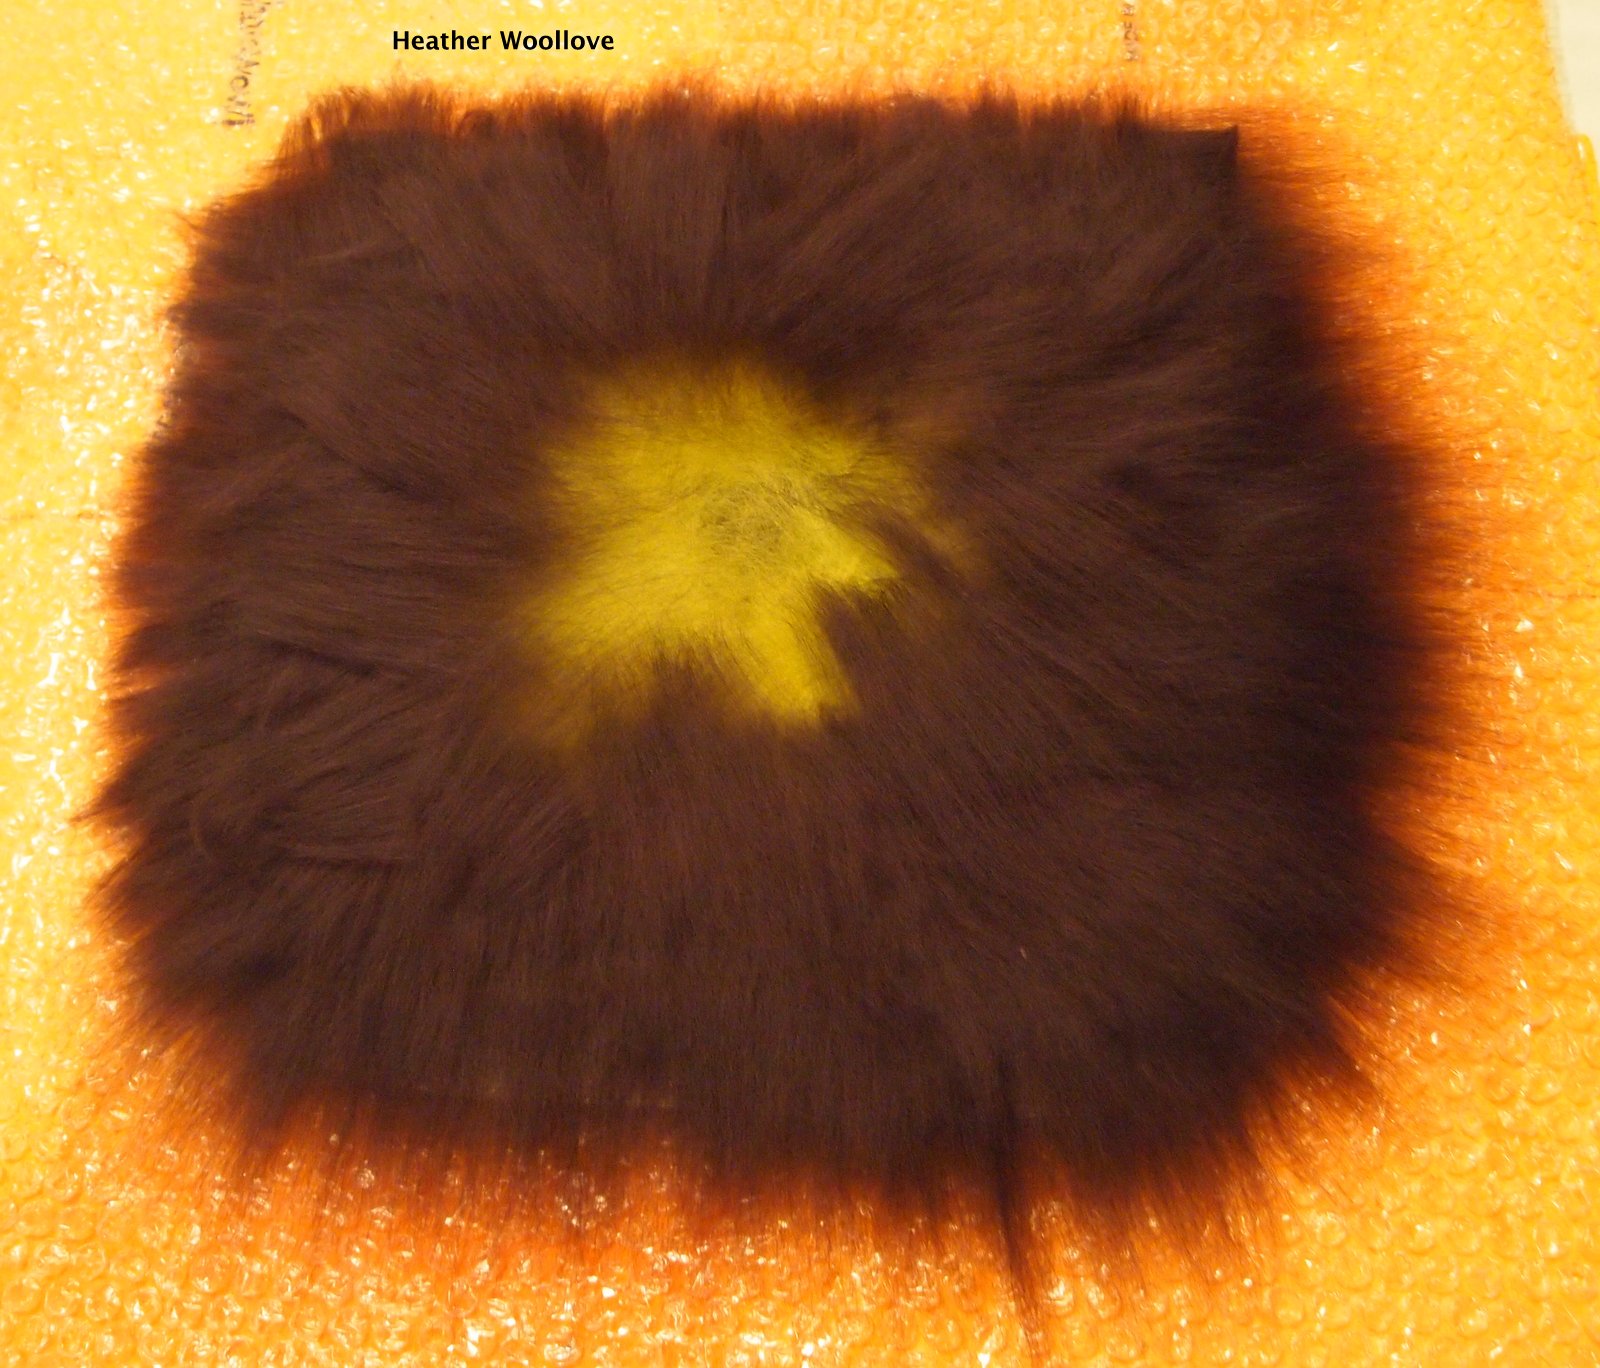
The pencil roving felted in easily and completely...

 
...though it's not quite as blue as it looks in this photograph.

(See the pencil roving photo for a closer approximation.)

 
Making 'soap glue' has always been a bit of a mystery to me...

...and I've found that everyone who makes it has their own special way to do it.

For my purposes, it needs to be softer than a bar of soap so that it dissolves easily in water...

...and mucilaginous enough that it keeps my design elements from shifting on the resist...

...while they're being covered with layers of wool roving.

Recently, I hit on the idea of adding boiling water to a grated bar of olive oil soap...

...and carefully (remember, it's hot!) whipping it in an electric mixer.

Easy and quick! :)

***********************************************************************************
The clutch in this post is pretty straight-forward.

I wrapped the resist with layers of white wool roving and added pencil roving as an embellishment.

After felting, I stitched on a large grey button with a black leather loop for the closure.

Next time (finally): the 'just right' hat! :)

Posted by Picasa

Monday, January 28, 2013

'Reptilian' Purse With Pre-Felt Flap- Part 2 of 2

Cutting slits into the pre-felt flap...

...prior to final felting.

 
Adding a bit of black felt (to extend the length of the flap)...

 
...and stitching it to the purse.

 
 The back (embellished) side of the purse...
 
...and, again, in close-up.

 
The opened purse...

 
...with inner pocket.

 
The finished purse.


Using the same pre-felt technique that I employed in some recent scarves...

...I snipped irregular slits into the pre-felt flap...

...and opened them up to make holes in the finished felt.

In order to position the flap properly on the bag, once sewn...

...I needed to add a little length to it...

...so I stitched it to an extra piece of black felt, prior to attaching it to the bag.

(The extra bit is located inside the bag and doesn't show..)

The back of the purse makes me think of a painted turtle...

...and the front flap reminds me of a crocodile! :)

 Posted by Picasa

Saturday, January 26, 2013

'Reptilian' Purse With Pre-Felt Flap- Part 1 of 2

Laying out two colors of wool for a pre-felt...

 
...and making cords for the purse handles.

 
Coiling variegated pencil roving onto the resist for embellishment...

...and cutting an oval pre-felt 'frame' for what will become the mouth of the bag.

 
Adding a layer of color behind the pencil roving...

...(working inside-out, of course)...

 
...and covering the whole shebang with layers of black wool roving.

 
Mid-felting, after attaching the cord handles.

 
Turning the bag right-side out.


If you look closely, you can see a faint line...

...where a plastic resist is still embedded in the felt.

(It will be removed to form a pocket inside the bag.)
 
Because I make a lot of purses and bags...

...I spend a considerable amount of time thinking about closures...

...and, while a tote is best left open at the top...

...purses need a little extra security.

This purse is a riff on an earlier project...

...minus the footer, and with the mouth relocated to the top of the bag.

Next time: the 'reptilian' flap is attached.

Posted by Picasa

Wednesday, April 25, 2012

Felt Cell Phone Cases- An Enjoyable Group Project!

Here, choosing colors of roving and pencil roving...

 
...are my beautiful friends! XXO-

 
Wrapping our sponges with fiber.

 
Felting and laughing...

 
...and talking and listening.

 
A finished case, prior to removing the sponge...

..."Look, Ma! I made it myself!!" :)

 
Our finished cell phone cases...


...the 'Papa Bear' one is for an iPhone. 
 
I had a group of dear friends here for a 'Women's Weekend' in March...

...and, as always, we had a wonderful time.

While thinking about something that we could do for fun...

...in the hours between their arrival(s) and our dinner reservation...

...I remembered this quick and easy project!

My MN friend, Becky is the genius behind this project...

...and it seemed perfectly suited for sitting around a table, laughing and catching up.

Starting with a regular kitchen sponge...

...(we stitched two together to make the resist for the larger-sized phone)...

...we wrapped it in layers of wool roving...

...finishing with pencil roving, to help hold everything in place.

After a quick dip in a bowl of warm, soapy water...

...and insertion into a zip-top baggie (remove as much of the air as you can before sealing!)...

...it was time to felt!

We squeezed and rubbed and massaged the baggies while we talked and laughed...

...and it didn't feel as if any time had passed before our wool had turned to felt!

We cut the ends of our cases open to remove the sponges...

...and continued felting for a bit to finish off the 'insides'.

After a rinse and some time to dry...

...our soft new phone cases were finished...

...ready for a little beading or embroidery...

...or no embellishment at all! :)

Posted by Picasa

Saturday, February 18, 2012

Leather-Soled Wet Felted Slippers


Laying out a pencil roving design...


...and covering it with layers of variegated wool roving.


Mid-felting...separating the slippers and removing the resist.


Cutting pieces of leather for the soles...


...checking the fit...


...and punching holes in the pink leather.


The finished slippers...


...with their well-protected bottoms!


My daughter asked me to make her another pair of slippers recently...

...since the ones that she's been wearing had worn through in spots.

I decided to make this pair a combination of looks and strength...

...like a ballerina in steel-toed boots! :)

I used the usual resist and layout...

...and added a bit of color with variegated pencil roving.

When they were fully felted and dry, I drew templates for split soles...

...and cut them from a piece of hand-dyed leather.

To make them easier to stitch, I punched holes into the leather...

...and used a strong beading thread (Silamide) to attach them.

Hopefully, these will wear a bit better than the last pair! :)

Posted by Picasa

Wednesday, January 4, 2012

Festive Felted Soaps For Giving- A Tutorial


Laying out supplies: art batts, bar soap, and felting equipment.


Swathing each soap in roving from an art batt...


...then wrapping each with a messy spiral of pencil roving...


...(choosing different color combinations for each recipient).


The finished soaps...


...drying on paper towels or parchment paper.


Et voila...the completed set!! :)


While searching for large, nicely shaped, individual bars of soap for this project...

...I was delighted to find a brand of soap that I used as a teenager!!

I didn't even know that "Yardley of London" still existed...

...but as I inhaled scents like English Lavender, Lemon Verbena and Oatmeal-Almond...

...I was instantly transported back to the 70's!! :)

If you haven't ever tried making felted soaps, you should...

...as it is a rather straightforward project yielding lovely results...

...although not entirely without its challenges. :)

To begin: Wrap a bar of soap with wool roving or part of a wool batt...

...placing one fat and fluffy layer around the soap width-wise...

...and another around the soap from end to end (making sure to cover the entire soap surface).

It's important to get enough fiber on your soap to provide a thick and cushiony 'skin' after felting...

...so 'if in doubt', add another layer!

Using any kind of pencil roving or wool yarn...

...wrap the whole shebang in a casual spiral-ish design.

(Besides being just plain pretty...

...this will help to hold the wool in place as you work!)

Now comes the only tricky bit:

Holding the soap firmly in one hand...

...carefully dribble hot water on it, turning (and gently squeezing it) as you go.

If you don't go slowly and hold the wool firmly in place at this stage...

...or if you rush to dip it in water or rub it on bubble wrap...

...you may find (to your dismay) that the wool 'coat' slides right off!

Once the coating feels like it's starting to stick together...

...you can roll it up in a sheet of bubble wrap and gently roll it around on the table for awhile...

...making sure to change the position of the soap regularly and to watch for signs of  'slippage'.

As you work, you will feel the wool layers starting to shrink and felt...

...and each time it cools off, you should dip it in hot water...

...holding the soap firmly as you do.

Once it seems to be 'all of a piece'...

...gently rub it on the bubble wrap, turning it to reach each part of the soap as you go...

...or, using cupped, bare hands, you can work it like you're making a meatball! :)

After some time, the wool will felt to a thin, even layer over the entire surface of the soap...

...at which point you should rinse it quickly in cold water, squeeze out the excess water and let it dry.