Monday, April 23, 2012

Burlap Bag Totes- Part 2 of 2

The lined bag plus straps (front)...


...and back. 
 
Bag number 2 (with Moda alphabet fabric).

 
The finished tote #1...

 
...with a close-up of the handles...

...(and my upside-down lining!) :(


Luckily, there was no 'right' or 'wrong' direction for the alphabet print! :)


A close-up of the handles... 


...and the bag's back side. 
 
Since I wanted a little of the fabric to show at the top edge of each bag...

...I cut the linings a bit longer than the burlap.

Unfortunately, I didn't take into consideration the orientation of the blue fabric, prior to stitching...

...and my lining ended up 'upside-down'! (Yeesh)

After attaching the handles and pressing the totes, though...

...I don't think it's all that noticeable! :)

Next time: felt!

I promise!!

Posted by Picasa

Saturday, April 21, 2012

Burlap Bag Totes- Part 1 of 2

Two re-purposed burlap bags...

 
...and a fabric lining (with pockets!).

 
'Sandwiching' a layer of twill tape within each handle.

 
Pinning pockets to the fabric lining.

 
A second pair of purse handles.

 
After stitching the lining to the burlap bag...

 
...turning it 'right side out'...

 
...and sewing up the opening.

 
I recently purchased dried beans and wheat berries...

...and I was charmed by their printed burlap wrappings!

It seemed a waste just to throw them away...

...so I decided to make totes from them, instead!

I found companionable fabric among the pieces in my stash...

...and stitched up linings with pockets.

I fashioned longish straps, as well...

...lining them with twill tape for structural support.

Next time: the finished bags. :)

Posted by Picasa

Thursday, April 19, 2012

"The Starry Night" Purse- Part 2 of 2

The finished bag (front)...

 
...and in close-up.

(I think that this photograph makes it look like one big eye and a funny bulbous nose!!)

 
The bag back...

 
...and a detail of the dyed tussah silk additions...

...so shimmery!

 
I used a vintage button to close this purse...

 
...and I did hand-stitch the flap (below) closed...

...prior to giving it as a gift.

(Sorry-no photo.)

 
The 'resist twins' shown together...(fronts)...

 
...and backs

 
So, there you have it...

...two different purses made from the same resist.


It's interesting, isn't it, how slightly different wools and lengths of felting...

...so altered the size and shape of each bag?!?


Posted by Picasa

Tuesday, April 17, 2012

"The Starry Night" Purse- Part 1 of 2


Layering deep blue roving onto the resist.


Adding swirls and designs with dyed silk roving (back side)...  


...and front. 
 
Fully felted and drying (front)...

 
...and back.

 
Cutting out a fabric lining...

...with pockets!

 
Machine stitching a button-hole...


...and snipping it open. 
 
Do you remember the Marine Life Purse...

...that I made recently?

Well, this one is its 'resist twin'! :)

In addition to visiting my daughter and blog friend, Becky, while I was in Minneapolis...

...I also spent some time with an old college friend.

We hadn't seen each other since 1987...

...and yet, she dropped everything to pick me up from the airport and spend the day with me!

This bag was my thank-you gift to her...

...and since I had no idea about her 'personal style' after so many years...

...I decided to make something iconic.

I hoped to evoke the serene spirit of Van Gogh's painting...

...and some of you will have noticed that the lining echoes another of his famous works, as well! :)

Next time: the finished purse...

...and a photo of the 'resist twins' together!

Posted by Picasa

Sunday, April 15, 2012

Pre-Felt "Centipede Scarf" Tutorial- Part 2 of 2

The piece, mid-way through the felting process.


The finished scarf...
 
...and in close-up.

 
Take a good look at the knots...

...they felted a bit, too!

 
Here it is, making it's creepy-crawly way across the floor!


I love its pebbly texture... 
 
...and I really love my 'model' daughter, who was kind enough to pose for me!

 
Using pre-felt that's dyed in this way makes for a festive scarf, don't you think?!?

 
For those of you who just couldn't imagine...

...that the finished scarf would look much different than the pre-felt scarf...

...I invite you to look back and compare. :)

Working the pre-felt during felting and fulling not only shrinks the wool...

...but changes its texture.

The 'legs' become thinner...

...and gain fun, bulbous-looking ends, as well!

I hope that if any of you try making a scarf like this...

...you'll write and let me know how it comes out!!

Posted by Picasa

Friday, April 13, 2012

Pre-Felt "Centipede Scarf" Tutorial- Part 1 of 2

Cutting a long strip of pre-felt...

 
...and folding it in half.

 
Making semi-regular cut outs in the felt.

 
The scarf after trimming.

 
Adding knots with wool yarn...

 
...and in close-up.

 
Preparing to felt the scarf...

 
...and wetted out...mid-felting.

 
This is a quick and easy project...

...using hand-dyed 'needled felt'...

...aka 'pre-felt'.

Cut a long strip of pre-felt...

...approximately 6-inches wide.

Next, fold it in half...

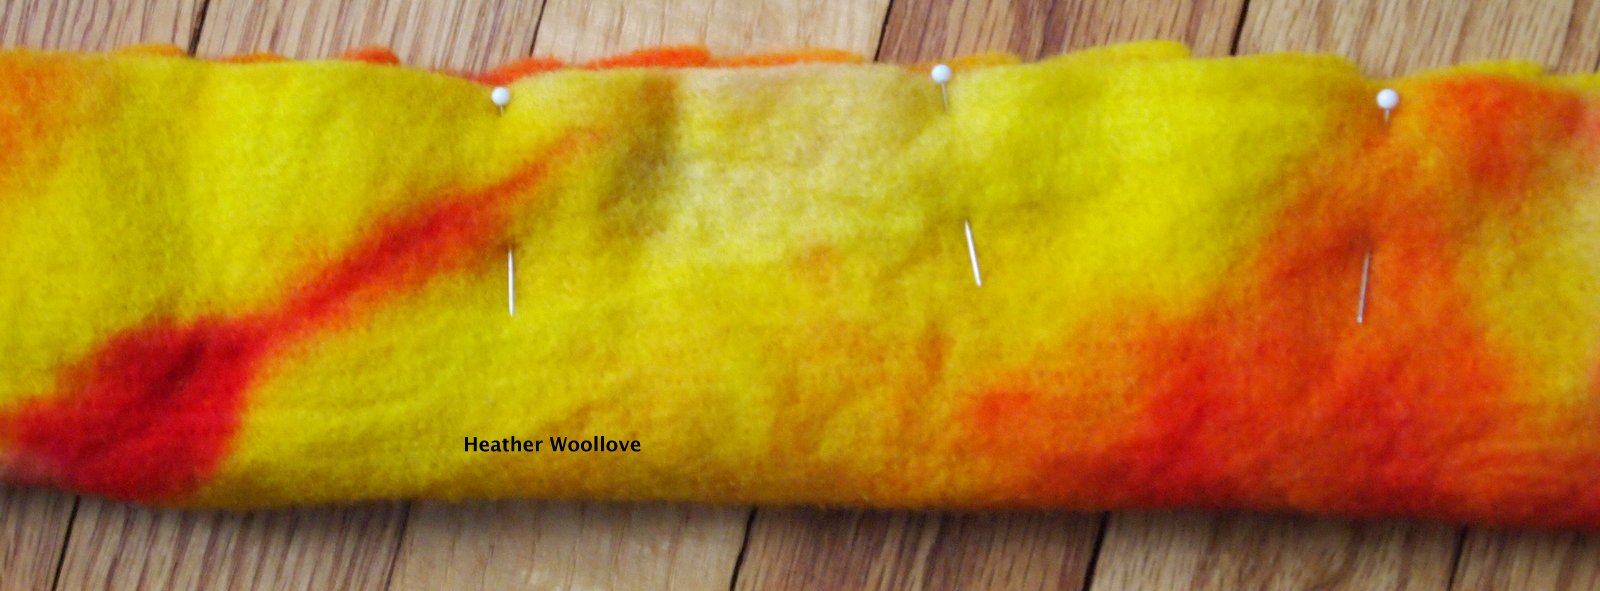
...and pin it into place.

With sharp sewing shears, make regular cuts along the length...

...(and here is where you can get creative!)

You can shape the 'legs' differently than mine...

...or make them shorter or longer, if you like...

...leaving more or less of a center section. :)

For interest, once it was trimmed...

...I added a few clumps of knots with coordinating colors of wool yarn...

...using a large-eyed needle.

Next, lay it out on a piece of bubble wrap...

...wet it out, and cover it with the other half of the wrap...

...and begin felting!

Since it is already partially felted...

...it won't take long to finish this process.

Just be sure to keep it flat, and the 'legs' away from each other...

...until you are sure they won't stick to each other and felt into a bumpy mess.

Next time: the finished scarf...

...and you'll see why I call it 'the centipede'!! :)

Posted by Picasa