The function of the artist is to express reality as felt. Robert Motherwell
Monday, April 12, 2010
Project X-Part Two
I've called this Project X because I'm still on the fence about this piece of felt...
...I'm still not sure "what it wants to be". Giggle.
I'm thinking about designing a pattern...
...cutting it up, and sewing some sort of pod-shaped bag with it.
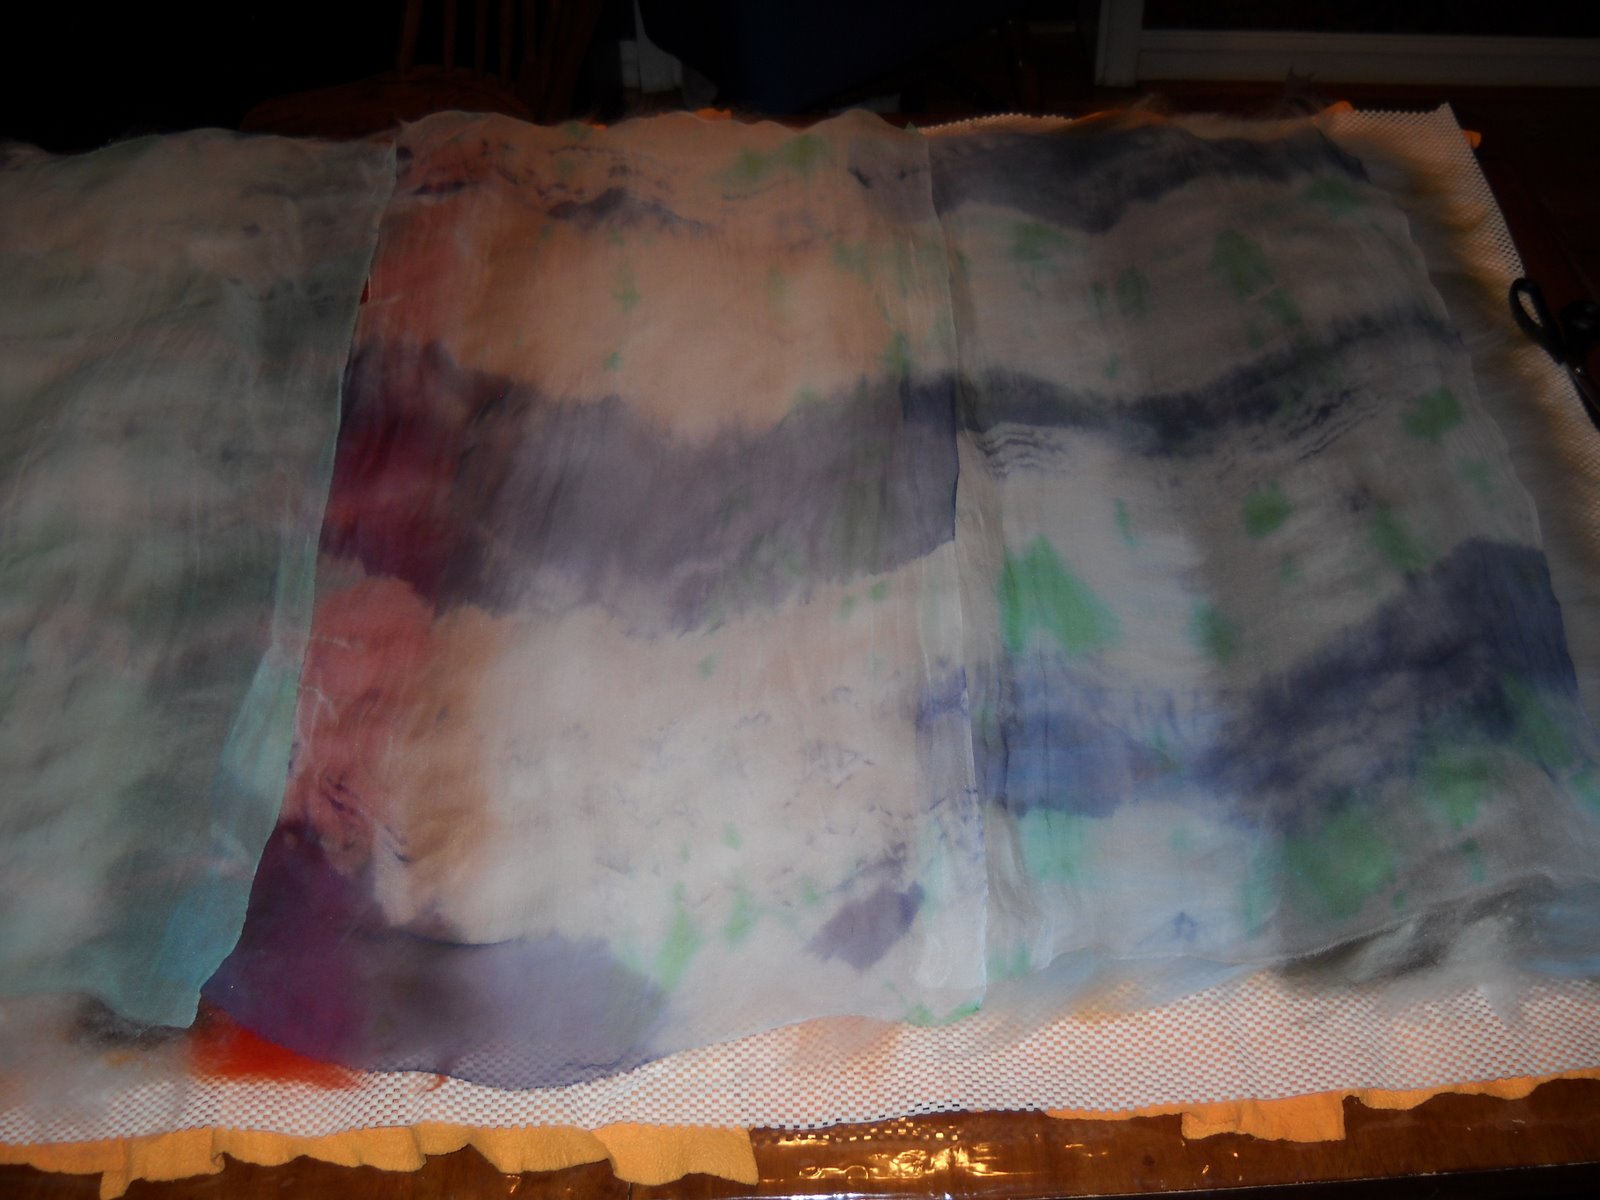
I really loved the way this silk gauze felted into the wool...
...the silk was so sheer...
...it wasn't an ordeal to get the wool fibers to migrate through it.
(I must keep this in mind for future nuno projects~!)
I think the 'blobs' of merino look almost like leaf marks...
...and look at the great, bubbly texture of the silk laps in the last photo!
It's very soft, but is too small for a shawl...
...I'll figure something out, though! Grin.
Labels:
Flat felt,
hand-dyed silk gauze,
silk laps
Sunday, April 11, 2010
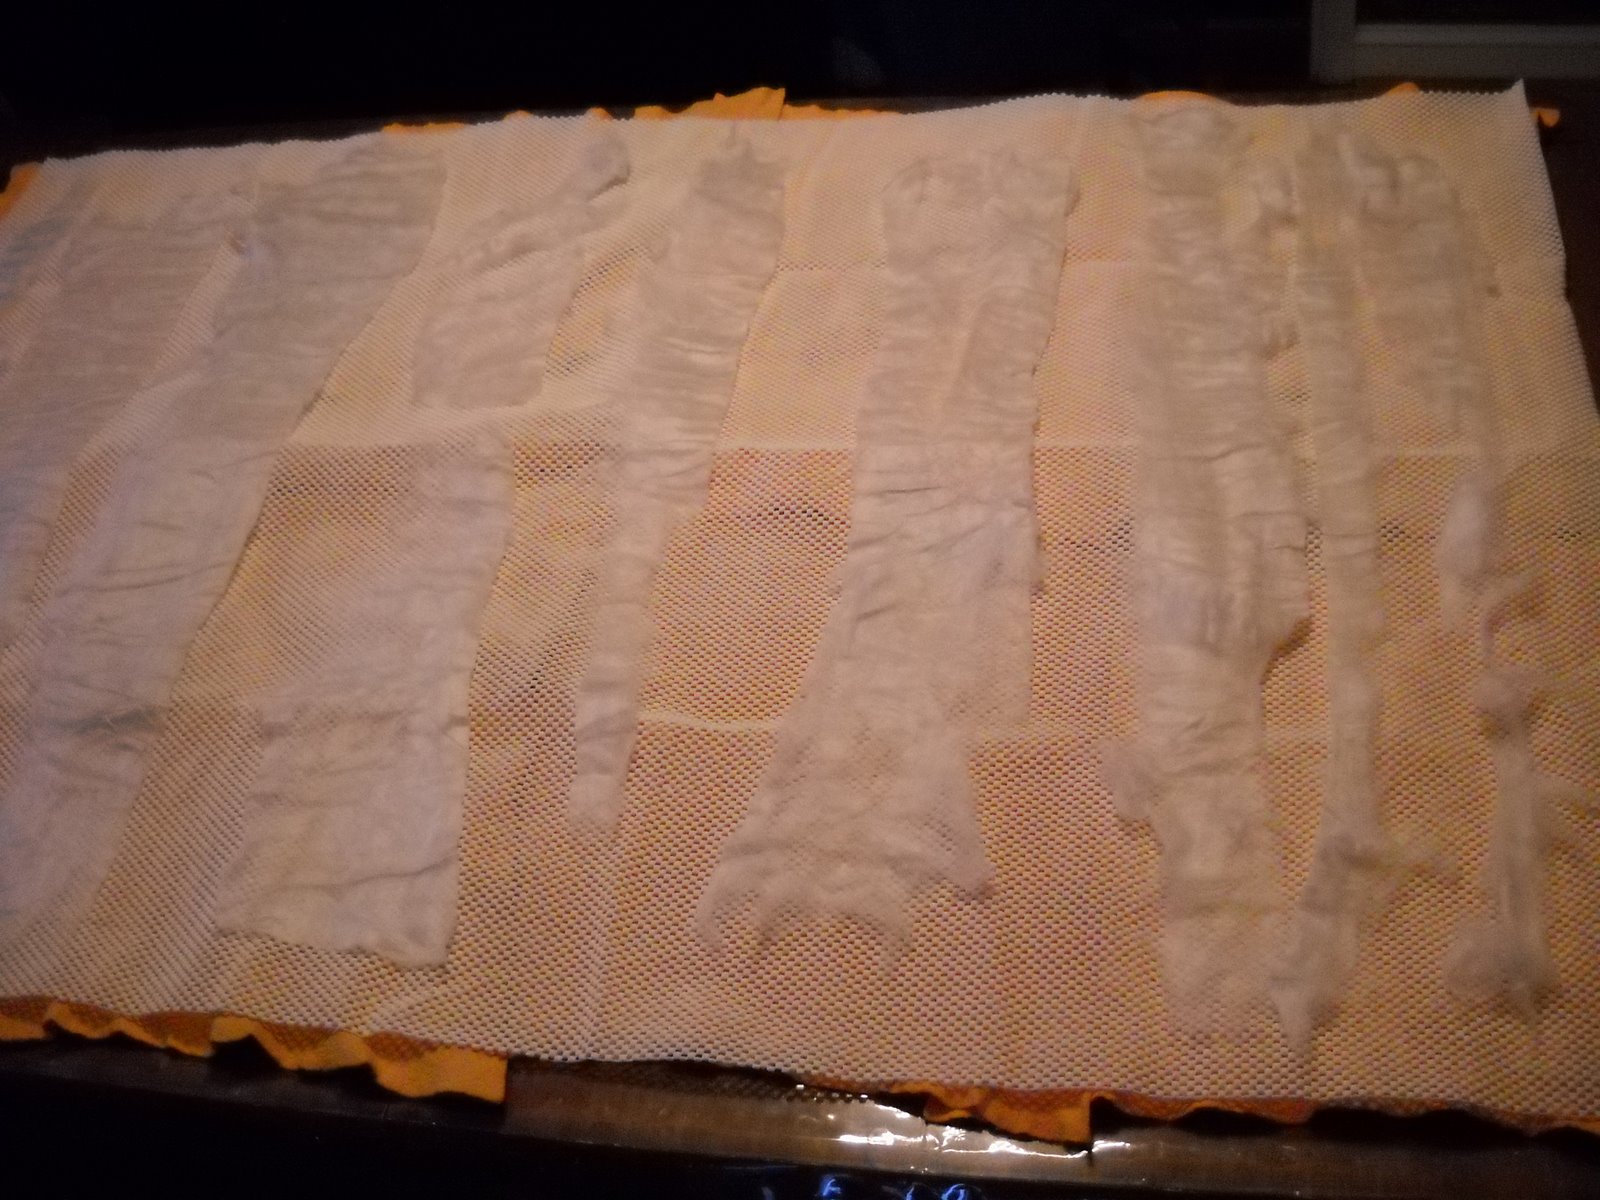
Project X-Flat Felt
Some time ago...
...I bought some silk laps.
They are a lot like the silk hankies I've used before...
...but (for me, at least), a lot harder to handle.
I think it's their size which 'gives me fits'...
...since I found it impossible to pull off single layers of silk...
...like I could with the hankies.
So I did the best I could, ripping sheets along the way...
...laying them out as a base layer for my wool fibers.
(Wait until you see how these thicker silk layers...
...bubble after felting!)
I applied 'blobs' of wool next...
...I was playing, really...
...trying to use up some leftover merino top in different colors.
Next: I covered it all with a thin layer of wool...
...in several other colors.
It's funny, 'cause when you see the finished felt, I think you will be surprised...
...it really resembles an India Flint eco dyeing piece, somehow.
Lastly, I took some hand-dyed silk gauze pieces from my March dyeing madness...
...and covered the entire surface with them, making a sort of sandwich.
More next time...
Labels:
Flat felt,
hand-dyed silk gauze,
silk laps
Thursday, April 8, 2010
Act 2: Dragonfly Purse
If you looked closely at the lining photos in my last post...
...you will have noticed that half of the lining is 'upside down'.
This is one of those things which happens to me a lot while I'm sewing...
...see why I'm primarily a felter, now? Grin.
When my bag was finished and dry...
...I sliced across the top with my rotary cutter, making a straight edge.
Next, I traced the bag outline on paper for a lining pattern...
...adding a 1/4th inch seam allowance all around (1/2 inch for the top edge).
After cutting, I added a pocket to each side of the lining...
...and sewed the lining front and back together...
...leaving the top open, but folding the edge over twice for a neat seam.
After looking at my re-purposed belt pieces again recently...
...I realized that 'thinnner is better' (at least for straps!).
So...I cut the wider strap into two 1/2-inch-wide lengths...
...and sewed them to the lining (wrong side) with a leather sewing machine needle.
I stuffed the lining into the bag, placing the top edge even with the bag edge...
...and making sure it fit well down into the bag recess, then sewed it all around.
A magnetic purse closure was hand-sewn into the bag for security...
...and one of my cloth labels.
I like these straps so much better than the single one on my flower bag...
...that I'm going to remove, cut-up and re-attach the strap on that purse, too!
Labels:
craft foam resist,
fabric-lined,
purse,
Re-purposed
Act 1:Dragonfly Purse
I just can't seem to stop making purses...
...and today I felt inspired.
I cut some bug-eyed dragonflies out of pre-felt...
...similar to those I saw somewhere on the web, gracing a lovely table runner.
(If any of you know the source of my inspiration, please let me know so that I can properly acknowledge her.)
I wanted the bag to be a specific yellow color...
...to match the yellow twill tape that I intended to use for straps.
To get the right shade, I used peach wool for the second layer...
...so that the pink would show through a bit and 'color' the yellow.
(Of course, I later changed my mind about the straps...see Act 2.)
I haven't been 100% happy with the insides of my bags so far...
...having had a little trouble with pocket resists.
I've decided that the purses would be more functional and sturdy...
...if I sewed fabric linings for them...so that's what I attempted this time.
More about how I made the lining and why I changed the straps next time...
...plus the finished bag!
P.S. It's really cute.
Addendum: Please see Filz-T-Raum's blog post here.
She graciously reminded me that it was her blog which delighted me with
it's 'buggy charms'! :) Thanks so much!!
Labels:
craft foam resist,
fabric-lined,
purse,
Re-purposed
Tuesday, April 6, 2010
Les Fleurs Du Mal
Because I am primarily self-taught...
...I'm always trying to puzzle out how to do new things with felt.
I wanted to try making some flowers...
...for use as decorations on future projects.
I had this great idea...
...(or so I thought).
I would make a base resist in a circular shape...
...plus two smaller circles with identical holes cut into the middle of each.
I thought that rather than sewing the three layers together after felting...
...I could attach the three layers during the felting process-bing, bang, boom! :)
After felting, I cut around the edges of the top two resists...
...and pinched up the felt, forcing it through the holes in order to pull off the resists.
This method works well with thin layers of fiber...
...and you must make certain to work the center hole well if you don't want the layers to fall apart.
The thing is, though, I still had to stitch the base to form them into 'real' flower shapes...
...and I'm pretty sure that making three separate felt disks would have been just as easy (and less fiddly).
Sighhh.... (giggle)
Saturday, April 3, 2010
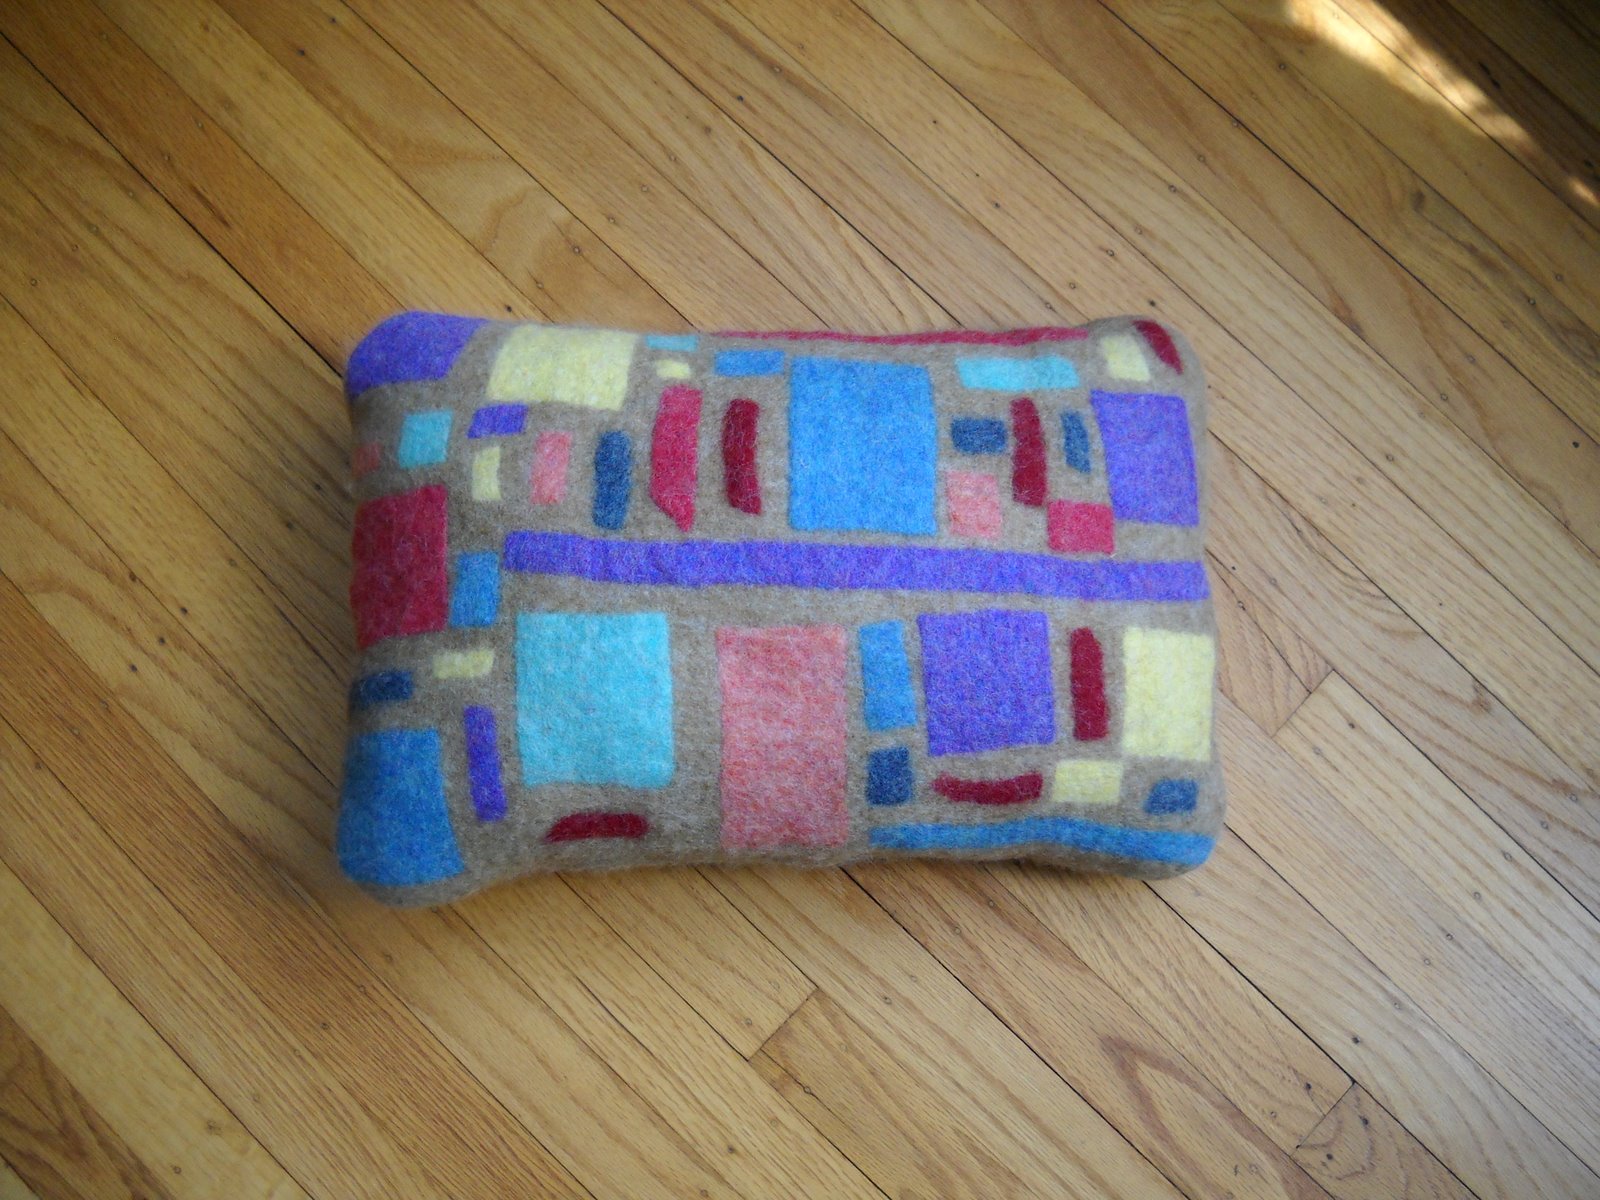
Modernist Pillow
First of all...
...Happy Easter!!
I hope there will be some earless chocolate rabbits...
...attributable to your self-indulgence! :)
********************************************************
I'm still fiddling around with pre-felts...
...and continuing what I'll call 'reverse design' felting.
I started with the outside in...
...placing my design directly onto the resist.
I covered it with my chosen wool batts...
...and felted it as usual.
When it passed the 'pinch test', I cut a slit in the back of the pillow...
...removed the resist, and continued felting it until it was done.
After rinsing and drying and turning it 'right side out'...
...I stuffed it with small pieces of fulled sweaters, carder 'fuzz' and the like.
Since I only made a small slit...
...stitching it closed was easy.
I like this method...
...because it really makes a fully integrated final product...
...and a very smooth piece of felt.
Thursday, April 1, 2010
Searching For Inspiration
Don't you just hate it when life gets in the way of your felting? Grin.
I've had a lot of committments, lately...
...and not a lot of time to spend in a creative manner.
It can't be helped, of course...
...some things must be attended to...
...even the difficult, scary, 'grown up' things.
For me, however, time is a critical part of my felting mojo.
Without a relaxed and extended period of time, I don't seem to produce much...
...or at least, not much which pleases me.
I find that felting is much like parenting in this way...
...I've always needed big chunks of time to spend with my children.
The interesting conversations always seemed to come while we were doing something else...
...like all of those deep conversations about God or sex in the car on the way to dance or softball practice!
*****************************************************************************
So for the moment, I'm taking a break and enjoying our beautiful Spring weather.
I just love the faithful little flowers which brighten my yard each year...
...without a bit of attention from me!
Subscribe to:
Posts (Atom)