Showing posts with label vintage fabric. Show all posts

Wednesday, October 19, 2016

Summer Tops From Vintage Fabric and Double Gauze!

Using nautical fabric...

...(from a friend's mother's estate)...

...and a red and white print from my own stash...


                                             ...plus a Grainline Studios pattern...


                                       ...I created this whimsical sleeveless top...


                                              ...with colorful bias tape binding.


                                I repeated the process with a double gauze fabric...


                                                 ...and printed Moda cotton...

                                      ...that I fashioned into continuous bias tape.


                                                  These cool and comfy tops...

                                   ...have been a staple of my warm-weather wear!


Monday, October 17, 2016

'Make Do and Mend'- Travel Shoe Bags!

I purchased some vintage linens recently...


                 ...and decided to fashion one of the heavy, loose-weave pieces....

                                               ...into a few travel shoe bags!


                                               Using wide grosgrain ribbon...


                                            ...to create the drawstring channel...


                                         ...and twill tape for the drawstring itself...


                                 I quickly stitched up six roomy travel shoe bags...


                                            ...for my globetrotting twins' 25th birthday!

Friday, September 9, 2016

Zipper Travel Purse- Part 2 of 2

After sewing across each of the bottom corners...


                                       ...of both the exterior and the lining fabric...


                                               ...'boxed corners' are created.


                                              The bag is turned right-side out...

                ...by pulling the exterior fabric through the partially opened zipper...


                       ...and then through the narrow opening left in the lining fabric.


                                        A bit of silk-screened linen is stitched on...

                                                    ...to form a hanging loop.


                                                   The completed travel purse...


                                            ...with its vibrant and colorful prints...


                                             ...is now ready for it's first outing!! :)


Wednesday, September 7, 2016

Zipper Travel Purse- Part 1 of 2

For this recent sewing project...

...I used a length of fabric that I've had in my stash for many years...


                                                ...and another bright piece...

                    ...purchased on a mid-week shopping spree while at Felters' Fling.


             Following one of the many online tutorials on zipper pouch construction...


                           ...I stitched one side of the zipper to two pieces of fabric...


                                  ...and repeated the process on the second side...


                           ...then top-stitched the fabric close to the zipper insertion.


             With both lining and exterior fabrics placed with their right sides together...

                                           ...I stitched around the entire project...

                                                  ...(leaving the zipper open...

                     ...and leaving a small opening in the lining fabric, for turning).


                                               Next time: the finished purse!

Thursday, July 17, 2014

Vintage Sari Silk Nuno Table Runner- Part 2 of 2


                                                       The wetted out project... 


                                                ...and mid-way through felting.


                                               The reverse side of the runner.


                                                Getting ready to full the piece.


                                              The finished table runner, drying...


                                           ...and after pressing with a steam iron.


                   This lovely piece of vintage sari silk was a gift from my friend, Deborah...

                    ...and you can see how easily the fibers migrated through the fabric...


                         ...and how the pre-felt squares melted into it during felting...


                                              ...leaving a nice, flat surface.

                                  (A very important attribute in a table runner!)


                                                    The finished project...

                                              ...soon to be a wedding gift. :)


Tuesday, July 15, 2014

Vintage Sari Silk Nuno Table Runner- Part 1 of 2

Using my sari silk as a pattern piece...

...I placed bits of scrap paper under the bubble wrap...

...to function as 'size markers'.


                                                Setting the silk aside for a moment...

                                             ...I laid out my pre-felt design...

                                                ...within the paper borders...


                                                    ...and wetted it out.


                                 Next, I carefully draped the silk over the pre-felt squares...

                                          ...so as not to disturb their placement.
 

                                 The silk was then covered with one layer of variegated roving...


                                                         ...in one direction...


                                ...followed by a second layer, perpendicular to the first.


                                             After wetting out the entire project...

                                      ...the wispy edges were carefully folded in...

                                                 ...to create a neat rectangle.


                                                   Next time: the felting begins!

Thursday, January 26, 2012

A Minor Foray Into "Fabric Land" Part 1 of 2


Assembling the pieces of my needle-case project...

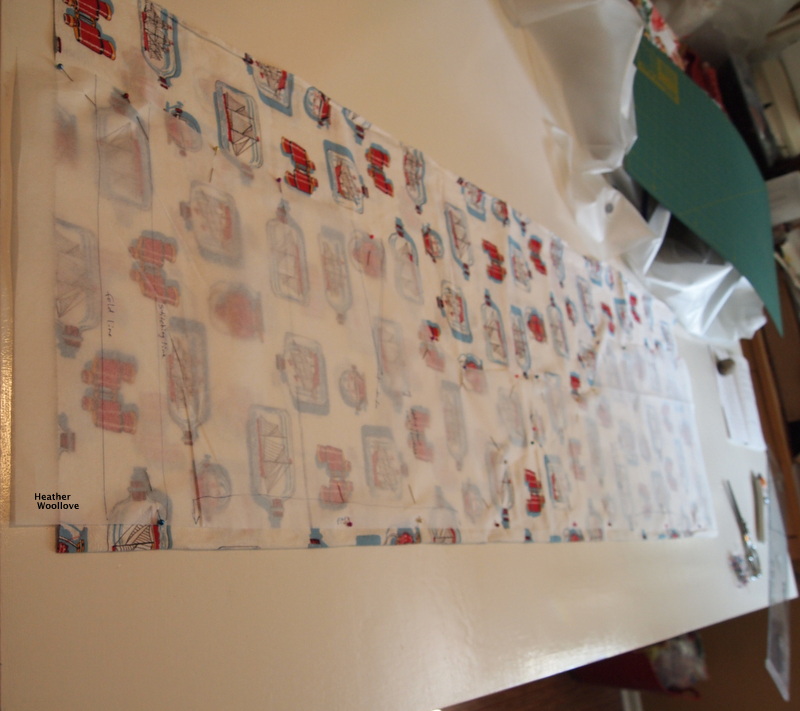
...using a vintage table runner for the fabric.


Adding velcro prior to sewing the two parts together...

...this way, it won't show on the exterior of the finished case.


Pinning the layers together prior to stitching.


The finished case front...


...and back...


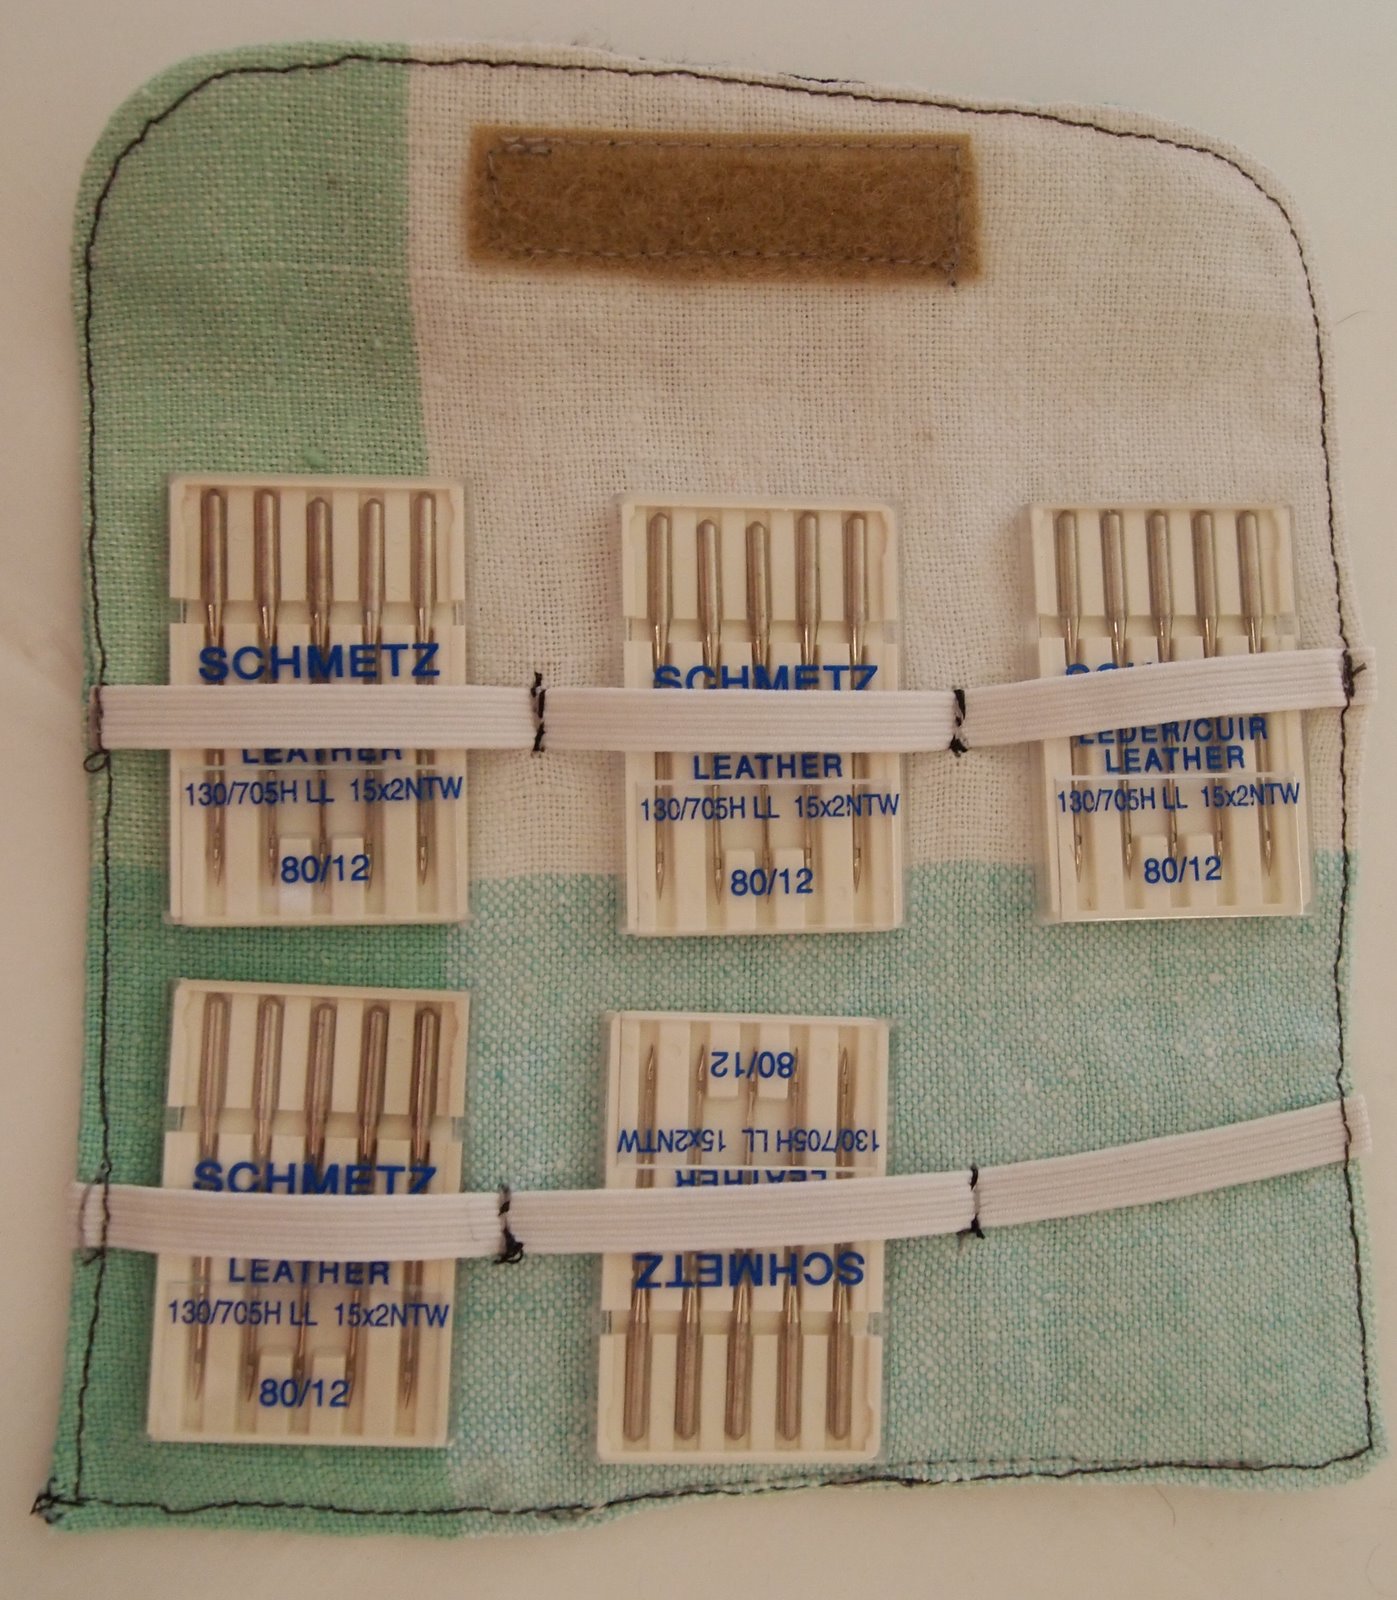
...and opened up, holding needles.


Another one, but larger this time (and rounded off on all four corners)...


...to hold even more needles!


Because I've been using my sewing machine a bit more lately...

...to fashion fabric linings and leather straps for my felted bags...

...I recently purchased a large quantity of needles.

In order to keep the 'regulars' from the 'denims' and the 'leathers'...

...I decided to fashion a fabric case for them.

Luckily for me, I found that Laura had already posted a terrific tutorial on this project...

...and for once, I didn't have to 'reinvent the wheel'! :)

My only 'amendments' to her instructions are as follows:

I didn't leave any 'ease' in the elastic as I was sewing it on...

...(finding that it held better this way)...

 ...and I used velcro instead of snaps as a fastener...

...sewing it to each piece of fabric prior to sewing them together.

(Please make sure to check the position of each piece prior to sewing...

...since one needs to be at the top, and one at the bottom!)

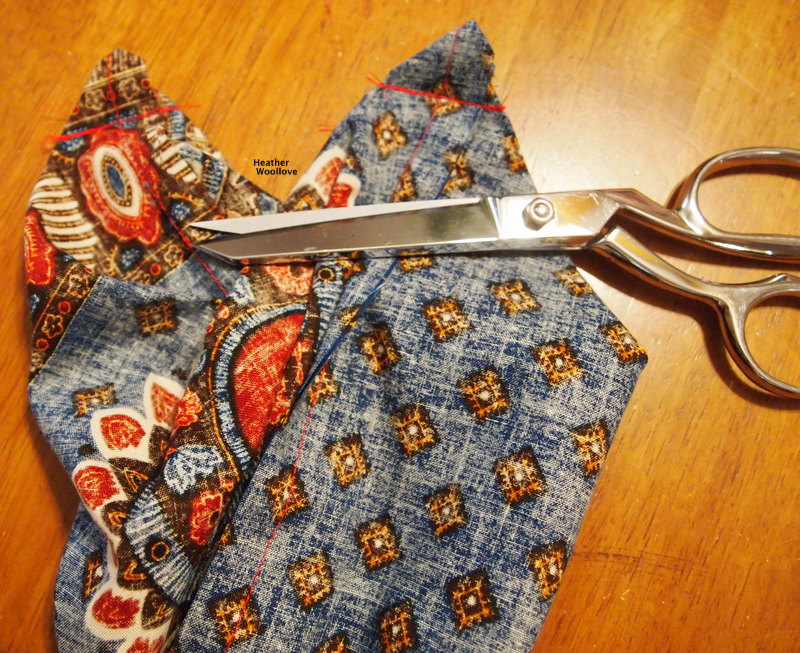
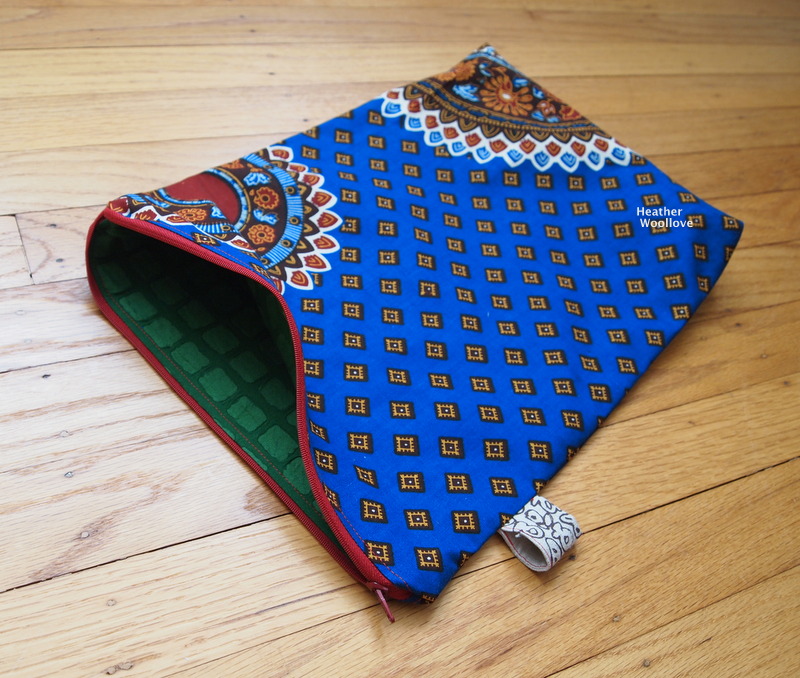
Next time: a make-up bag made from old jeans...

...and a quite new kind of fabric!

Posted by Picasa