Showing posts with label top. Show all posts

Wednesday, October 19, 2016

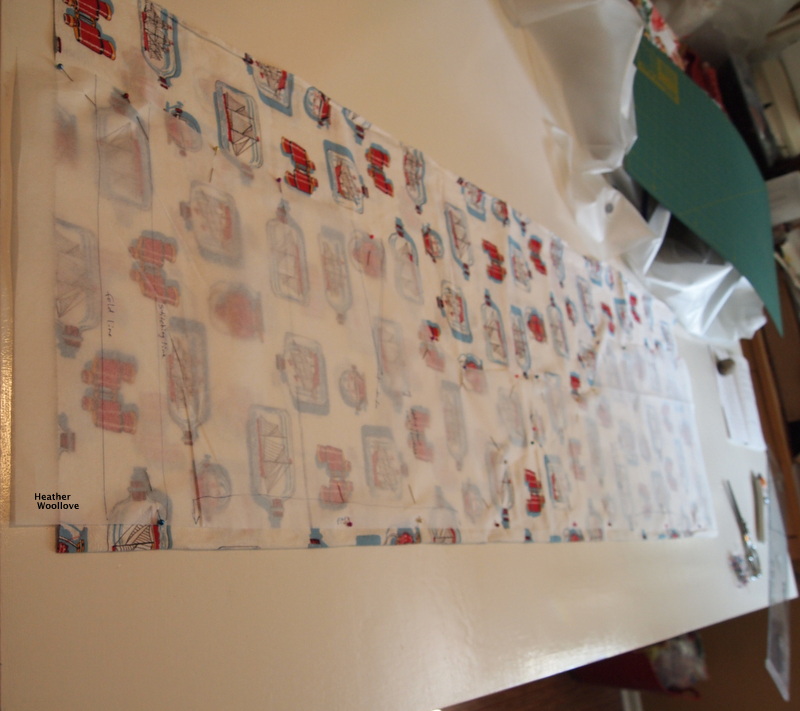
Summer Tops From Vintage Fabric and Double Gauze!

Using nautical fabric...

...(from a friend's mother's estate)...

...and a red and white print from my own stash...


                                             ...plus a Grainline Studios pattern...


                                       ...I created this whimsical sleeveless top...


                                              ...with colorful bias tape binding.


                                I repeated the process with a double gauze fabric...


                                                 ...and printed Moda cotton...

                                      ...that I fashioned into continuous bias tape.


                                                  These cool and comfy tops...

                                   ...have been a staple of my warm-weather wear!


Saturday, October 13, 2012

Unmitigated Garment Disaster- Part 5 of 5

The newly shrunken garment front (silk side out)...

 
...and back.

 
Yes, it's really that much smaller than it was!

(For reference, that's a 12-inch ruler!)


With the wool side out (front side)... 
 
...and back.

 
After I'd given up on ever wearing this garment...

...or even having anyone else ever wear it...

...I decided to shrink it in the washing machine and sew it up into a cute little market bag with handles.

Then, one of my daughters suggested that I keep it for use as a toddler dress..

...so I put it away in the attic with my favorite baby clothes...

...for that happy day (fingers crossed!) sometime in the future. :)

Posted by Picasa

Thursday, October 11, 2012

Unmitigated Garment Disaster- Part 4 of 5

The finished top (back side, wool-side out)...

 
...and the front.

 
The back side (wool-side out), as modeled by my daughter, H-2...

 
...and, again, here, with the silk side out.

 
You can see that both the long garment sides...

 ...and the 'deliberate layout design'...

...were rubbish...

 
...and that the straps are uneven and too narrow.


Question: "Could this top fit me as designed?"

(Hint: this daughter is 3 garment sizes smaller than I am!)


Just look at the horrible way it fits! Shudder
 
Now can you see what I'm talking about?

Between my poor choice of colors...

...(why, oh why did I ever think that I would wear something in these shades?)...

...and the truly unflattering fit (even on my tiny, beautiful daughter)...

...this garment is not fit for human wear...

...unless...?????

Next time: A solution is found...

...(but it's not what you think!)

Posted by Picasa

Tuesday, October 9, 2012

Unmitigated Garment Disaster- Part 3 of 5

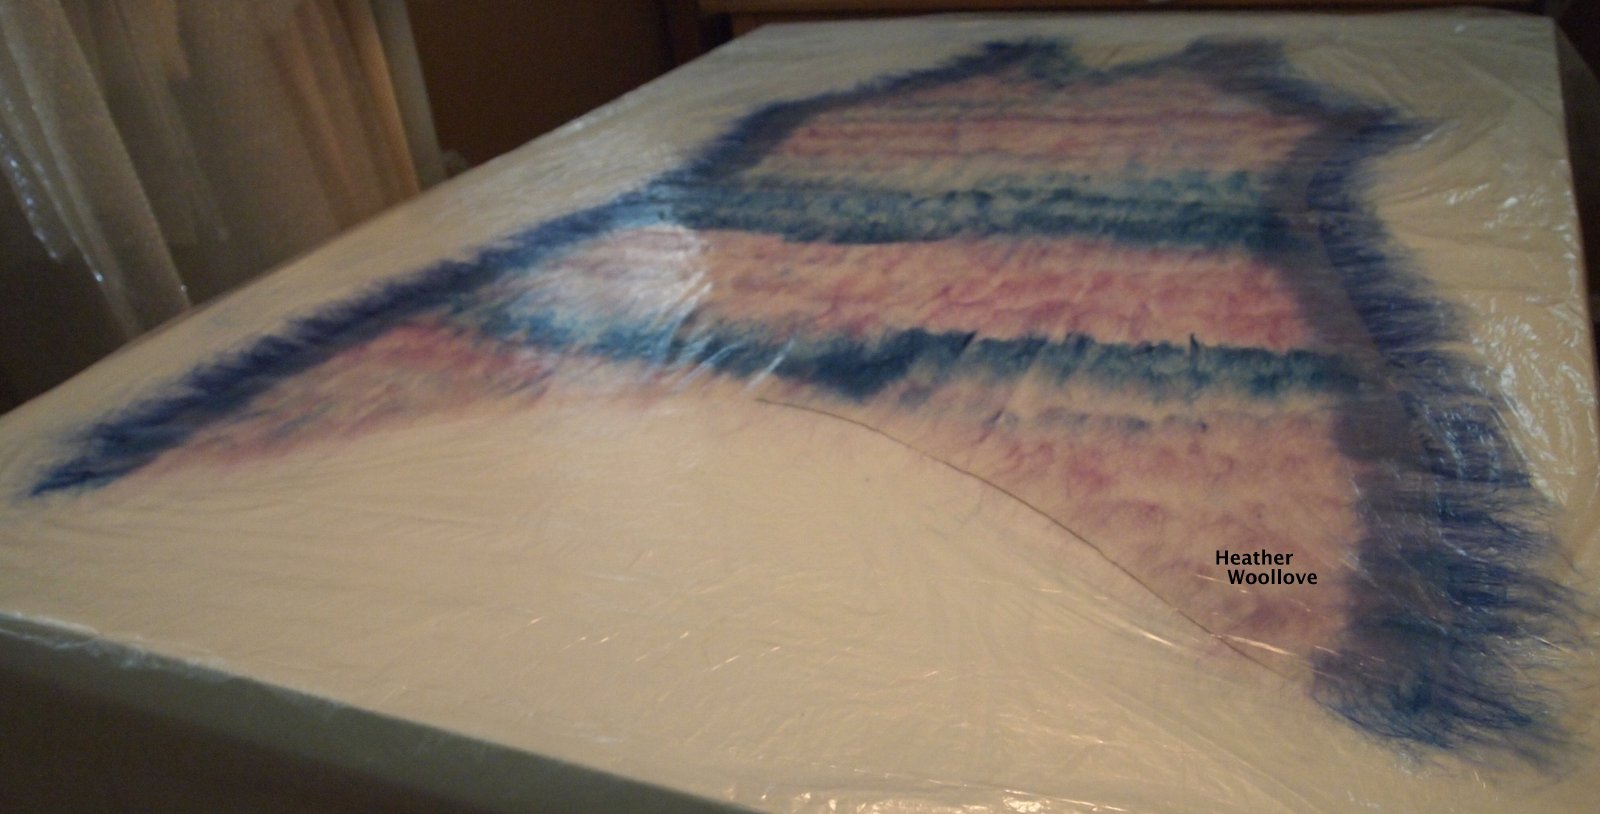
The (dry) layout on the front side.

 
...and...after wetting it down.

 
With only one layer of wool roving plus a layer of silk gauze...


...I'm expecting a lot of shrinkage. 


Once the piece is wet and soapy...

...I roll it up and wrap it in thin painter's plastic...
 
...then tie it with narrow lengths cut from a nylon stocking...

...bundle it up in a towel, and pop it into my tumble dryer.

 
Checking and readjusting the piece, partway through felting.

 
The nubby texture on the silk side of the finished nuno garment.


Using the dryer felt method...

...I roll up, tie, and wrap up the garment...

...then tumble it on high heat for several 15-minute sessions...

...unrolling and checking it until it is fully felted.

Except for a small area or two where I wasn't 100% happy with my layout coverage...

...I think the garment did well enough in the dryer.

Next time: You'll finally get to see why I call this garment a disaster! :(

Posted by Picasa

Sunday, October 7, 2012

Unmitigated Garment Disaster- Part 2 of 5

After flipping the piece to side two.


Pulling back the thick painter's plastic resist to reveal the silk side of side one. 
 
Adding a layer of trimmed-into-shape silk gauze...

 
...and connecting the front and back by folding roving over from side one to side two.

 
Laying out additional roving...

 
...in a more deliberate pattern this time...

 
...for the front of the garment.

 
The finished layout on side two.

 
After (rather awkwardly) flipping the piece from side one to side two...

...I added a layer of silk gauze to the 'naked' resist.

I then folded over the 'rays' of roving along the garment edges...

...from side one to side two (connecting them in the process).

More wool roving came next...

...but in a more thought-out pattern this time...

...creating the garment front.

Next time: actual felting begins.

Posted by Picasa

Friday, October 5, 2012

Unmitigated Garment Disaster- Part 1 of 5

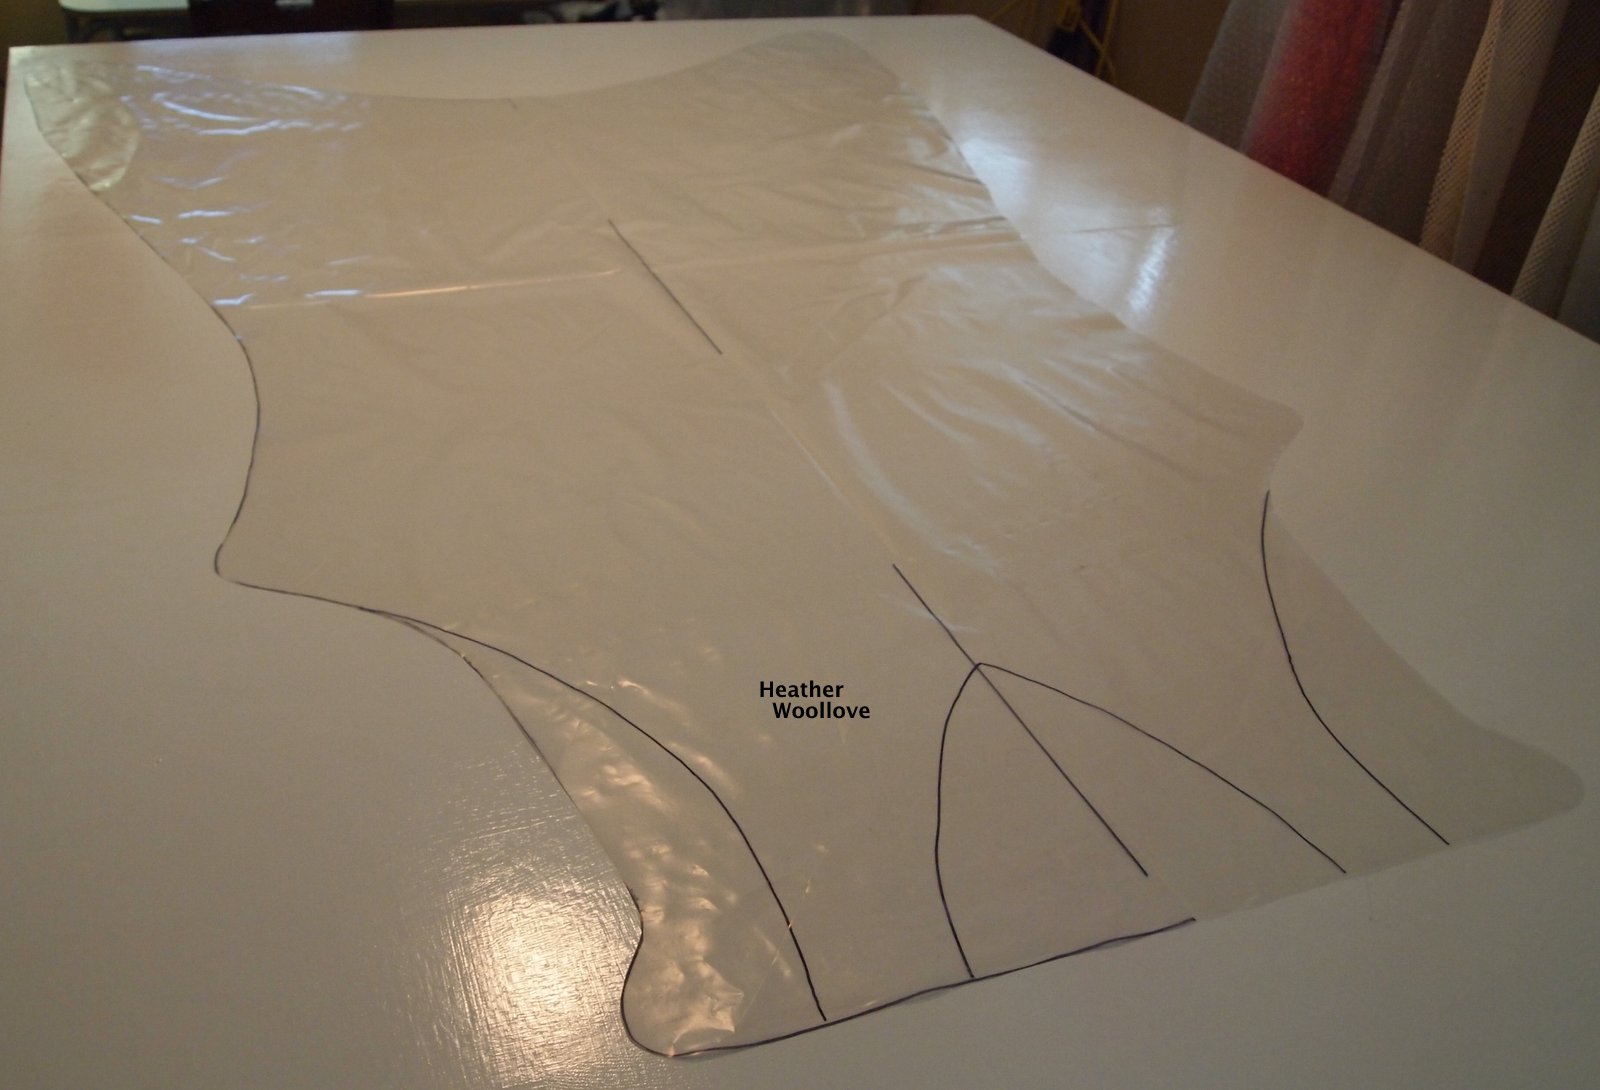
Altering a sleeveless top resist for more length and 'swing' at the bottom...


...and defining the neckline with permanent marker. 
 
Adding a layer of silk gauze...

 
...and trimming it into shape at the top.

 
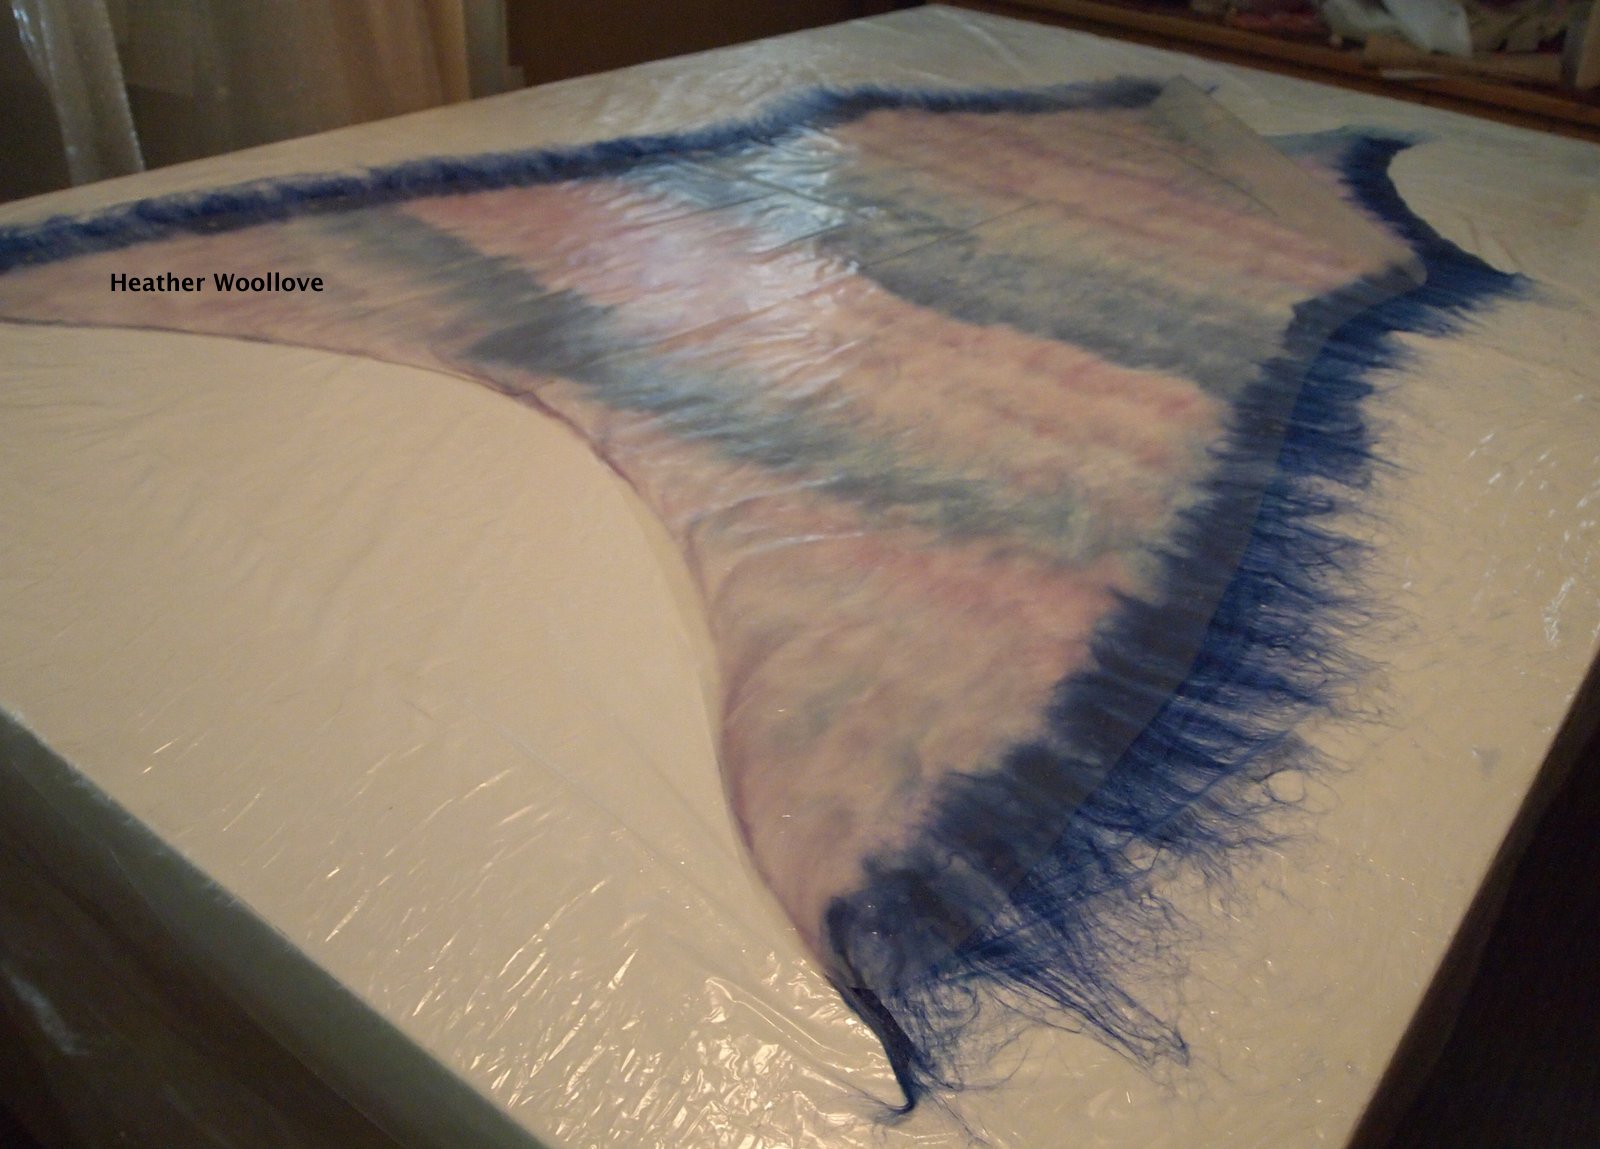
Beginning the layout with dark blue roving along the side seams...

 
...and filling in with roving in shades of lavender...

 
...blue and pink.

 
Wetting out side one.

 
There's no way to 'sugar coat' it...

...I have a love-hate relationship with garment felting.

I think the sheer size of the required resists...

...(for seamless projects, anyway)...

...is often enough to stop me before I start!

Inspired by my friend, Llinda's beautiful nuno top (which actually fit me!)...

...I decided to 'screw my courage to the sticking place' and try again! :)

Using a copy of her resist pattern as my starting point...

...I added long, curving sides at the hem...

...and traced it onto a thick sheet of painter's plastic.

With permanent marker, I outlined the curvature of the neckline and straps...

...on both the front and back sides.

Next, I covered the resist with a piece of silk gauze...

...and trimmed it into shape.

Beginning with dark blue roving on the sides of the piece...

...I completed side one with stripes of variegated roving in shades of blue, pink and lavender.

Next time: the layout continues on side two.

Posted by Picasa