Showing posts with label mittens. Show all posts

Saturday, February 8, 2014

Felting Retreat With Arrowmont Friends- Part 2 of 2

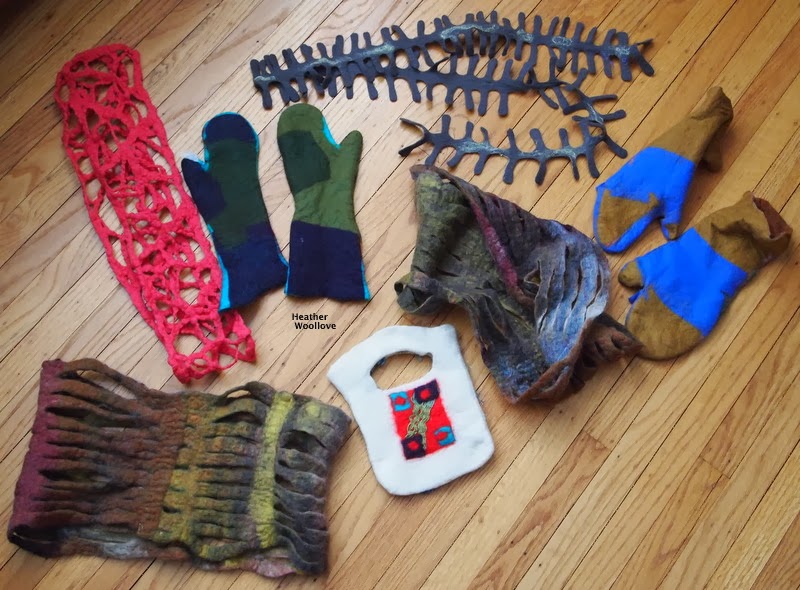
Some of our felt experiments.


                                            Lattice scarves, infinity scarves made with pre-felt...

                                               ...centipede scarves, mittens and detritus totes.


                                                     I think that my vegetarian meals...

                                      ...were a bit of a surprise (at first) for my omnivore friends! :)


                                         We experimented with lots of fun techniques and fabrics...


                                            ...open-weave linen and wildly patterned silk chiffon!


                                               Kiki and Lorin's finished pre-felt and fabric totes...


                                                                 ...are really wonderful!


                                                What a terrific week of felting and friendship!

                                                            (I can't wait for next year!!)


Sunday, March 3, 2013

Pre-Felt Mittens, Hand-Dyed Silk And A Houseguest!

Cutting pre-felt pieces...

...slightly larger than the resists...

 
...and sewing them together with nylon thread...


...enclosing the resist on just three sides...

...so there's a 'hand opening' when they're finished.
 
After felting for a time...

..they start to take shape.


The mittens are turned inside-out...

...to hide the seams. 
 
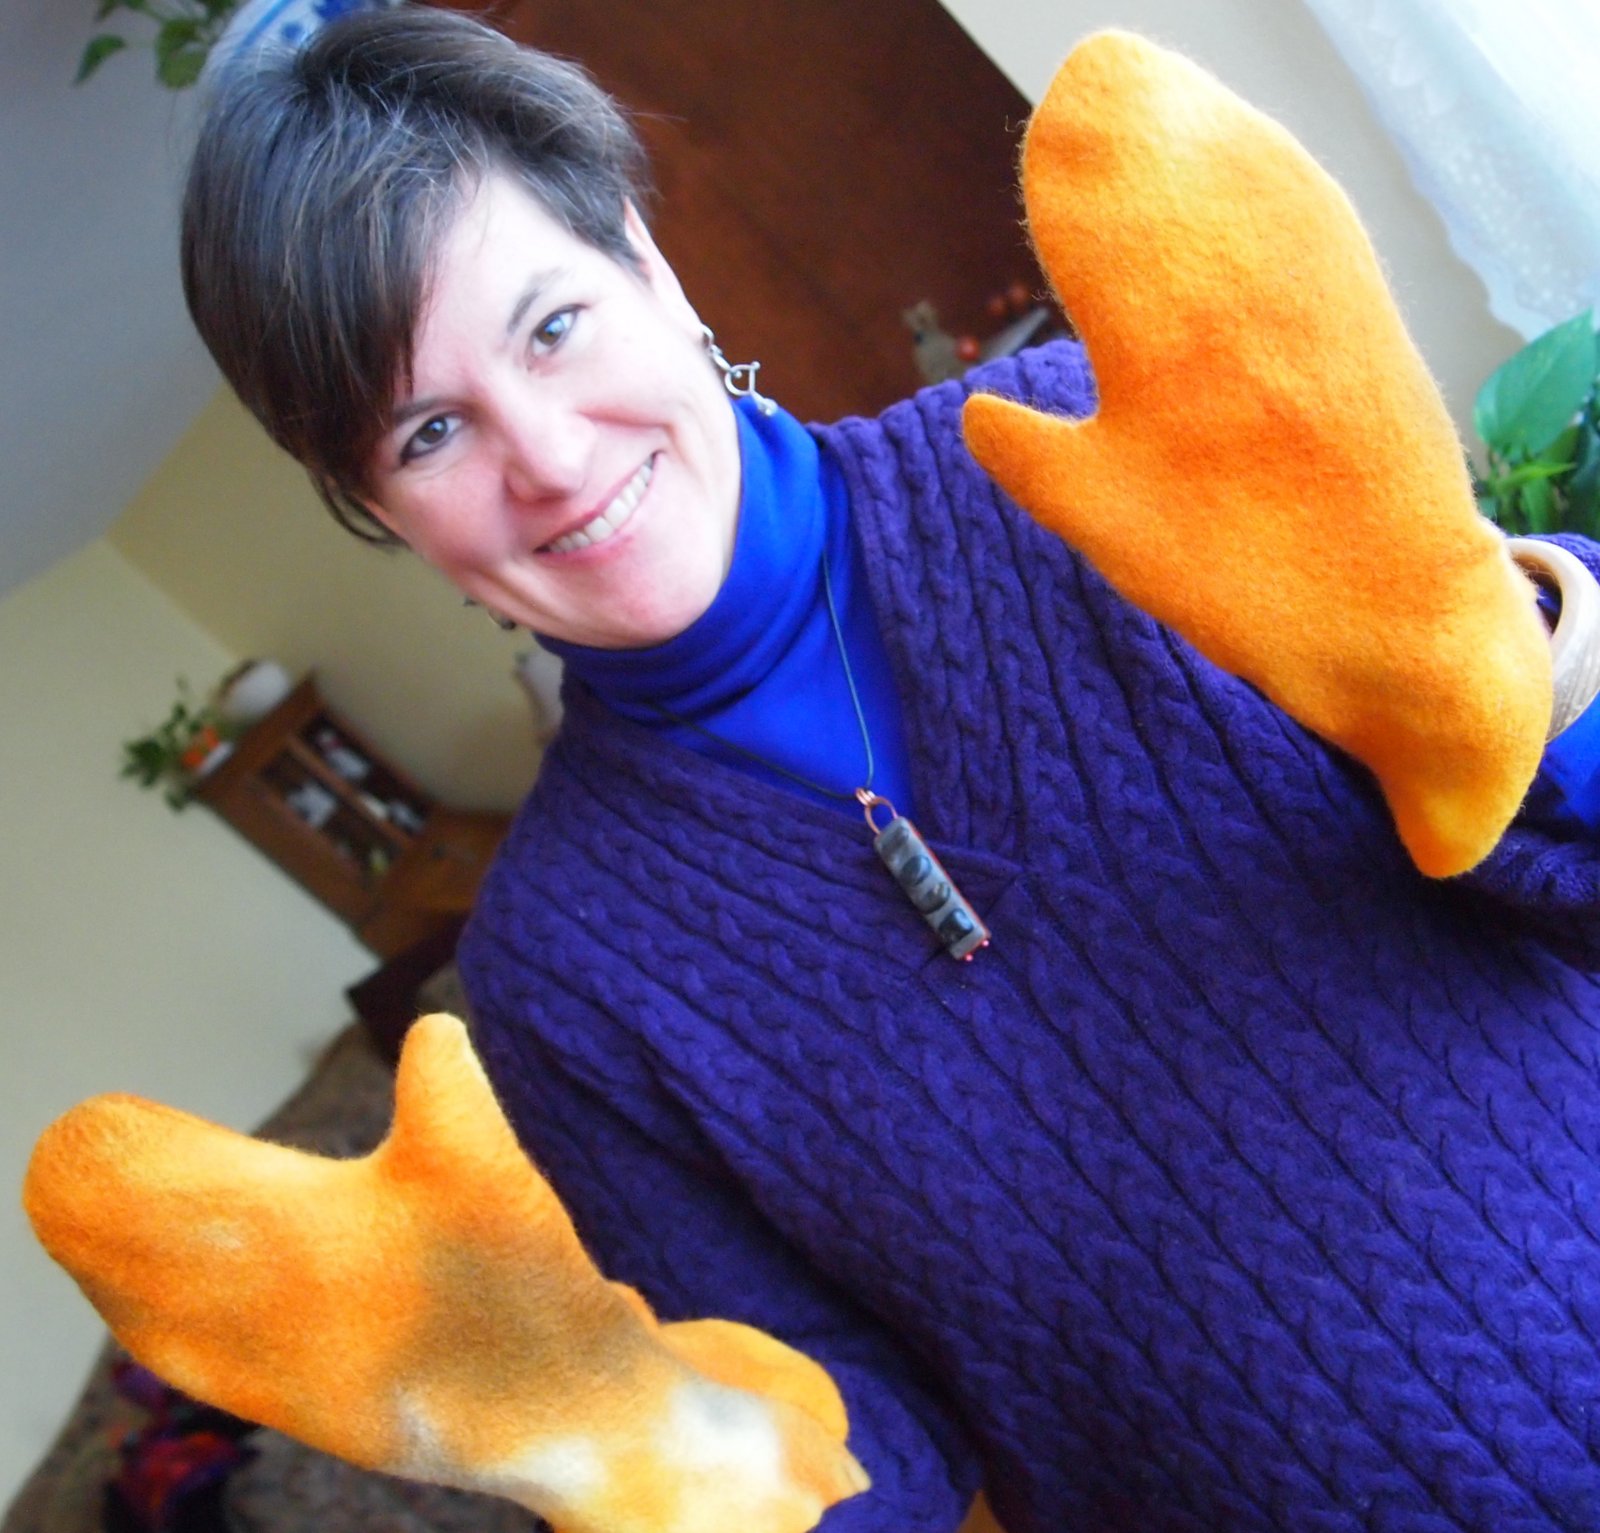
My friend Lorin, showing them off.

(The one on the right still needs a bit more fulling and shaping.)

 
Lengths of silk in various weights...

...in Lorin's signature 'saturated colors'.

 
I recently spent four wonderful days with my adorable friend, Lorin Fields...

...(a classmate from my garment class at Arrowmont).

While she was here, we went out for breakfast and lunch...

...made homemade waffles, cornbread and Frangelico biscotti...

...drank a bottle of red wine, some port wine and Amaretto...

...and still managed to get a few things done in the studio! :)

By drawing around her hand and leaving a margin for shrinkage...

...I fashioned two mitten-shaped foam floor underlayment resists.

From commercial pre-felt ('needled felt') that was hand-dyed by another friend, Jone Rakoski...

...I cut out four mitten-shaped pieces, slightly larger than the foam resists.

After stitching around the edges with nylon thread...

...I wetted them out and gently felted them until it was safe to remove the resists.

After more felting and some shaping on a sushi mat...

...they were a perfect fit.

**************************************************************************************
The pile of luscious silk fabrics were a gift from Lorin...

...who hand-dyes in the most wonderfully intense colors, ever!

I'll have to put my thinking cap on...

...and find a special project for each and every piece.

Thank-you, Lorin!

Posted by Picasa

Saturday, January 14, 2012

Wet Felted Mittens- Part 2 of 2


Laying out layers of blended wool fibers on my newly modified mitten resist.


The art batts that I used this time were mostly dark, with bits of bright colors.


Cutting the mittens apart, mid-felting, and removing the resist.


The finished, 'very manly' mittens, front and back...


...and front and front...


...and front and back, again.


The back sides with bits of red showing from the variegated roving.


Before I made this second pair of mittens...

...I adjusted my resist pattern a bit.

The new one is a bit shorter in the 'fingers area'...

...and I made the 'thumb part' a little less bulbous, too. :)

Since I was using rather dark roving this time (again for a man's gift)...

...I decided to place a 'pop of color' red stripe on each mitten front (for fun).

These can be cuffed, if desired...

...but since I used dark roving throughout (not white for the lining this time)...

...I prefer these just the way they are. :)

Posted by Picasa

Thursday, January 12, 2012

Wet Felted Mittens- Part 1 of 2


Flattening the foam underlayment resist prior to use.

(I find that the end of the roll always curls up a little bit!)


Beginning the lay out with 'spongy' Hog Island wool...


...then adding layers of variegated blue roving.


The finished layout, prior to felting...


...and after felting for a time...

...cutting the mittens apart and removing the resist.


While drying.


The finished mittens with cuffs rolled up...


...and again, here.


Several years ago, I made a pair of fingered gloves without much success...

...so this time, I decided to 'forego the fingers' and make mittens, instead!

The hardest part is getting the proper shape and size for your resist...

...since you must not only take into consideration the shape and size of your hand...

...but also the type of wool that you are using, the number of layers, and the shrinkage.

I was lucky enough to have an 'individual mitten' template on hand that I could 'tweak'...

...so, for once, I didn't have to 'reinvent the wheel'!!

(Thanks, Linda!)

It's important to leave a wider connecting 'wrist area' than you think you'll need...

...or else you won't be able to actually get your mittens on after they are finished! :)

(Thanks, Kim, for that helpful tip!)

Next time: pair # 2 (for a less long-fingered recipient!)

Posted by Picasa