Friday, October 19, 2012

Another Wet-Felted Compost Bin Cover-Part 2 of 2

The back side of the finished felt.

 
Holding the lid in place.

 
After sewing the cover into a cylindrical shape.

 
Pre-felt leaf shapes were added to the lid during felting for a bit of fun.

 
I stitched the 'seam allowance' down on both the outside (for appearances' sake)...

...and the inside of the cylinder (so it doesn't 'catch' on the chicken wire skeleton or the composting materials).

  
A 'bird's eye view' of the Border Leicester locks.

 
A photo from my daughter...the compost bin in situ.

(I think it looks a little like a gnome's house!) :)


Because L's car was filled to bursting...

...we didn't insert the chicken wire skeleton ahead of her move.

Once settled, she and her boyfriend built the inner wire cylinder and lid...

...and hand-stitched the felt to it in spots to keep the metal cage from sliding out.

I was surprised to see that they didn't trim the top into a rounded shape...

...but she told me that they had mistakenly bought a thinner gauge wire than I had used here...

...and they felt that they needed the larger 'overhang' to keep the lid from falling in. :)

I'll be anxious to compare notes with her about how quickly her kitchen scraps turn to compost...

...since I've been thrilled with how the 'toasty heat' of my felt bin speeds the process along! :)

Posted by Picasa

Wednesday, October 17, 2012

Another Wet-Felted Compost Bin Cover- Part 1 of 2

Making art batts from 'stash' roving in varied colors...

 
...and beginning the layout.

 
Since this cover is not for me, but for my daughter, L...

 
...I encouraged her to invest some 'sweat equity' by helping me with the layout and some of the rolling.

 
Adding 'clouds' of washed Border Leicester fleece...


...for fun and visual interest. 
 
The finished felt (front side).

 
My daughter's new apartment includes access to a garden...

...and she was most anxious to start making compost for next Spring's planting!

Using 'odds and ends' from my fiber stash...

...we created a large number of art batts in blended colors.

We then laid out two thick, fluffy layers of roving...

...and added clumps of washed Border Leicester fleece to the top.

Next time: we machine stitch the cover into a cylindrical shape...

...and make a smaller piece of thick felt for the lid.

Posted by Picasa

Monday, October 15, 2012

Wet-Felted Fingerless Gloves (Arm Warmers)

Measuring out a mere 16 grams of merino roving per glove...


...and laying out a verrrrrry fine layer of fiber on side one of the resist. 
 
With only two meager layers per side...

...it's important that you lay the wool out as evenly as possible.


Removing the resist, mid-way through felting. 
 
The fully felted (but still damp) glove...


...and, here, pinned into shape on a 'pool noodle' base.
 
The finished gloves (at first)...


...and after removing all but two of the 'fingers'. :) 


The 'computer corner' of my studio is very near a window...

...and it can be a bit nippy to work here during the colder months.

I'd often thought that a pair of fingerless gloves would be a nice thing to have...

...and now I've finally gotten around to making myself a pair!

Based on the 'mid-week sharing' of Marjolein Dallinga's class at 2011's 'Fling'...

...I endeavored to recreate their project, but with the addition of short 'fingers'! :)

Since the felt needed to be quite soft and flexible...

...I tried hard to make the wool layers thin enough, but still even.

To be sure, there are some areas on each glove that are a bit too thin...

...but, luckily, the ruching provides a bit of camouflage! :)

After 'test driving' them with all of the 'fingers' at first and finding them constricting...

...I removed all but one ring of felt (for the middle finger) on each glove...

...and now they're much more comfortable (and still stay 'on'!).

Posted by Picasa

Saturday, October 13, 2012

Unmitigated Garment Disaster- Part 5 of 5

The newly shrunken garment front (silk side out)...

 
...and back.

 
Yes, it's really that much smaller than it was!

(For reference, that's a 12-inch ruler!)


With the wool side out (front side)... 
 
...and back.

 
After I'd given up on ever wearing this garment...

...or even having anyone else ever wear it...

...I decided to shrink it in the washing machine and sew it up into a cute little market bag with handles.

Then, one of my daughters suggested that I keep it for use as a toddler dress..

...so I put it away in the attic with my favorite baby clothes...

...for that happy day (fingers crossed!) sometime in the future. :)

Posted by Picasa

Thursday, October 11, 2012

Unmitigated Garment Disaster- Part 4 of 5

The finished top (back side, wool-side out)...

 
...and the front.

 
The back side (wool-side out), as modeled by my daughter, H-2...

 
...and, again, here, with the silk side out.

 
You can see that both the long garment sides...

 ...and the 'deliberate layout design'...

...were rubbish...

 
...and that the straps are uneven and too narrow.


Question: "Could this top fit me as designed?"

(Hint: this daughter is 3 garment sizes smaller than I am!)


Just look at the horrible way it fits! Shudder. 
 
Now can you see what I'm talking about?

Between my poor choice of colors...

...(why, oh why did I ever think that I would wear something in these shades?)...

...and the truly unflattering fit (even on my tiny, beautiful daughter)...

...this garment is not fit for human wear...

...unless...?????

Next time: A solution is found...

...(but it's not what you think!)

Posted by Picasa

Tuesday, October 9, 2012

Unmitigated Garment Disaster- Part 3 of 5

The (dry) layout on the front side.

 
...and...after wetting it down.

 
With only one layer of wool roving plus a layer of silk gauze...


...I'm expecting a lot of shrinkage. 


Once the piece is wet and soapy...

...I roll it up and wrap it in thin painter's plastic...
 
...then tie it with narrow lengths cut from a nylon stocking...

...bundle it up in a towel, and pop it into my tumble dryer.

 
Checking and readjusting the piece, partway through felting.

 
The nubby texture on the silk side of the finished nuno garment.


Using the dryer felt method...

...I roll up, tie, and wrap up the garment...

...then tumble it on high heat for several 15-minute sessions...

...unrolling and checking it until it is fully felted.

Except for a small area or two where I wasn't 100% happy with my layout coverage...

...I think the garment did well enough in the dryer.

Next time: You'll finally get to see why I call this garment a disaster! :(

Posted by Picasa

Sunday, October 7, 2012

Unmitigated Garment Disaster- Part 2 of 5

After flipping the piece to side two.


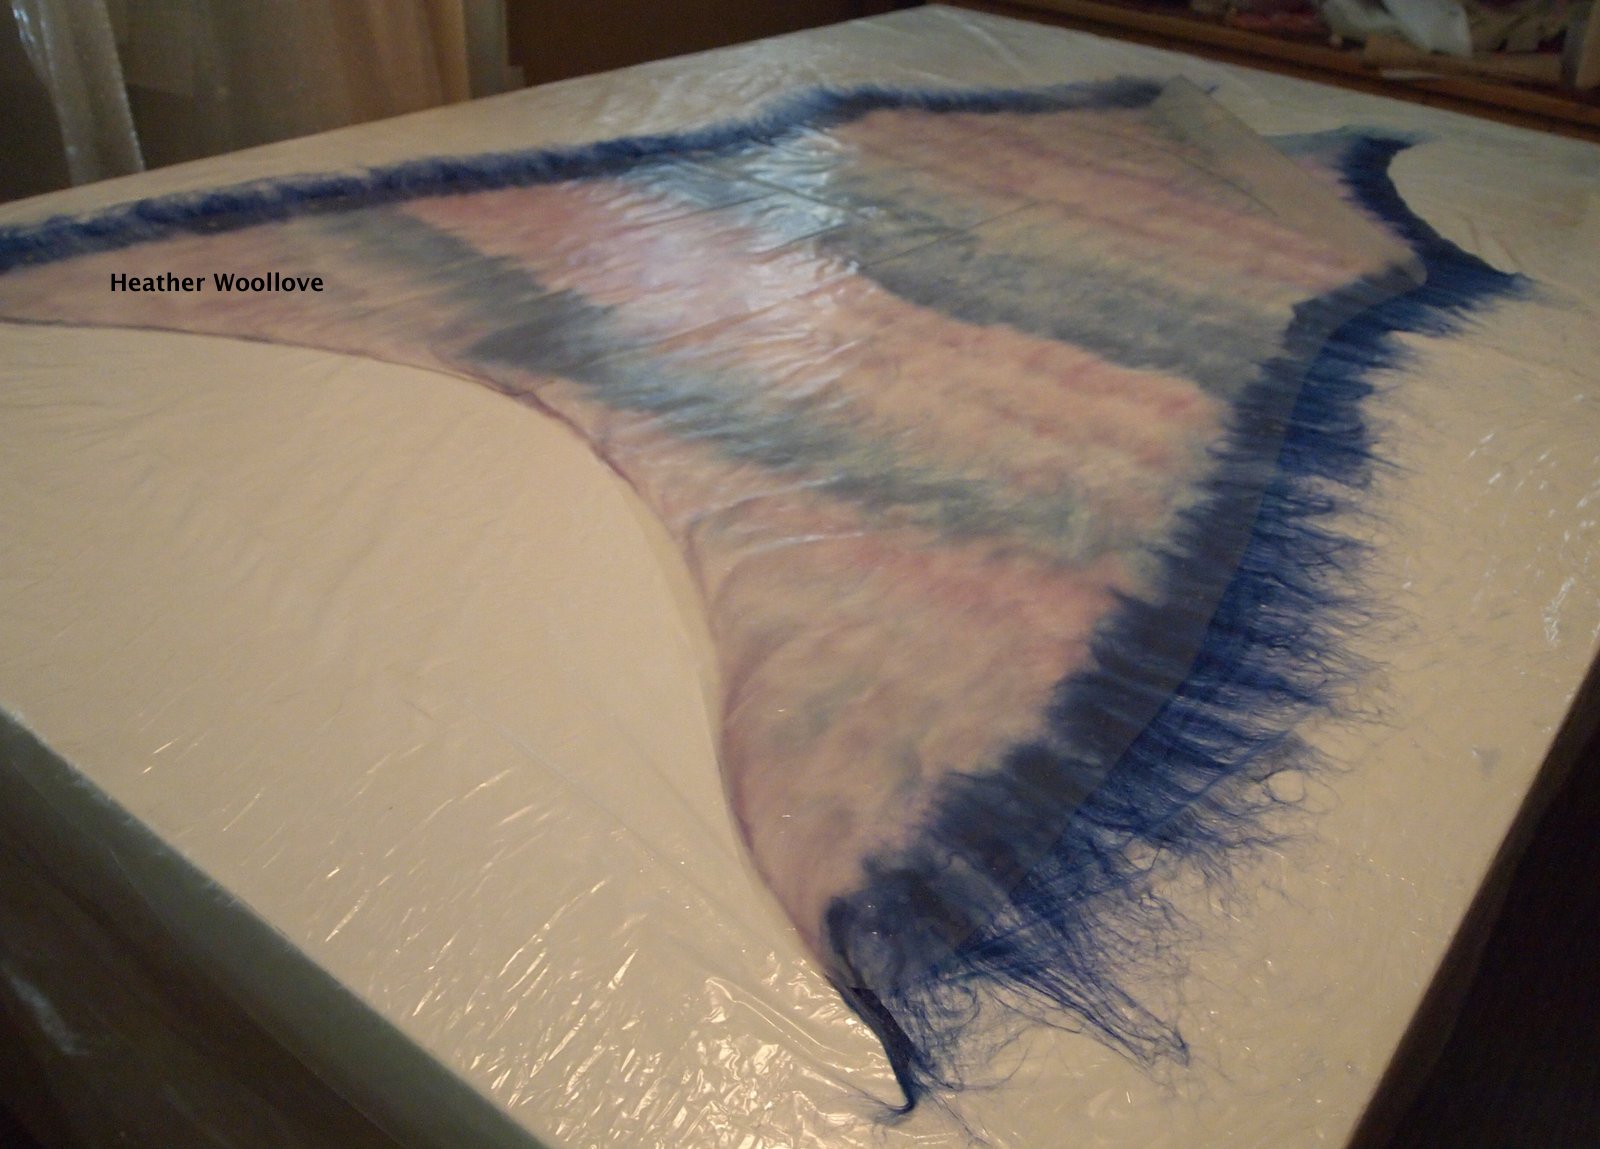
Pulling back the thick painter's plastic resist to reveal the silk side of side one. 
 
Adding a layer of trimmed-into-shape silk gauze...

 
...and connecting the front and back by folding roving over from side one to side two.

 
Laying out additional roving...

 
...in a more deliberate pattern this time...

 
...for the front of the garment.

 
The finished layout on side two.

 
After (rather awkwardly) flipping the piece from side one to side two...

...I added a layer of silk gauze to the 'naked' resist.

I then folded over the 'rays' of roving along the garment edges...

...from side one to side two (connecting them in the process).

More wool roving came next...

...but in a more thought-out pattern this time...

...creating the garment front.

Next time: actual felting begins.

Posted by Picasa