Thursday, November 24, 2011

Leafy Cobweb Shawl- Part 1 of 2


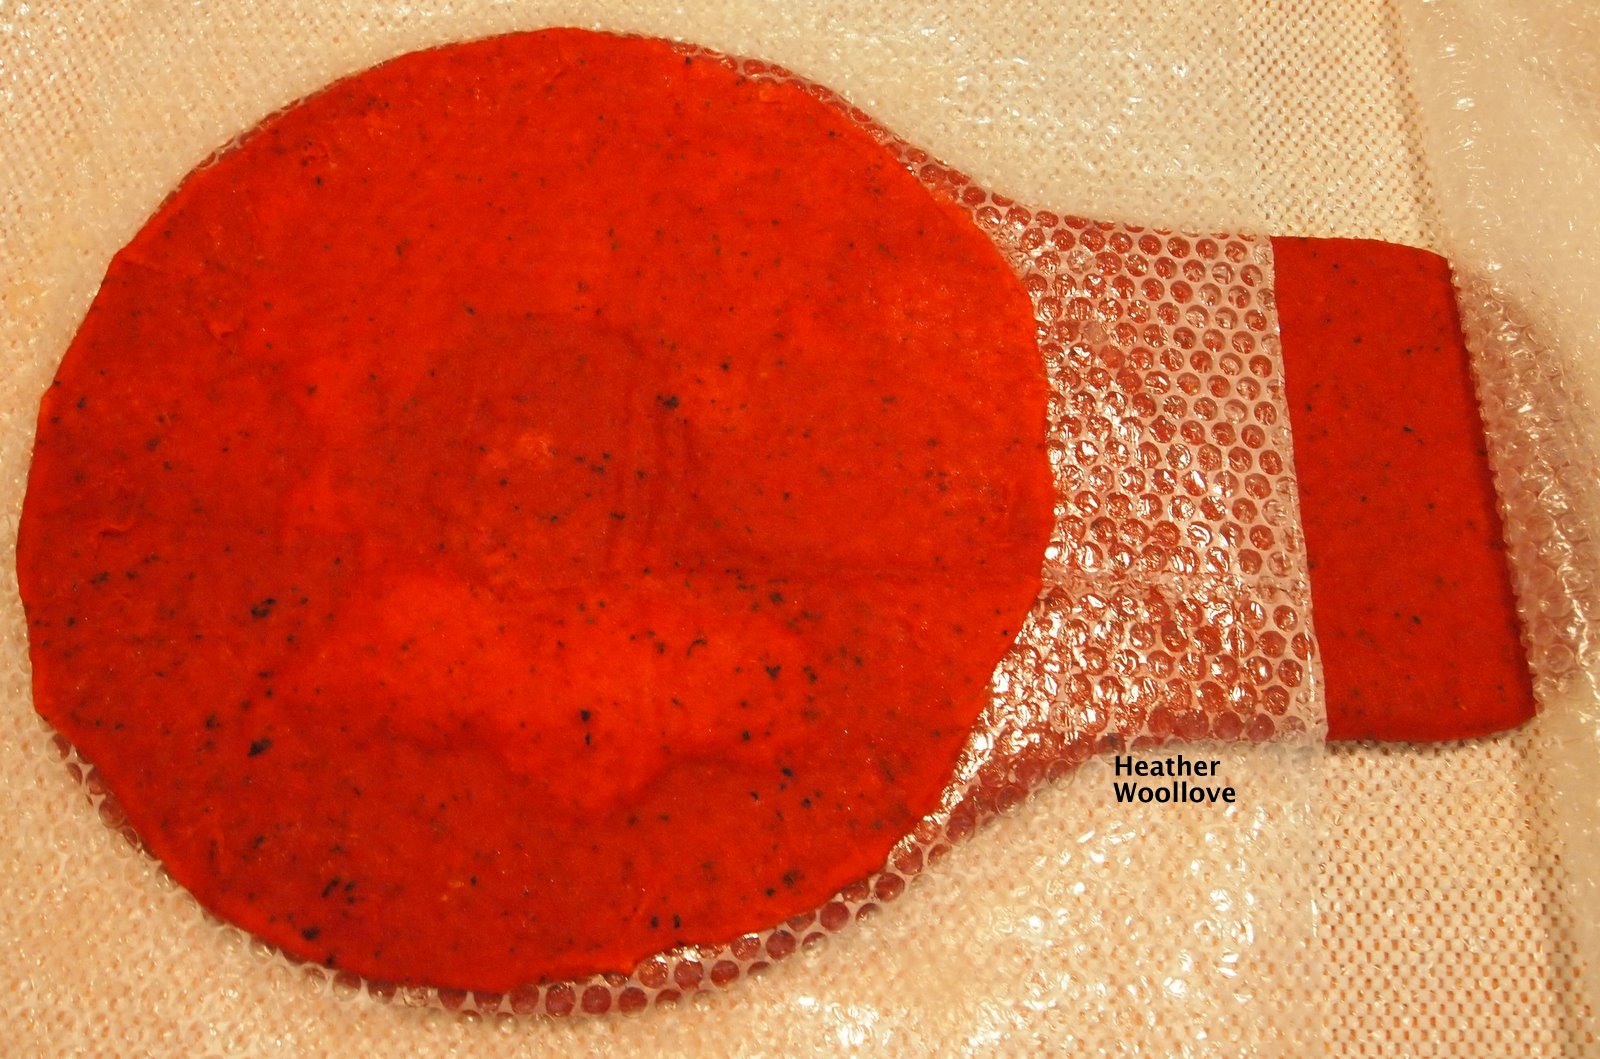
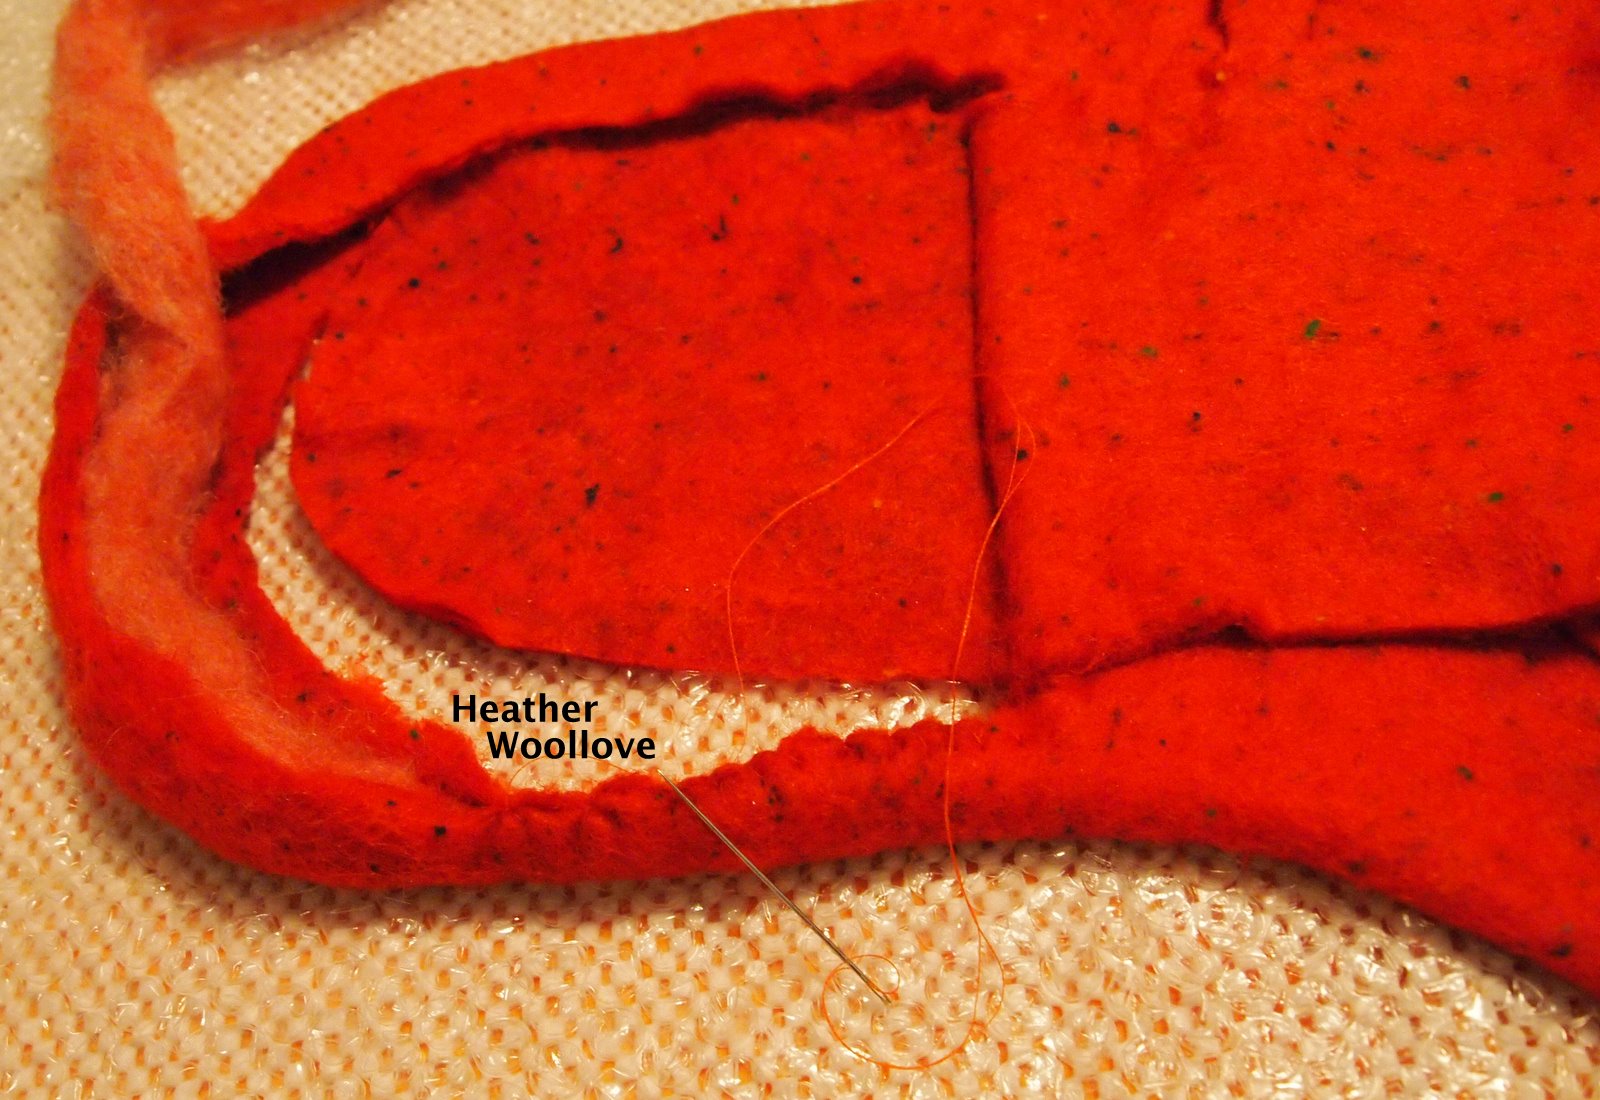
Laying out roving...


...with my friend, Dawn, who was visiting from Michigan at the time. (Yay!)


Filling in the outline...


...and adding my own hand-spun orange yarn around the perimeter.


Wrapping wool around the yarn to make a firm edge...


...here, wetted out and seen in close-up.


While my friend, Dawn was here in August...

...we took the time to make a few projects together.

I'd been wanting to make another cobweb shawl (even had a particular shape in mind)...

...and Dawn was gracious enough to help!

It's always a treat for me, having someone to felt with, but Dawn is especially entertaining...

...the only 'down side' being that I often had to stop working to clutch my side for breath from laughing so hard!!

We laid out a single layer of variegated fresh green and yellow roving...

...then carefully placed a length of orange hand-spun yarn close to the perimeter.

We added a second layer of roving just to cover the yarn...

...and folded the roving over the yarn to encase it.

***************************************************************
Because this time of year can be especially stressful...

...(especially for those of us who make handmade gifts for holiday giving)...

...I am offering this shawl as a give away.

You are welcome to keep it...

...or 'gift' it...as you see fit. :)

Please leave a comment on this post, or Saturday's post (11/26)...

...and I will add your name to the drawing.

****************************************************************

Next time: the finished shawl...

...and a very Happy Thanksgiving to all of my American readers!! XXO-

Posted by Picasa

Tuesday, November 22, 2011

"Sampler" Needle-Case

Felted needle-case with beads...


...sari silk waste and sari silk ribbon.


With the ribbon closure tied...front side...


...and back side.


Green felt pages (left-overs from my 'couture jacket')...


...sewn in with bead accents.


While I was in Michigan for the Creative Felt Gathering...

...I took a little time on our 'free afternoon' just to play around with wool.

One of my fellow students had a lovely felted needle-case with her...

...and I thought that it would be a quick and fun project to try!

There were also several felting techniques that I'd been dying to attempt...

...so I decided to incorporate them all into one case, like an old-fashioned 'sampler'!! :)

My friend, Kim often felts ribbon or lace into her felt...

...and then uses it as a tie closure.

My friend, Nicola uses beads, threaded onto a narrow piece of roving...

...to felt beads into a project without sewing.

And my friend, Pam, who was, luckily, also present at the CFG...

...stitches beads to the 'fold lines' of her finished needle cases...

...to prettily hold the pages in place.

I cut a small foam resist and covered it with layers of wool roving...

...then added strips of sari silk, holding them in place with wisps of wool.

(If you wet the strips of silk first, it helps to flatten them out for proper placement.)

I found a needle that would fit, easily, through the holes in my beads...

...then threaded it with a thin strand of wool roving, and pulled beads onto the fiber.

I laid these out onto the project surface, along with some sari silk waste...

...and began felting.

I treated this project like a  mini-bookcover...

...but cut a slit, instead of an oval, in order to remove the resist.

I cut pages of finished felt to fit the case...

...and attached them with bead accents placed on the inside and outside of the case.

As it was a 'sampler', I wasn't too concerned with design or element placement this time...

...but it did give me a good idea about how to use these techniques in the future!

Posted by Picasa

Sunday, November 20, 2011

Orange Flower Purse- Part 2 of 2


The fully felted purse.


Clamping the petals to create 3-D texture.


A close-up of the petals, silk yarn and snippets of pencil roving.


The purse back with trimmed flap.


Pearlescent vintage buttons for the closure.


The finished purse.


This purse was a little tricky to do...

...but, boy, was it worth it!

I found that after I had felted the piece for some time...

...I still felt a little 'wobble' in the center where the petals attached.

Taking a few stitches with a large needle and silk yarn seemed to do the trick...

...and I could then finish felting the bag without fear. :)

I decided that rather than having inner pockets or flaps of any kind...

...I would trim the flaps and have the bag opening follow the circular pattern of the flower.

In order to keep the bag's contents secure...

...I stitched two buttons to the inside of the bag back...

...and made button-holes on the front flap of the bag (where they are hidden by a petal).

Posted by Picasa

Friday, November 18, 2011

Orange Flower Purse- Part 1 of 2


Layout...using a wool batt with multi-colored cotton dots.


Prepping for the first petal layer.


Laying out the first petal...


...and the second...


...and the third...

...then adding snippets of variegated pencil roving to the flower's center.


Felting the purse until it passes the 'pinch test'.


Cutting out the handle...


...and stuffing it with wool roving, prior to stitching, to give it a nice, rounded shape.


My across-the-sea friend, Deborah and I...

...have been using each other for inspiration quite a bit in the last few months!

I was especially taken with a flower cushion that she made recently...

...as was our friend, Kelly, who tried one, too...

...and in orange, no less!!! :)

But because I made so many pillows for Christmas gifts last year...

...I was feeling a little 'over them', and wanted to try something new...

...and, surprise, surprise(!), I thought of making...a purse!! Giggle.

 I designed a new, smaller resist with a narrower handle...

...and since I was making it for myself, I decided to make it in orange!! :)

I covered the resist with fiber from a wool batt that was blended with multi-colored cotton dots...

...then made 3 resists out of pieces of bubble wrap, cutting holes into each center.

As each petal was finished, I layered the project with another piece of bubble wrap...

...keeping the holes centered, so that all of the petals would connect in the middle.

 As a decorative element, and to ensure that my layers would felt together well...

...I made basting stitches in the flower's center with a length of silk yarn.

Next time: the finished purse...

...with pearlescent vintage buttons!

Posted by Picasa

Wednesday, November 16, 2011

Painted Silk Messenger Bag- Part 2 of 2

Trimming the inner 'pocket' flap...for better fit inside the bag.


The finished bag (back side)...


...and front (with un-trimmed front flap).


A closer look at the back...


...and front.


Preparing to sew the inner pockets.


The finished multi-pocket flap.


The finished front flap after trimming and top-stitching.


As per my friend's preference...

...I made a 'pocket flap' with discrete, segmented pockets this time...

...in order to create more organization within!

I used 'doves of peace' fabric to line the pockets...

...both for it's complementary color, and it's energy. :)

I considered leaving the front flap untrimmed for some time...

...but finally decided that I preferred more of the silk showing...

...and that by trimming and top-stitching it, I could showcase it better.

I made the bag handle very long on this one...

...so that Melissa can wear it 'cross body' as she likes.

Next time: Something wonderfully orange (for me!!)...

...and P.S. : Melissa was well pleased with this gift!  (Whew!!)

Posted by Picasa

Monday, November 14, 2011

Painted Silk Messenger Bag- Part 1 of 2


Painted silk gauze and coordinating merino roving.


Laying out roving along the resist perimeter.

Adding the painted silk gauze.


Covering the gauze with roving...

...white over the design so that it would 'pop'!


Adding more roving to the back side of the purse.


The finished layout...front side with encased silk...


...and back side.


Cutting out the handle and removing the resist.


This is a messenger bag that I made for a swap with my friend, Melissa...

...and it was a first for me, since it was a collaboration!!

She provided the hand-painted silk gauze (oh, so lovely!!)...

...and I found complementary colors of roving and then felted them into a bag!

It was a bit nerve-wracking for me at first...

...wanting to 'do right' by her work and show off this amazing design!

Next time: I'll show you the finished bag...

...and tell you what she thought of it!! :)

Posted by Picasa

Saturday, November 12, 2011

Two Projects From Art Batts- Part 4 of 4


Laying out a thin layer of blue roving and rolling it in bubble wrap to make holes in the pre-felt.


Adding a layer of white and green roving to one side of the perforated pre-felt.


The finished felt...showing white and green in the 'open' areas.


The same piece held up to the light.

(You can see that the white/green layer is very thin and translucent.)


After stitching and trimming around the open top of the cube.


The finished cube with a circular embellishment...


...and more on this side!!


When I was at Felter's Fling, one of my classmates made beautiful, cobwebby pre-felt...

...by laying out a thin layer of roving on bubble wrap...

...and rolling it very fast and hard for a brief time.

This pre-felt could then be laid out on a second layer of roving or pre-felt...

...for a lovely decorative effect!

Since this cube project cried out for a bit of embellishment...

...I decided that it was high time to try this technique!

After felting the 'perforated' blue piece...

...I cut it into circular bits and machine stitched them to the cube.

I also stitched around the top of the cube (to hold down the flaps)...

...and trimmed off the extra felt.

Because I used a very thin layer of light colors for the back layer of the blue felt...

...the holes look rather like translucent windows!

Next time: A painted silk messenger bag that is a collaboration with a friend!!

Posted by Picasa