Showing posts with label Slippers. Show all posts

Monday, July 11, 2016

'Wellington' Slippers plus a Cord Necklace!

While in Boulder...

       ...Tylar and Marsha each shared a project with the group.


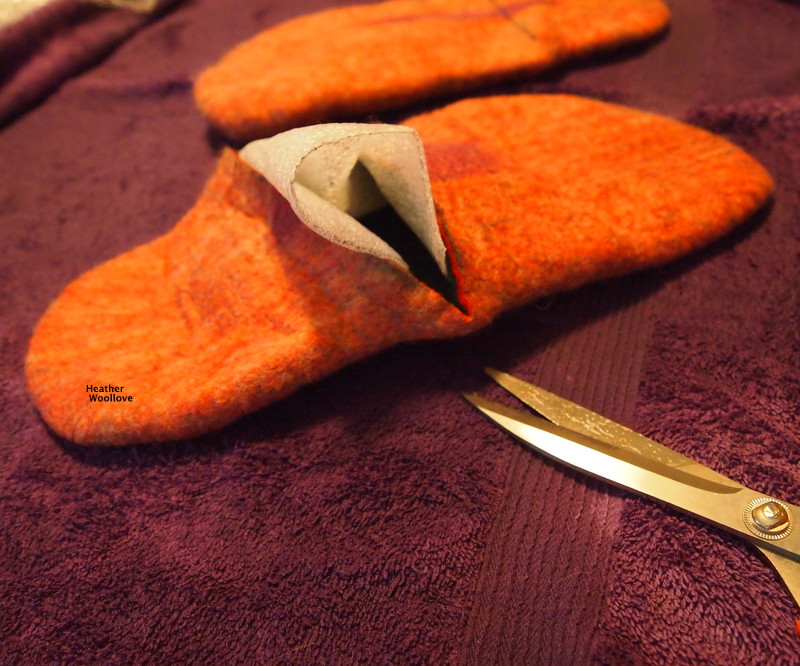
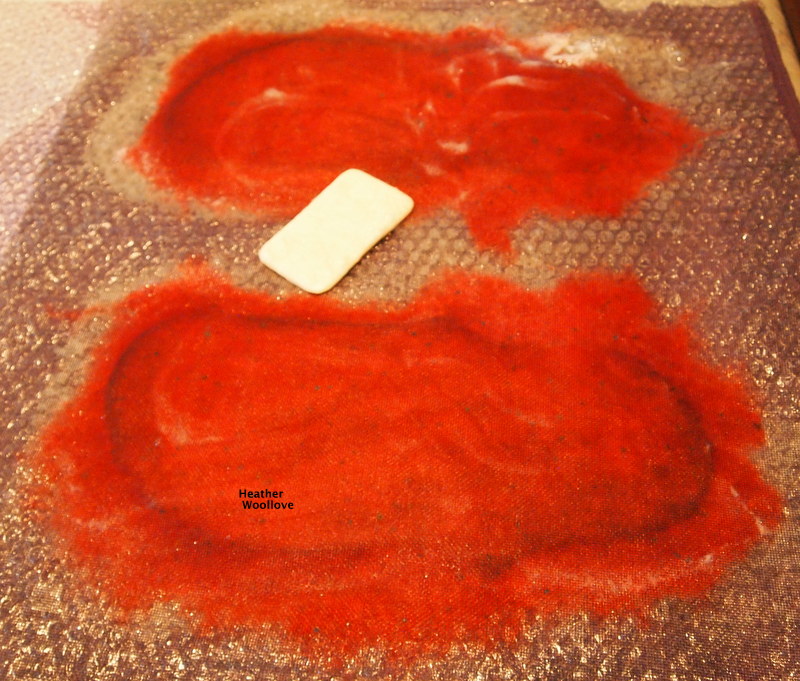
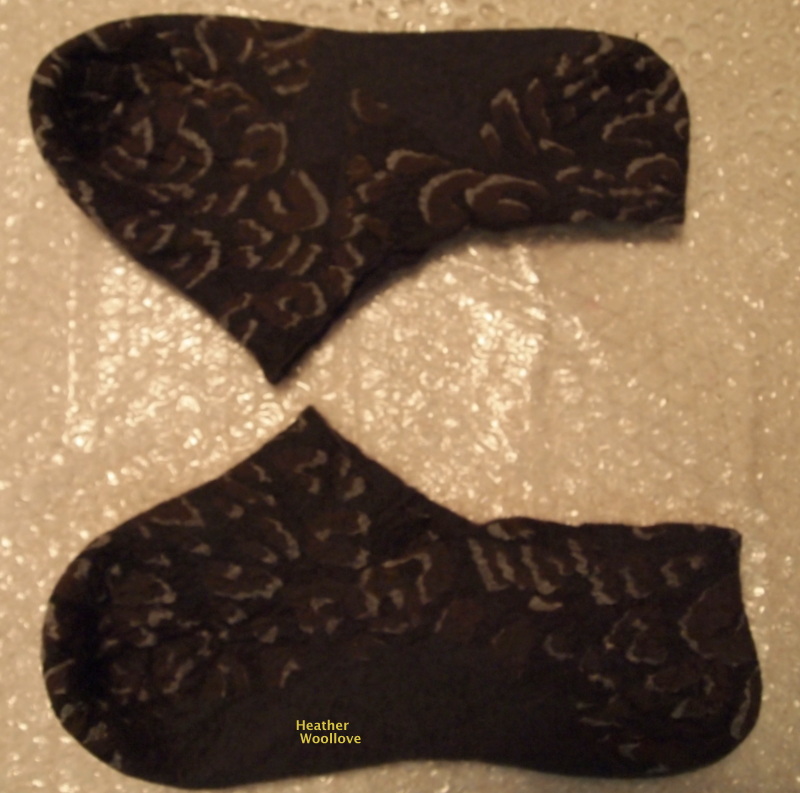
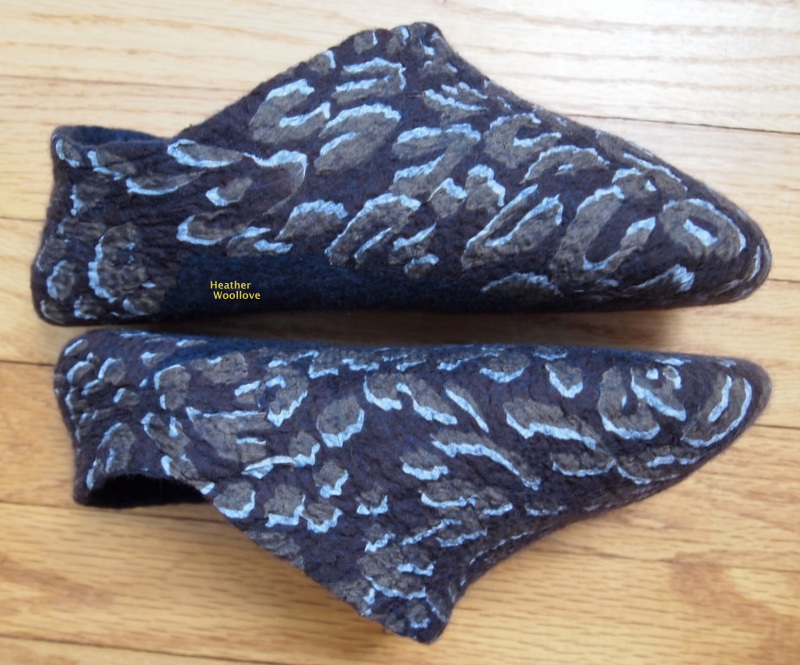
                We made slippers by wrapping our feet in several layers of wool roving...

                                           ...plus lengths of yarn and silk fabric...


           ...covering each fully wrapped foot with a plastic bag filled with soapy water.


                 We popped our plastic-clad feet into an oversized pair of rubber 'Wellies'...

                   ...and in an hour or so, we walked our colorful slippers into being! :)


                                               We also practiced cord making...


                                                 ...creating long necklaces...


                                      ...with 'geegaws' on the terminal cord ends...


                                               ...cut from partially felted wool.


                                                 Next time: I felt a top hat!!

Tuesday, February 16, 2016

Light "Hausschuhe"- Part 2 of 2

Adding a bit of additional roving...


                                                 ...to each side of the resist.


                                                     Mid-way through felting...

                                            ...cuts are made from 'point to point'...


                                            ...and the foam resists are removed.


                                       The hausschuhe are turned right-side out...


                                                    ...and felting continues...


                           ...as I shape the slipper heels into more cup-like shapes...


                                 ...and roll each one to its proper length and width.


                                                     The finished hausschuhe...


                                         ...are fulled to size on my partner's feet.


                                              These yarn-embellished slippers...


                                                     ...are so thin and light...


                                        ...they're more suitable as 'house shoes'...


                                        ...than as 'take out the compost' shoes! :) 


Sunday, February 14, 2016

Light "Hausschuhe"- Part 1 of 2

After wrapping the toes of my resists with yarn...

...two layers of green merino roving are added...


                                         ...and the project is flipped to side two.


                                  Here's a close-up view of the yarn embellishment.


                                                    Wool from the first layer...

                                         ...is wrapped up and around the resist...


                                          ...and side two is covered with roving.


                                                 A tuft of pink wool is added...

                        ...to help distinguish the 'bottom' of the project from the 'top'. 


                                    After the slippers are flipped back to side one...


                                        ...wool from a bright orange batt is added.


                                        The project is wetted-out and soaped-up...


                                                      ...turned back over...


                                             ...and additional wool is added...

                                               ...along with another tuft of pink.


                                       After flipping the slippers over once again...

                                ...the wool layers are pulled closely around the resist.


                                            Next time: a bit more fiber is added...

                                              ...and the slippers are completed.

Tuesday, January 5, 2016

'Animal Print' Bedroom Slippers- Part 2

Once the resists are removed...

...the rubbing and rolling continues...


                                          ...until the slippers are fully felted...

                                                        ...and the proper size.


                                   Leaving excess silk, as I did, during the layout...

                               ...(to wrap around to the second side of the resist)...

                     
                             ...left fewer 'silk-free' areas than in this recent project.


                                    Because I made them as a birthday surprise...


                                      ...I had guessed on my friend's shoe size...


                                              ...but I'm very pleased to say...


                                  ...that they fit 'as if they were made for her'! Grin.


                        I added lines of 'puffy paint' to the slipper soles for traction...


                     ...and as long as she can keep them from becoming 'chew toys'...

                                             ...I think they'll be quite useful!! ')


Sunday, January 3, 2016

'Animal Print' Bedroom Slippers- Part 1

Topping slipper resists...

...with rectangles of silk in an animal print...


                           ...covering just the resist area with a layer of wool roving...


                                           ...and flipping the project to side two.

                           (Remember that the silk is between the resists and the wool.)


                               Wrapping the silk and wool around to the second side...


                                        ...and adding additional layers of roving...

                  ...(plus lengths of bright yarn to keep the sides 'straight' in my head).


                                           Wrapping the wool around the resists...


                                   ...and adding additional layers of merino roving.


                                                     Wetting out the slippers...


                                   ...and proceeding to rub and roll them for a time.


                                                When they pass the 'pinch test'...


                                                 ...it's time to cut them open!


                                               Next time: the finished slippers.