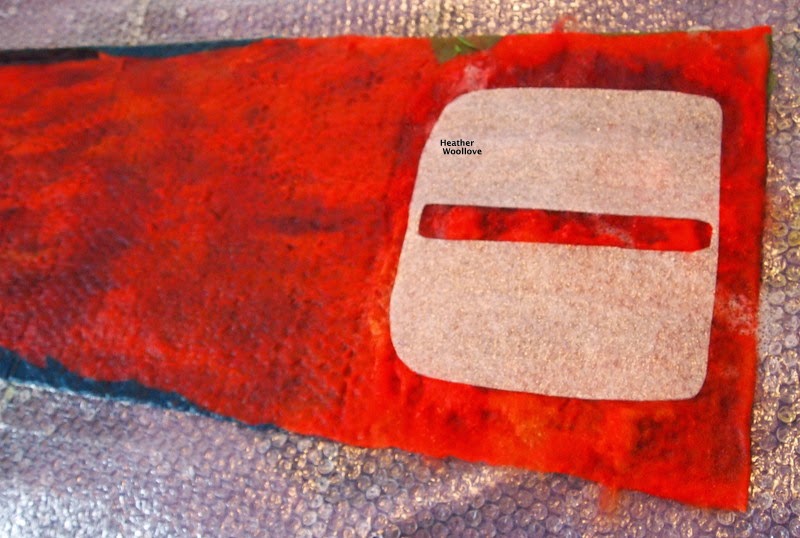
Tiny pre-felt squares are added to the bubble wrap surface...
...(the white paper underneath is just a size template.)
A layer of hand-dyed silk comes next...
...followed by a layer of wonderful, orange...
...variegated wool roving. :)
Wetting out the project...
...then adding a second layer of roving...
...'neatening-up' the edges...
...and wetting it out again.
A perforated resist is added at one end...
...for the internal pocket.
The foam is covered with one layer of wool roving...
...plus a layer of silk gauze.
Mid-way through felting.
...that I really love little squares.
Well...this bag incorporates a lot of them! :)
Next time: the finished purse...
...with green leather details!


6 comments:
I love the colours!
I have to say, the patience needed to stop, and take a photo, at every stage of the process, is huge. I commend you for your amazing patience, because I know I would never do as well. LOL
The "bag" is looking good so far, so I'm sure it will be another wonder. :)
I'm looking forward to see the finished creation--and I have really enjoyed seeing your process! Thank you for stopping by and commenting on my last post--I value that knowledge.
Oh Rachel-Me, too! :)
Sandie--Hahaha...it's pretty much ingrained in me now, but I do find myself 'missing' some shots when I go to blog a project now and then! :)
Dawn--I was SO excited to see Elis' work as the front photo of your blog! I am rather jealous that you got to see it installed!! When i visited her earlier this Spring, the exhibit was not yet open.
Always love seeing how you made patterns with small pre felts. They look very detail.
Thanks, Terriea! I do love my little squares! :)
Post a Comment