Monday, May 31, 2010

Drum Carder Tutorial-Finished Batt


One of the nicest things about blending your own batts...

...is that you can choose just how homogeneous you want the final color to be.

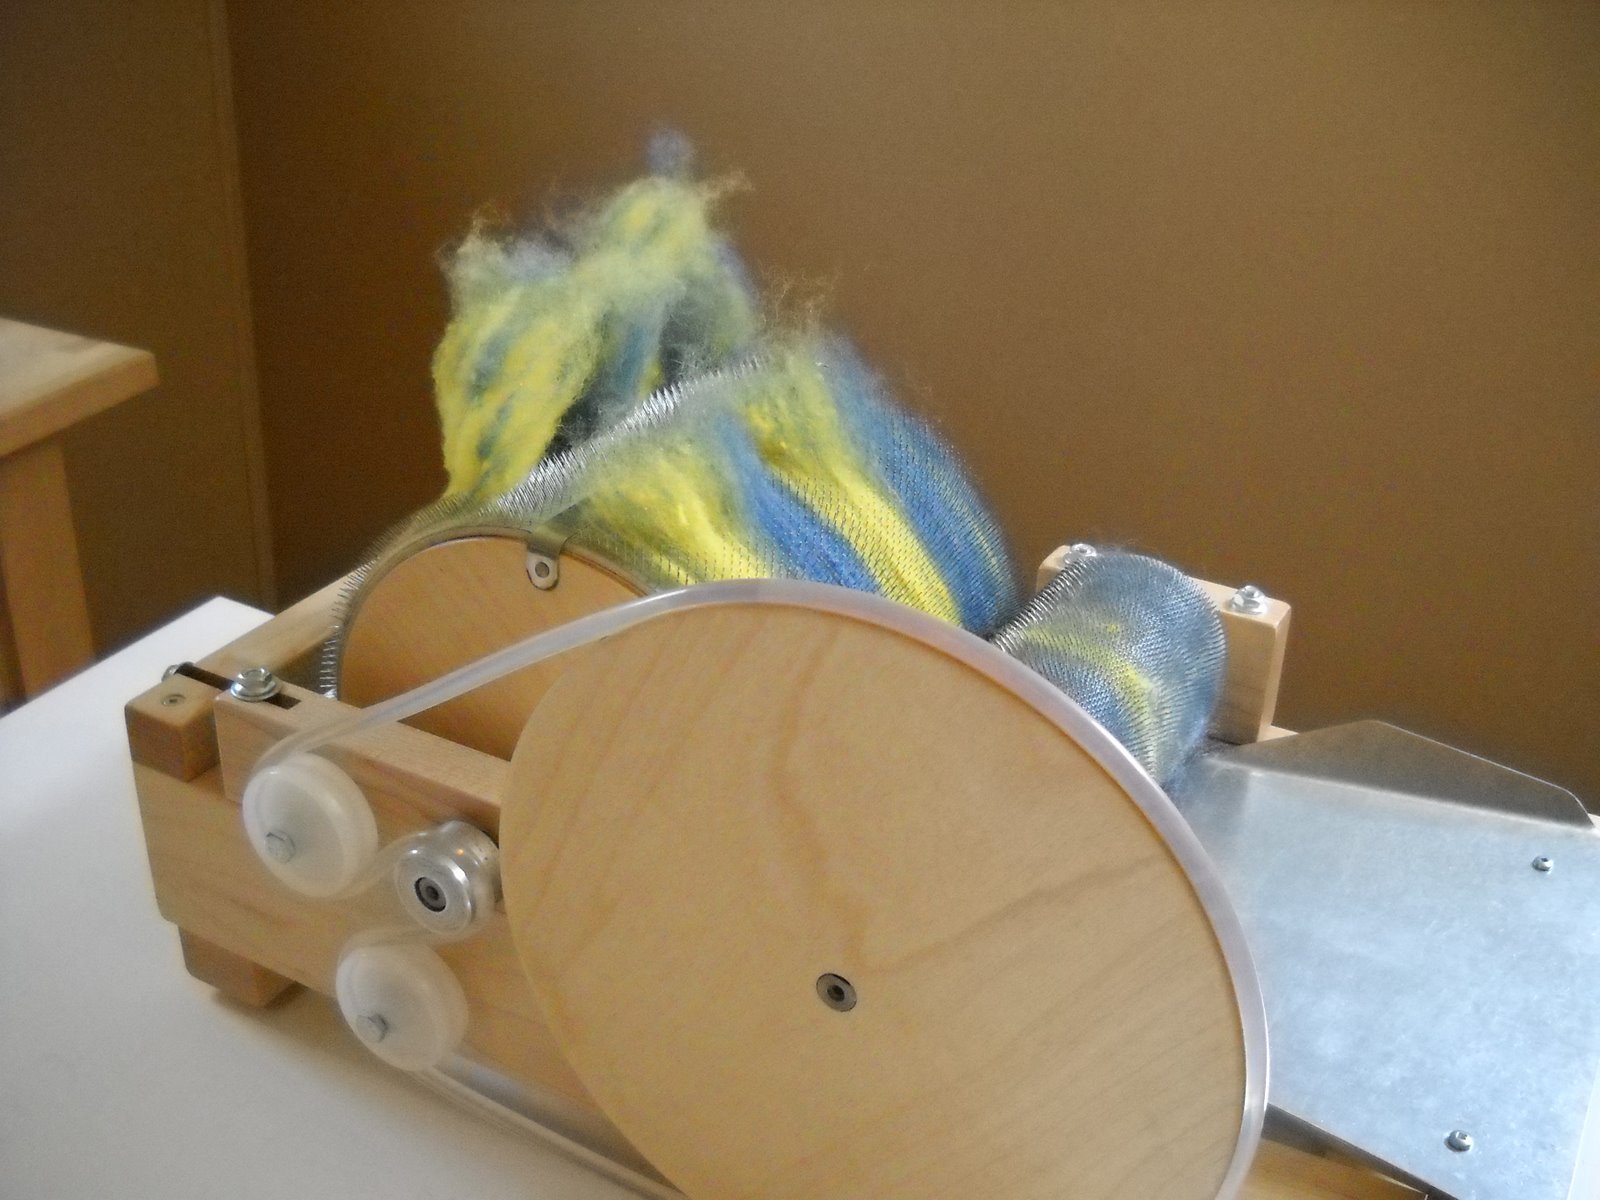
I, myself, love little bright bits of different colors...

...so I stop when I can still see the elemental parts of the batt.

When you have finished using the carder...

...it's time to use the cleaning tool to clean the fiber from the teeth.

Be careful-this tool is sharp!!

It's also good to remove any fibers that have caught anywhere else on the machine...

...a vacuum and pointy-nosed pliers help with that job.

Questions? Please comment and I'll do my best to answer them.

Need More Info? There are many good video tutorials on-line.
One multi-part one that I'd recommend is by Rexenne (who is quite a unique character!)
Posted by Picasa

Drum Carder Tutorial-Splitting the Batt


At this point, I have a striped batt, which you may want, sometimes...

...but since I want to blend the two colors, I will repeat this process several more times, until I'm satisfied with the shade.

In order to do so...

...I have to split the batt into two layers.

I lay one palm on each side of the batt...

...and pinching, pull it into thin layers.

I re-feed these layers into the carder several more times, repeating the entire process...

...until I get a color I like.

Posted by Picasa

Drum Carder Tutorial-Removing the Batt-2


I wrap the free end of the batt over one end of the sushi mat...

...and start to wrap the batt around it.

The drum will turn as you remove the fiber...

...just remember to position it slightly to the left, in order to avoid the handle as you roll.

Don't roll it up all the way to the end...

...because it just makes it harder to find the end when unrolling.

As you lift the sushi mat away from the drum...

...the remaining bit of batt will come cleanly away from the carder.

Posted by Picasa

Drum Carder Tutorial-Removing the Batt-1


When I've gotten as much fiber on the carder as I need to make my batt...

...I use the doffer stick (a super strong, screwdriver-like implement) to remove it.

I place it at the flat plate of the carder drum...

...and lift up 1-inch or so at a time.

You'd be surprised how much effort it takes to pull the wool from the carder...

...that's why you do only a short stretch at a time.

Posted by Picasa

Drum Carder Tutorial-Beginning to Card


Before I begin carding, I pull the fiber apart a bit to thin it...

...so it's looser and less taxing on the carder.

(If you don't, sometimes it can get sort of stuck.)

I feed the wool through at a steady rate...

...and the sharp little teeth grab and separate the fibers into long, straight rows.

If you use merino, or more directional fiber than I have here...

...try to feed it through in the direction of its growth.

After I've gotten some fiber on the drum...

...I use the burnishing tool (with slight pressure) to help flatten the batt.


Posted by Picasa

Drum Carder Tutorial-Equipment


My friend, Mariana (florcita) has been doing some wonderful tutorials, lately...

...and since she doesn't (yet!) own a drum carder, she asked me if I would like to show you how I use mine.

Since this is my first tutorial...

...be gentle with me! Grin.

This is the equipment that I use for carding wool and other fibers...

...a Pat Green drum carder, cleaning brush, doffer stick and burnishing tool, plus a sushi mat for easy batt removal.

The carder clamps to the table...

...so it 'holds tight' when you turn the handle.

The carder can be used to make single-color batts or to blend wool with other kinds of fibers, like Angelina...

...but today, I'm going to show you how I blend yellow and blue roving to make green.

Posted by Picasa

Friday, May 28, 2010

Slow and Steady Progress


So, my felting studio renovation is progressing...

...though not as quickly as I would like.

I had a lot of heavy furniture to move...

...and I owe several people "big", already, for their help with this!

My daughter, L, and I spent nearly an entire day...

...ripping up carpeting and padding and removing tack strips and staples.

She was her usual overzealous self and had to ice her wrist for two days, afterward!

We cleaned the room from top to bottom...

...and took the doors off in preparation for painting.

I painted both doors, some dinged up molding and walls...

...and the top of my felting table.

Of course, everything that came out of this room...

...had to find a place to vacation in another room.

My living room is an absolute disaster!!!

I found wonderful vinyl flooring...

...which will be installed after the holiday weekend.

We'll be celebrating Memorial Day here in the US on Monday...

...and I'm going to take a little time to remember the many service men and women who have made the ultimate sacrifice in service to our country.

Happy Memorial Day, everyone!!
Posted by Picasa

Wednesday, May 26, 2010

J's Table Runner


I wanted to make a table runner for my BF's dining table...

...a Mid-Century teak beauty that is routinely covered by the detritus of his life.

I thought, perhaps, that it would encourage him to keep it neater...

...as 'hope springs eternal'. Har.

I took a long piece of hand-dyed silk...

...and placed it atop thin cranberry batts.

I added a light, uneven layer of tan wool, some tussah silk locks...

...bits of pre-felt, and pencil roving in a random pattern.

I covered the entire surface with netting, which I don't usually bother with...

...and it helped to corral the tiny, loose bits and pieces.

I wrapped the underneath batt up and around all four sides...

...to provide a distinct border.

Since the tan wool is so finely distributed...

...the dyed pattern is quite obvious in places and looks interesting.

Posted by Picasa

Monday, May 24, 2010

Chaos and Creation: Part One


For nearly a year...

...I've been wet-felting in my dining room.

It hasn't been terrible, since I have a large wooden dining table...

...the surface of which I'm not the least bit concerned about damaging.

(It's pretty well-scratched from other crafty pursuits over the years.)

I haven't much liked dripping soapy water on my hardwood floors, though...

...and I've had to move things on and off the table for meals pretty regularly.

Lately, I've been coveting my blog friends' felting studios...

...and I've been wondering how I might create a similarly functional space in my own home.

The final push came when my friend, K, came to visit earlier this month...

...and I realized that 'something needed to give' if I were ever to comfortably teach, even small groups of students, in this space.

A vision of my renovation came to me in my sleep...

...when I realized that my sewing room had rather outlived its purpose.

I decided to relocate most of my sewing paraphernalia to my "college-daughter's" bedroom...

...and re-do the sewing room.

Here are some 'before' photos of the room as it's been for some time (a ghastly mess)...

...and the beginnings of its gutting.

With things here all at sixes and sevens...

...I may not have too many projects to show you for a bit. (Sorry)

To be continued...

Posted by Picasa

Friday, May 21, 2010

Bread Basket-Part Two


I made my resist 1.5 times the original measurements to allow for shrinkage...

...and the bread basket is a perfect size and shape.

Unfortunately, I placed my 'warm bread' symbols a bit too high...

...and the top flap hides them when it's folded down. Alas.

After hand-felting the initial resist piece...

...and then felting it (hard) in the washing machine and dryer...

...I made a separate piece of felt, in the same way, for the bottom.

I machine washed and dried the separate pieces...

...since I wanted the entire project to be easily machine washable.

I thought it would be nice to have the white side 'up' for the basket bottom...

...in order to better see one's choice of bread or roll.

I made a template for the bottom circle...

...by fitting different sizes of bowls, inside, until I found a close fit...

...then drawing around it, adding a bit for the exact measurement.

I tacked the compass points of the circle to the bowl bottom by hand first...

...so that it would then be easier to sew by machine (using a leather needle).

This wasn't a super easy project...

...but I think it came out well and could have lots of other applications.

Add a handle for use as a dorm shower caddy?

Put pre-felt flowers on it for use as a brush/blow dryer dresser organizer?

Compared to my shallow flat-felt box...

...the sides of which never really stood up...

...I think this project has many applications for use as storage.

Let me know what you do with yours!


Posted by Picasa

Wednesday, May 19, 2010

Bread Basket-Part One


I have a canvas bread basket that I bought in Hamburg several years ago...

...and I really lurve it!

It's not only the fact that it's red and orange (two of my very favorite colors!)...

...it's that the shape and size are just so perfect!

I decided to try making a similar one out of felt...

...and waffled over my choice of colors for quite some time.

I wanted to have the inside layer be quite distinct from the outer...

...so that it would make a fun contrast when the top edge was folded over.

The muse finally struck in the form of this book...

..."New Crafts Feltwork", by Victoria Brown.

In it, she shows a wonderful jacket made of white and black...

...in which the black fibers have migrated through to the front, to fabulous effect.

Since the color is rather plain, however...

...I wanted to 'write' something on it, too.

And because I love making felted things backwards...

...I had to write out my phrase on the backside of the resist in a 'mirror reverse'.

Have you ever tried to follow cursive writing backwards with pencil roving?

It's really hard...even using soap glue to hold it all down!!!

I covered the writing with batts of white, then black...

...and made a 'warm bread' design on the reverse before covering that side.

I considered making a bas relief Challah bread, first...

...but my braided roving looked more like something my cats might cough up, than a loaf of bread!

More next time...

P.S. If any of you missed this, check it out...

...her embossed work (especially) is quite amazing!!!


Posted by Picasa